- Step 1 of 18
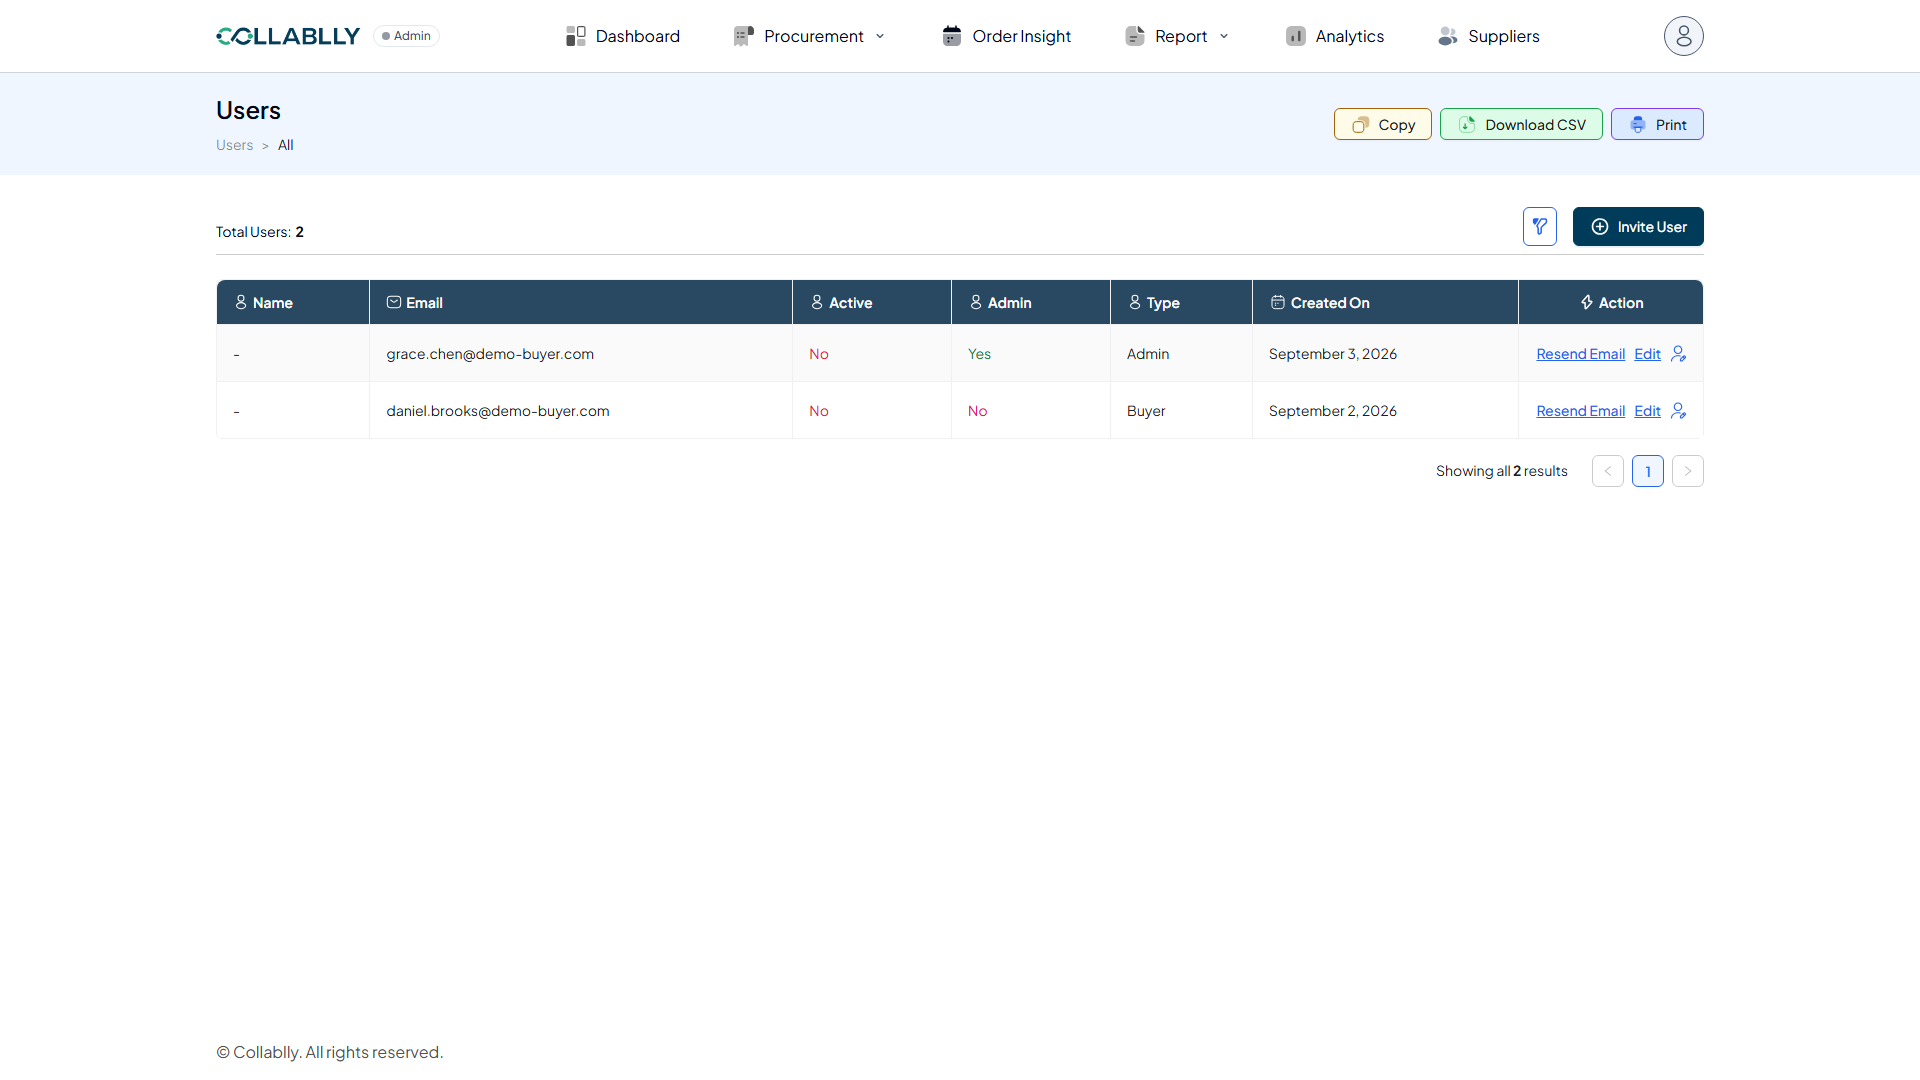
Open Users
Click your avatar in the top right, then select Users from the menu.
- Step 2 of 18
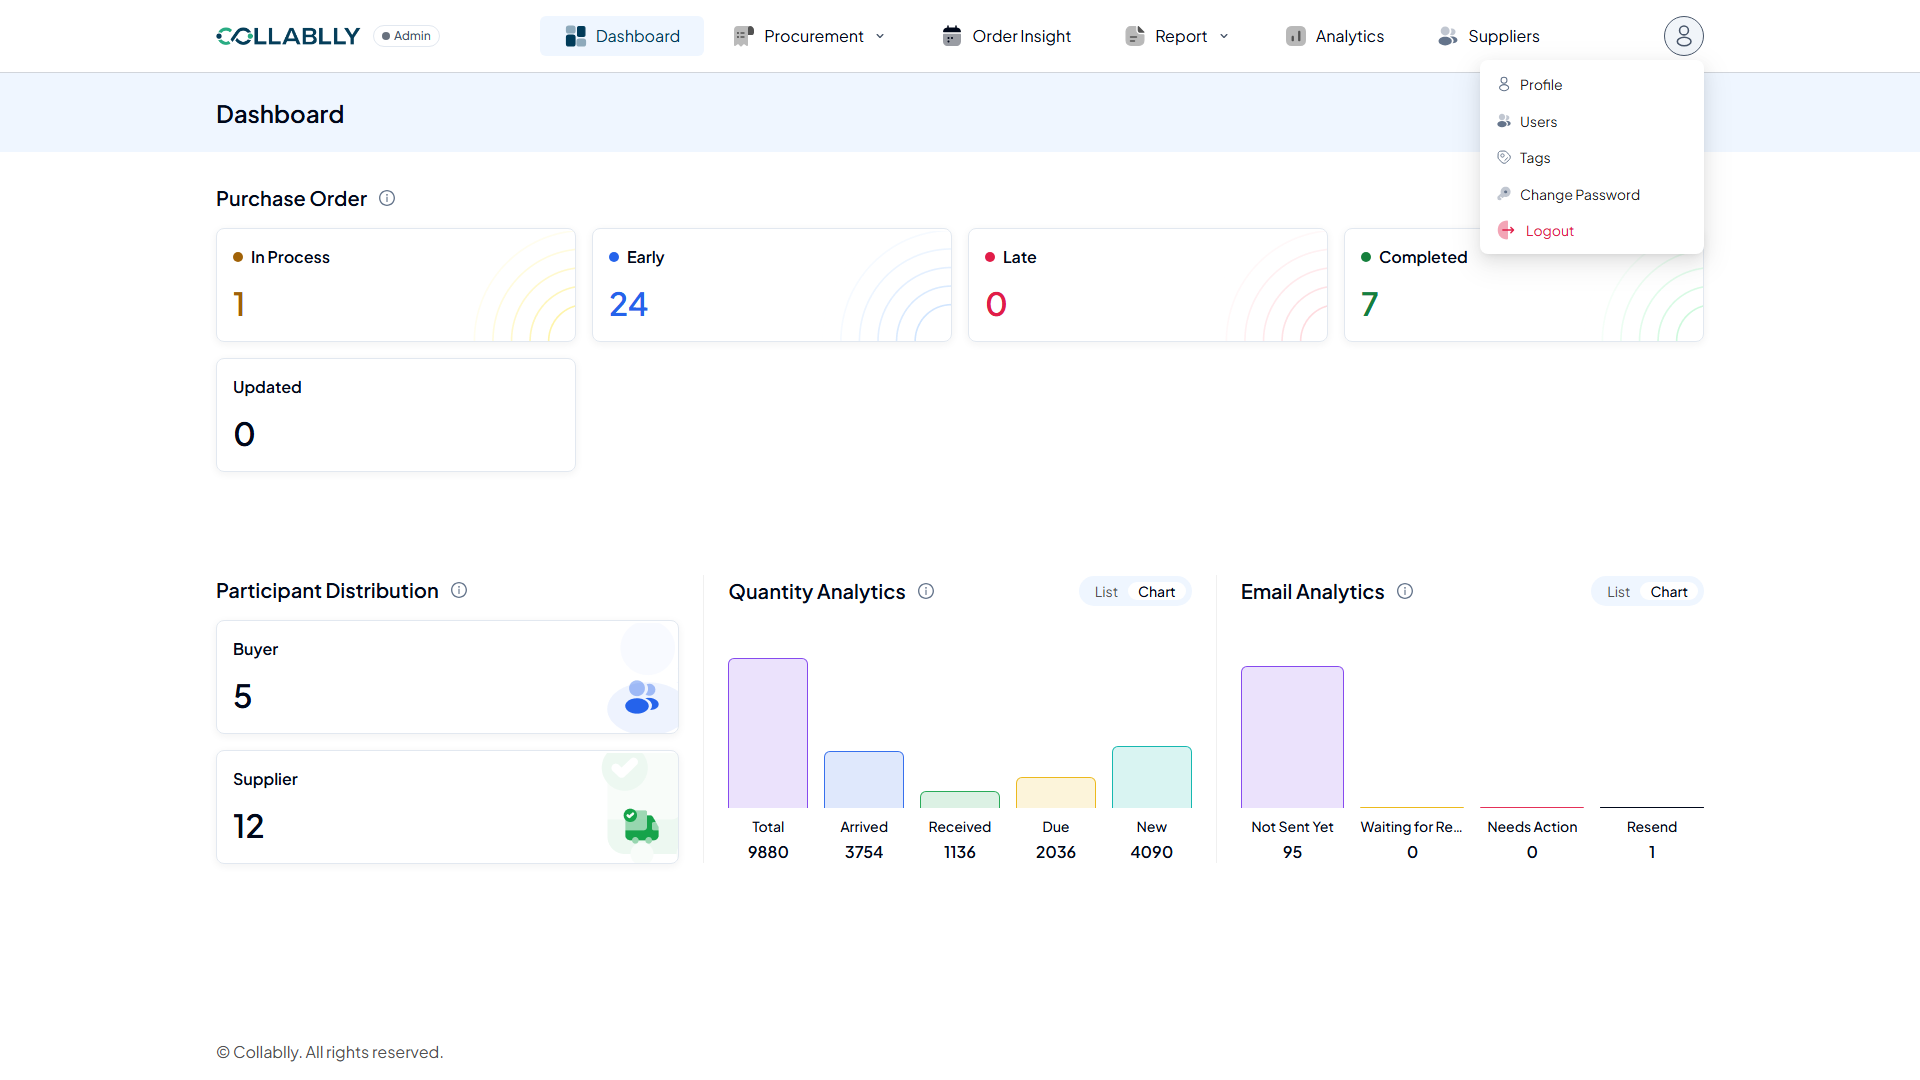
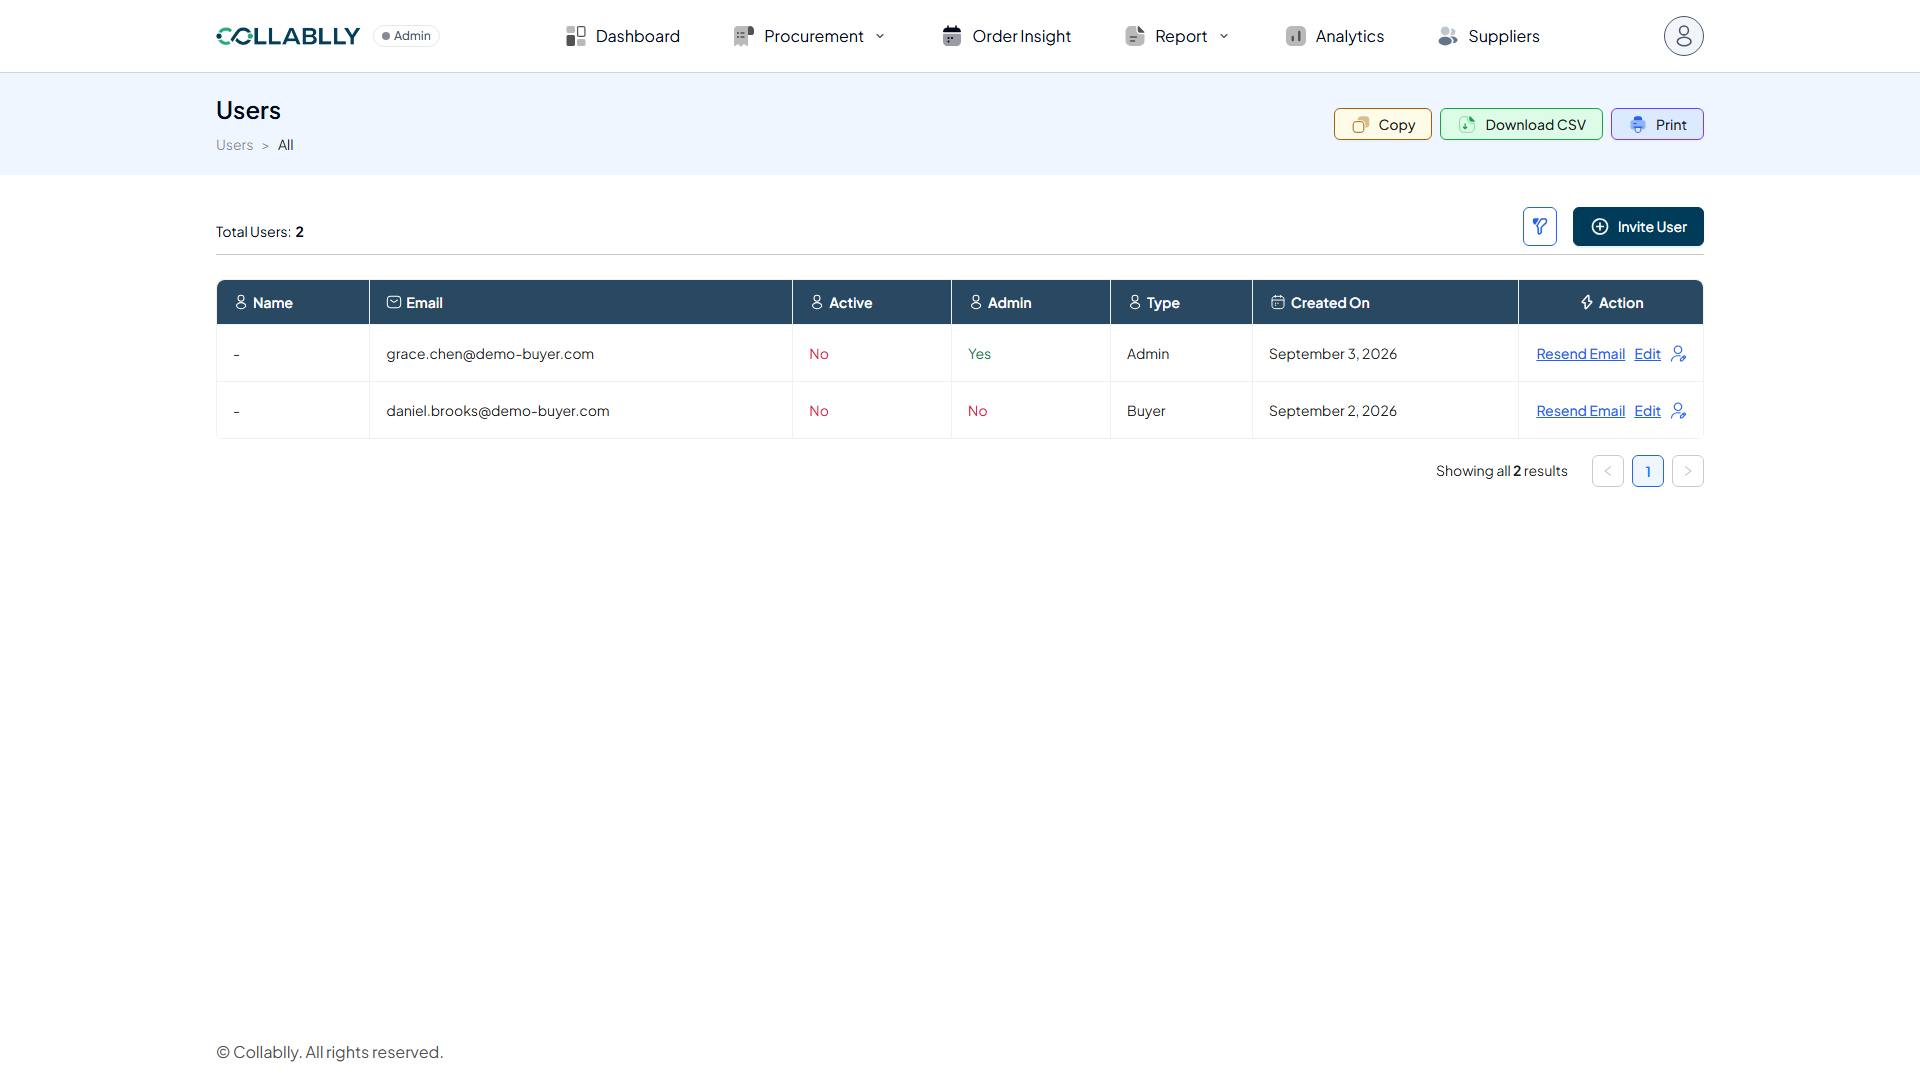
What this page shows
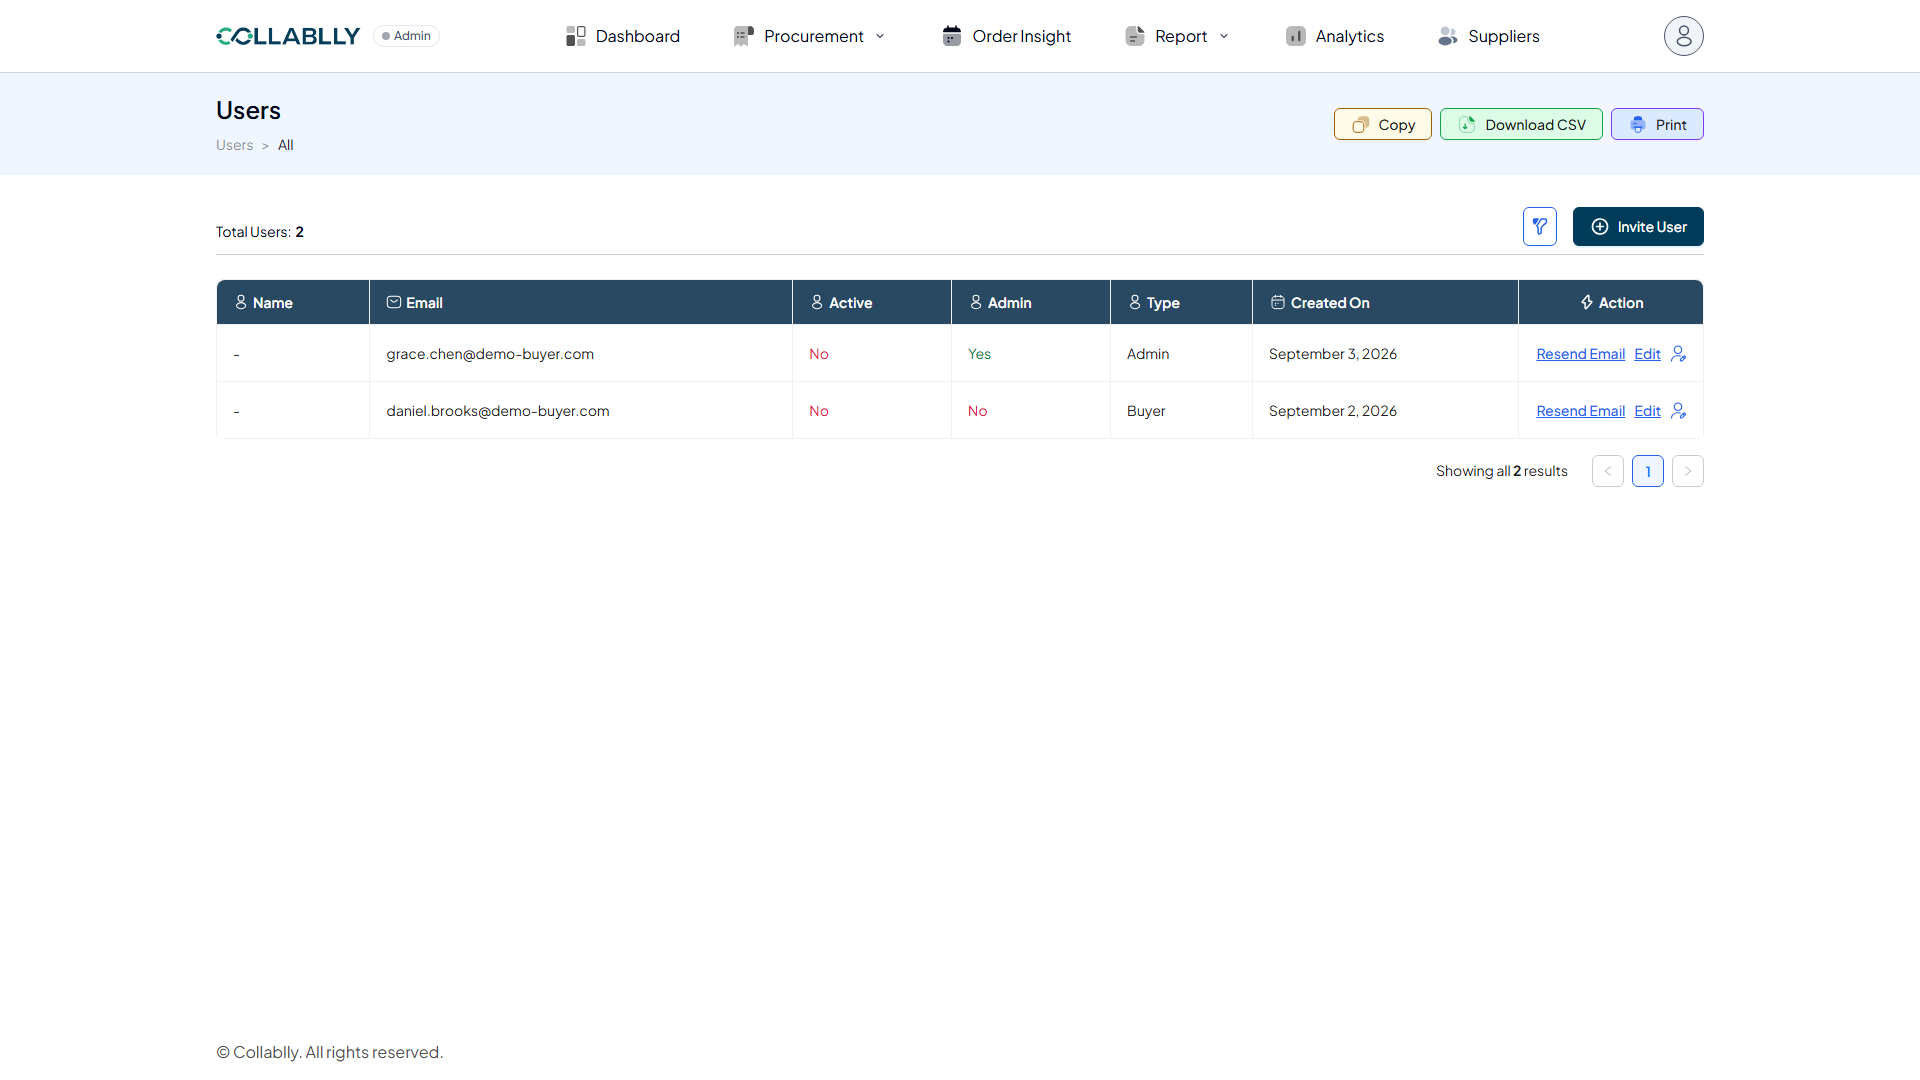
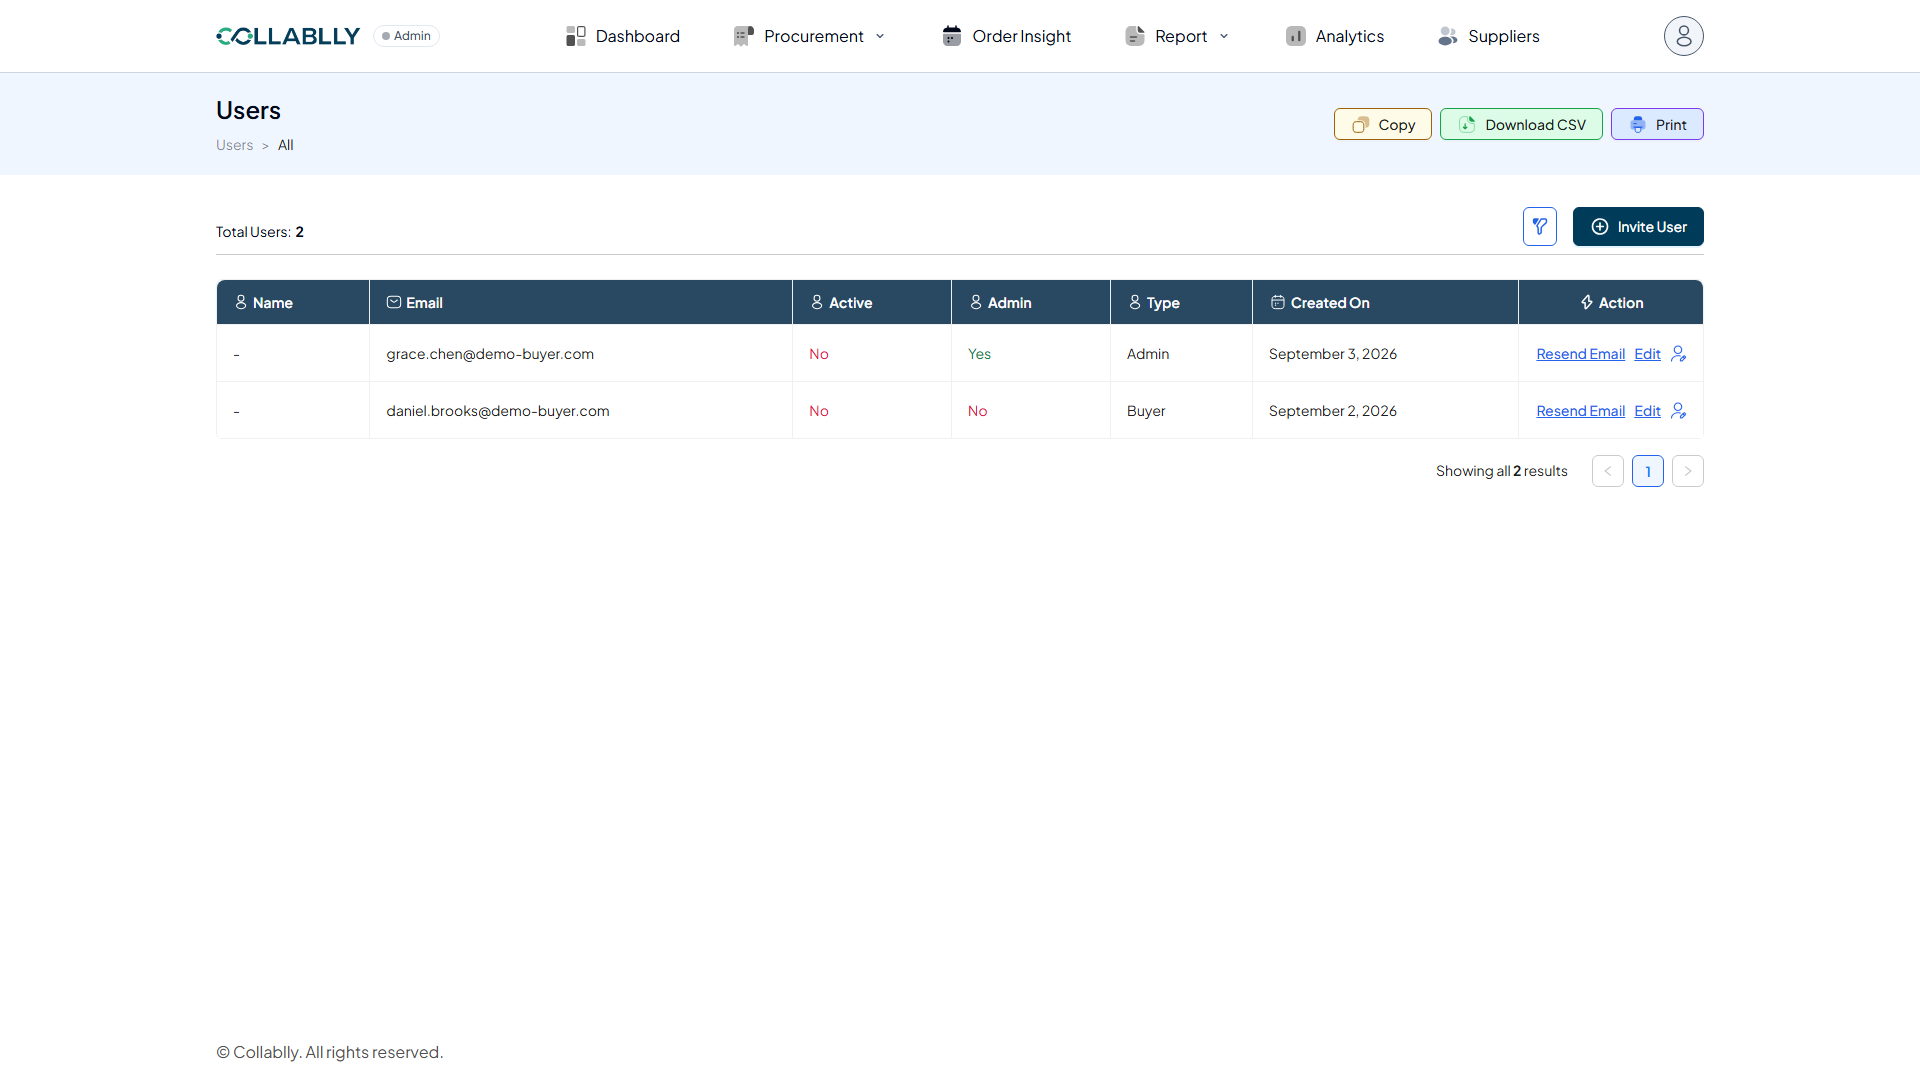
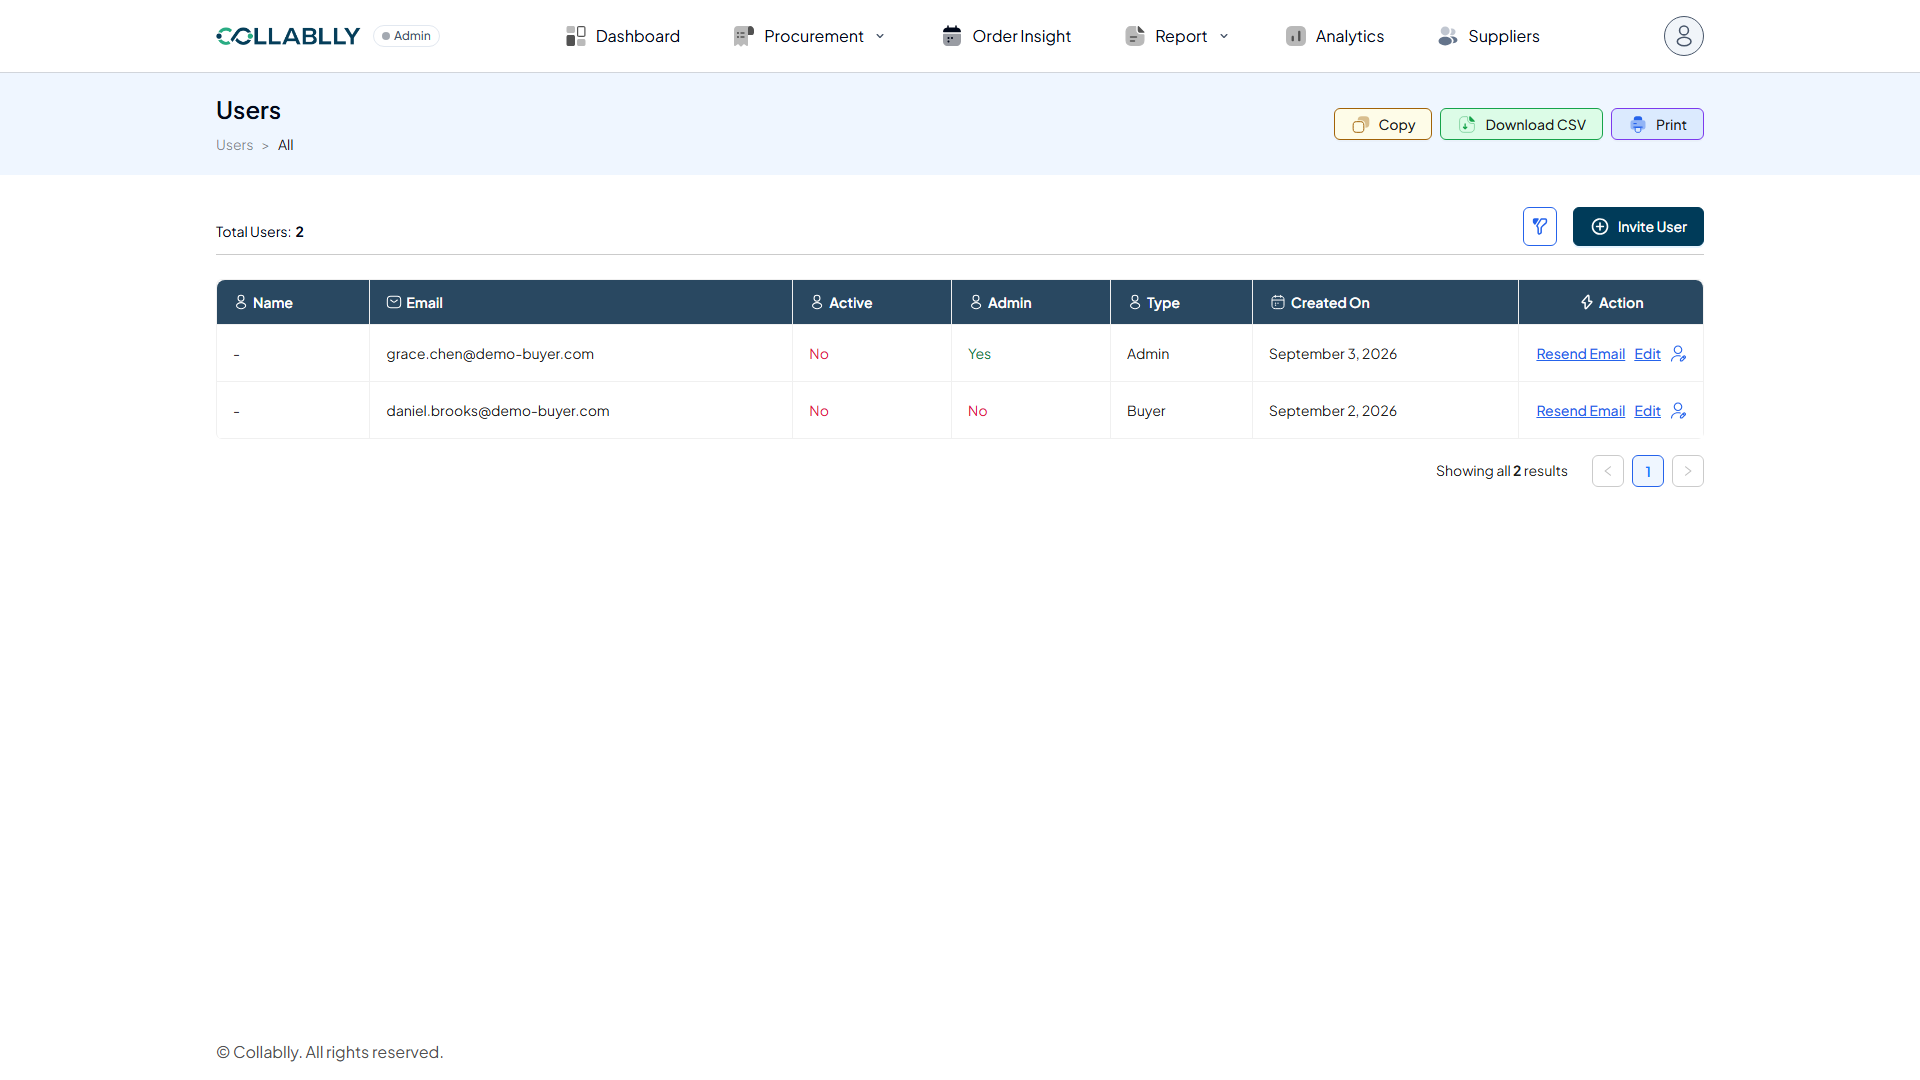
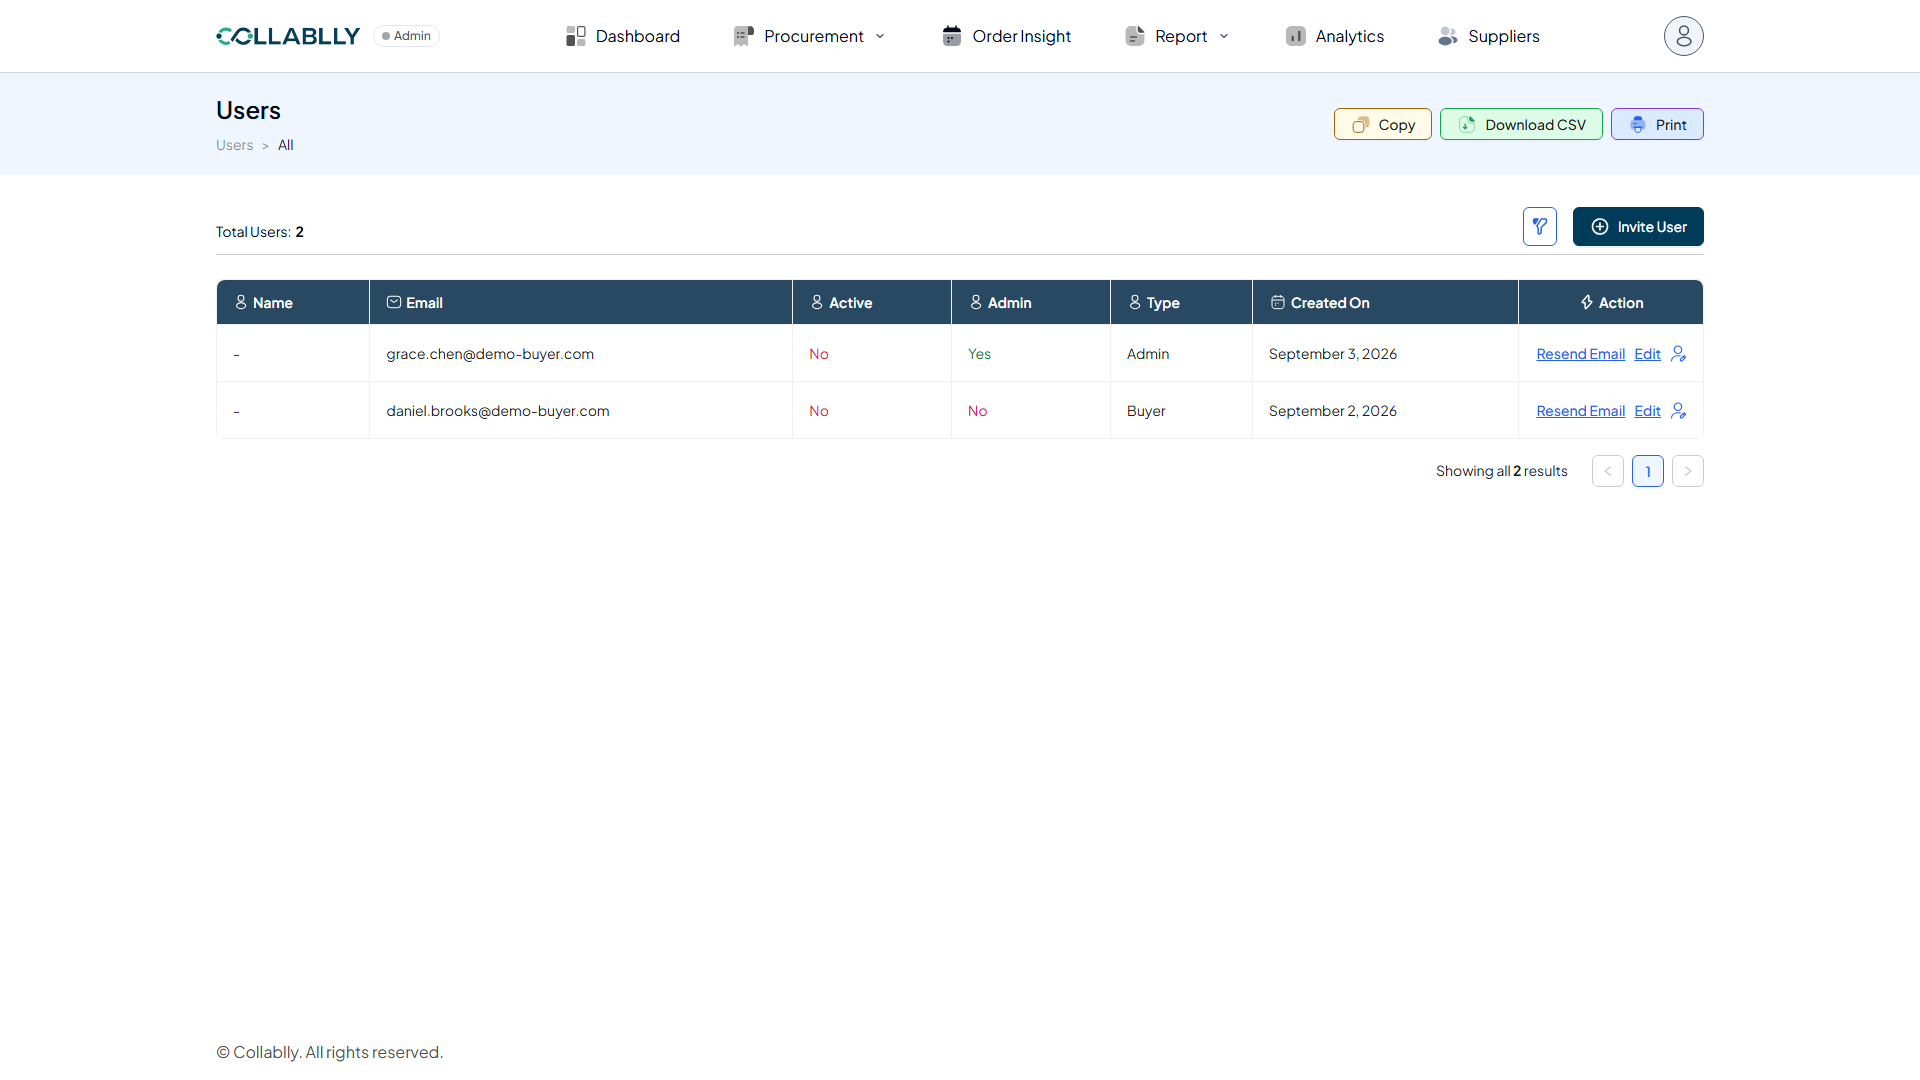
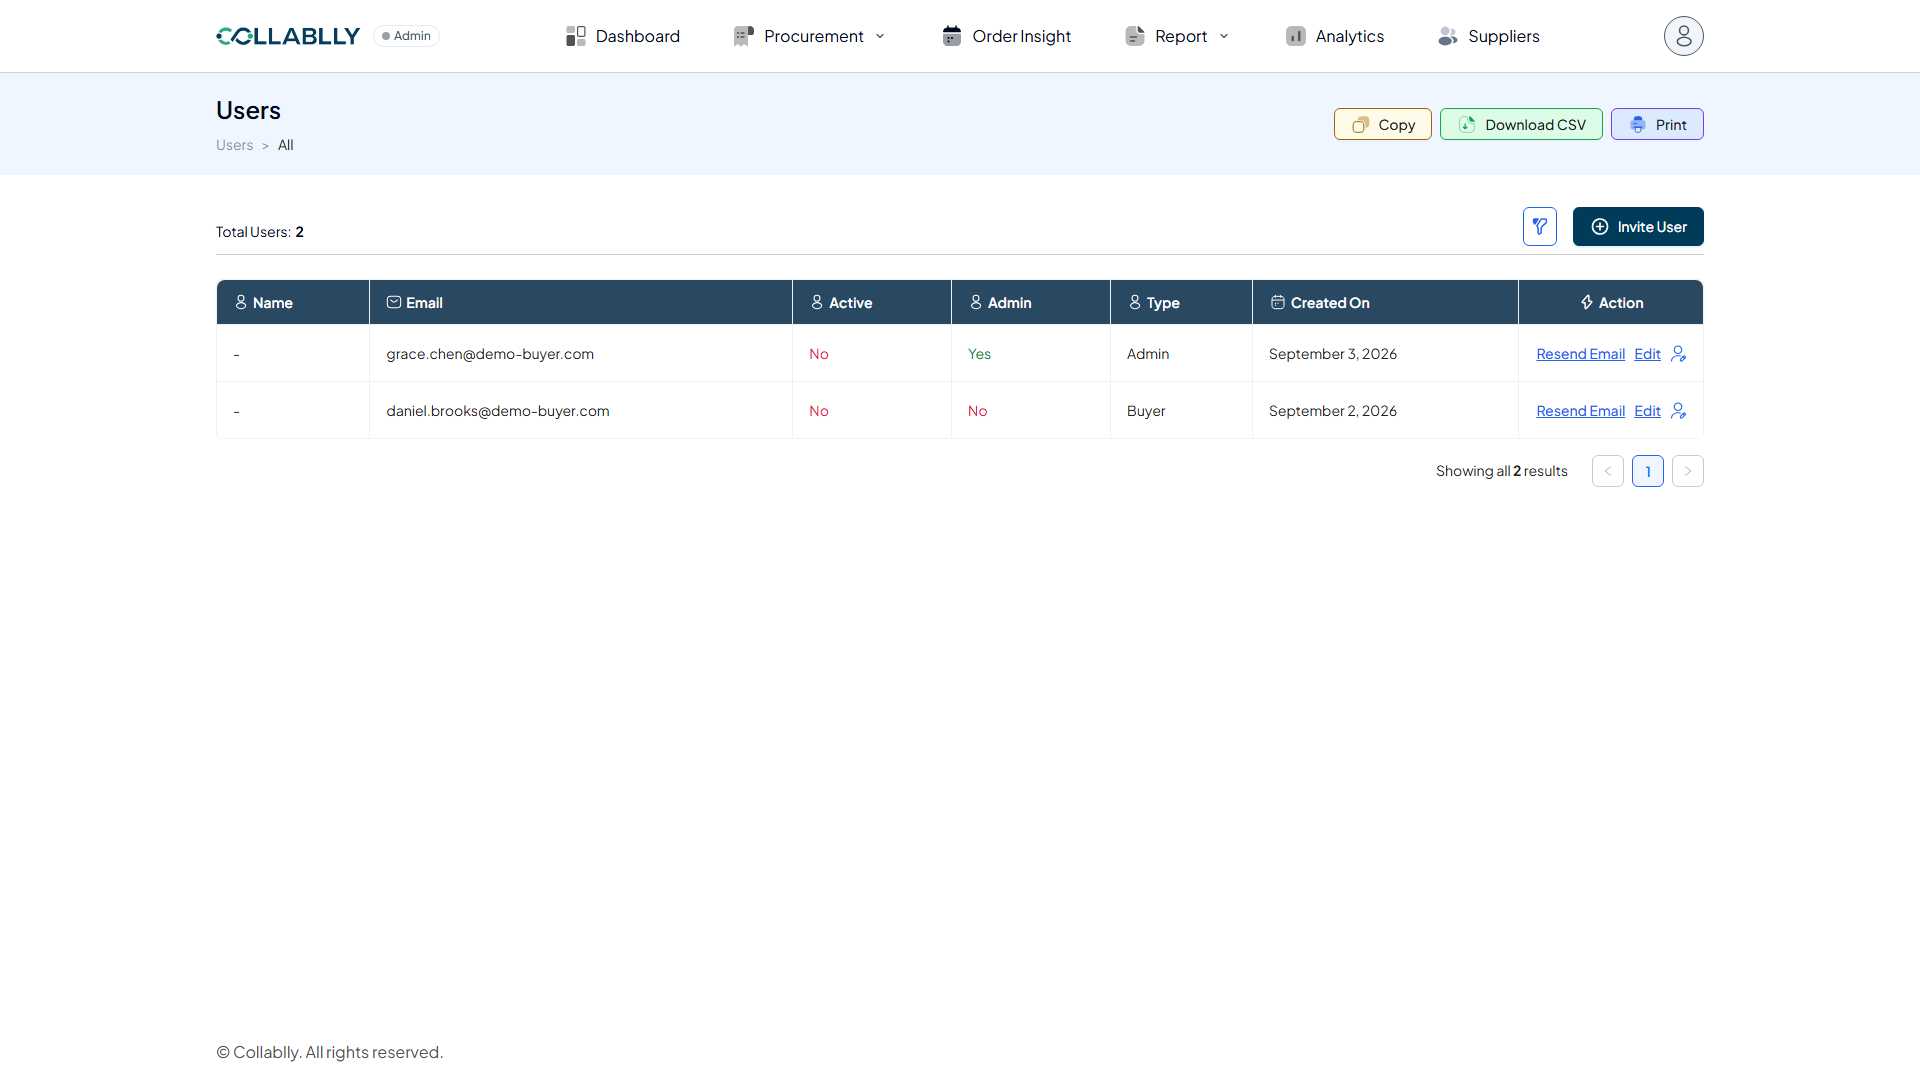
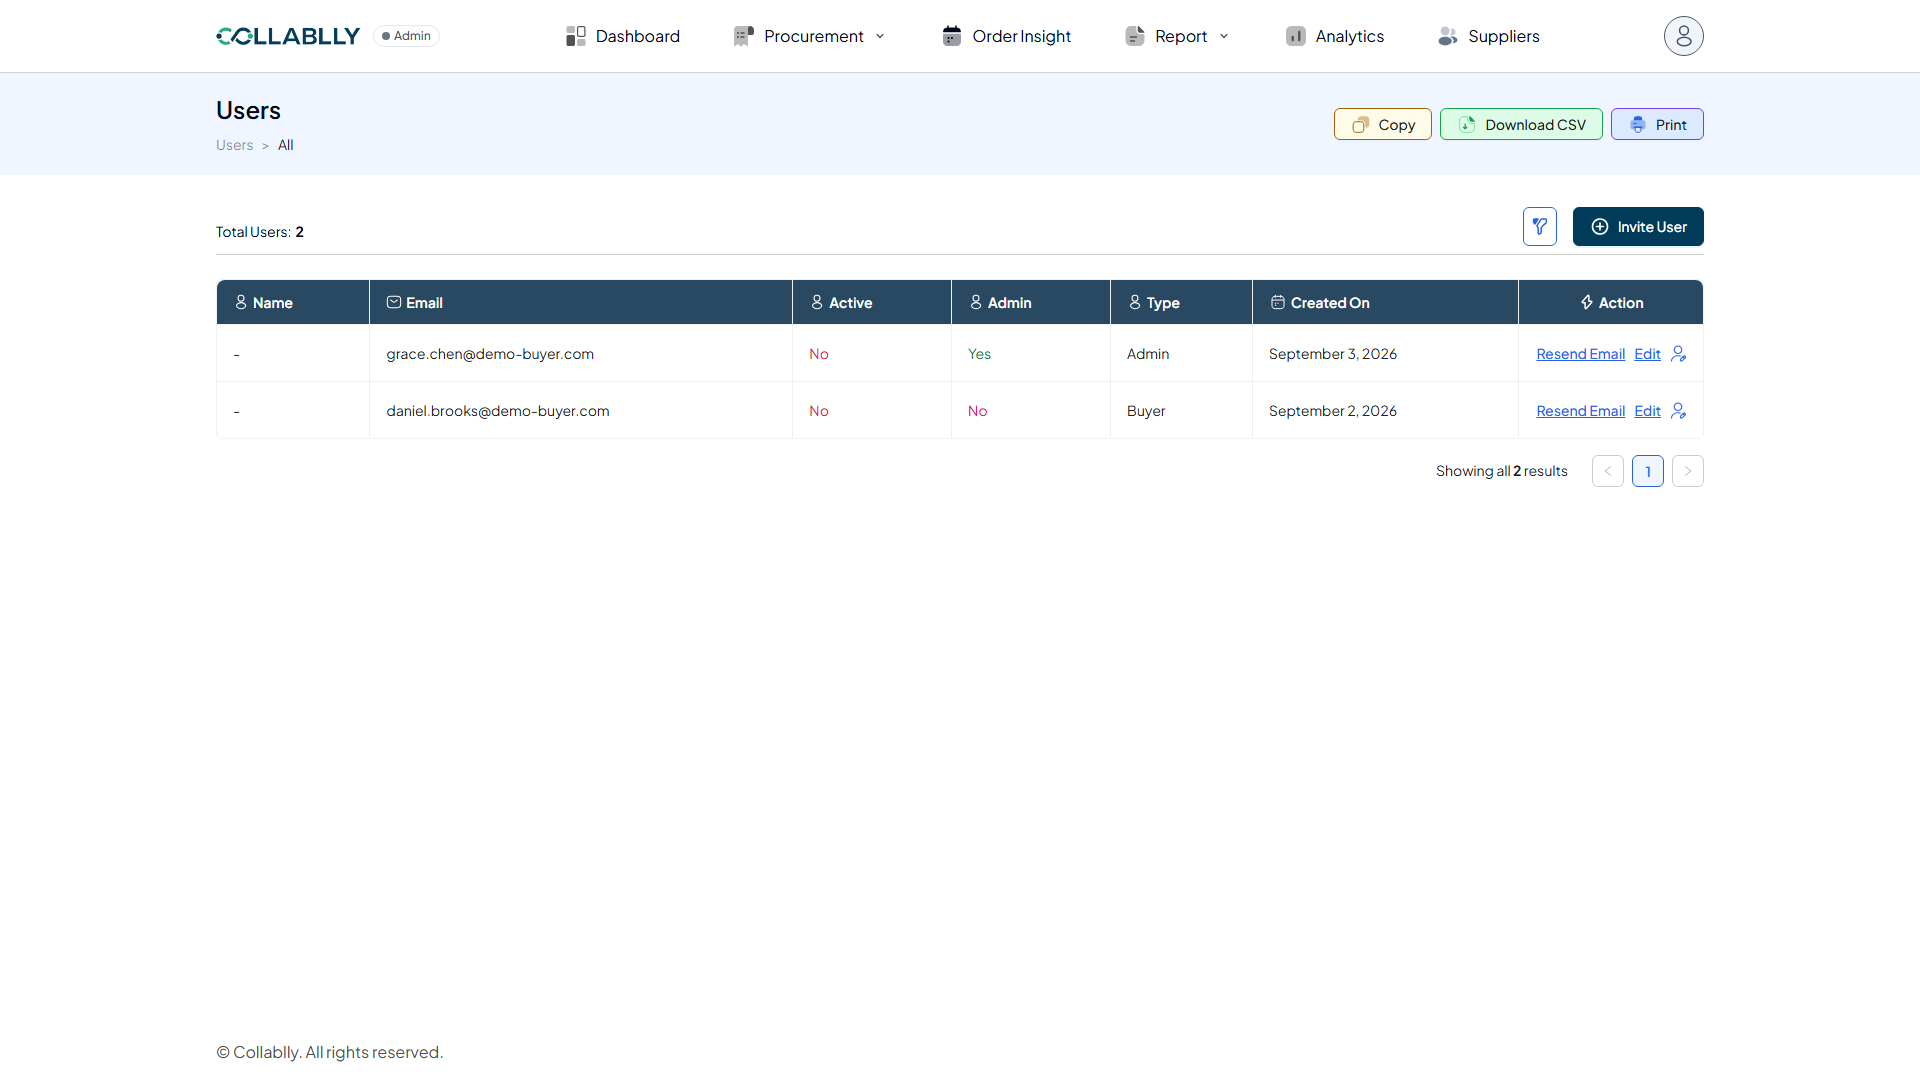
Users lists everyone with access to this tenant and is where you invite new ones. This page, and the Invite User button on it, is only available to the Admin role. Buyer-role users do not see it. Two examples are shown here: an Admin invite (Grace Chen) and a Buyer invite (Daniel Brooks) that's still pending.
- Step 3 of 18
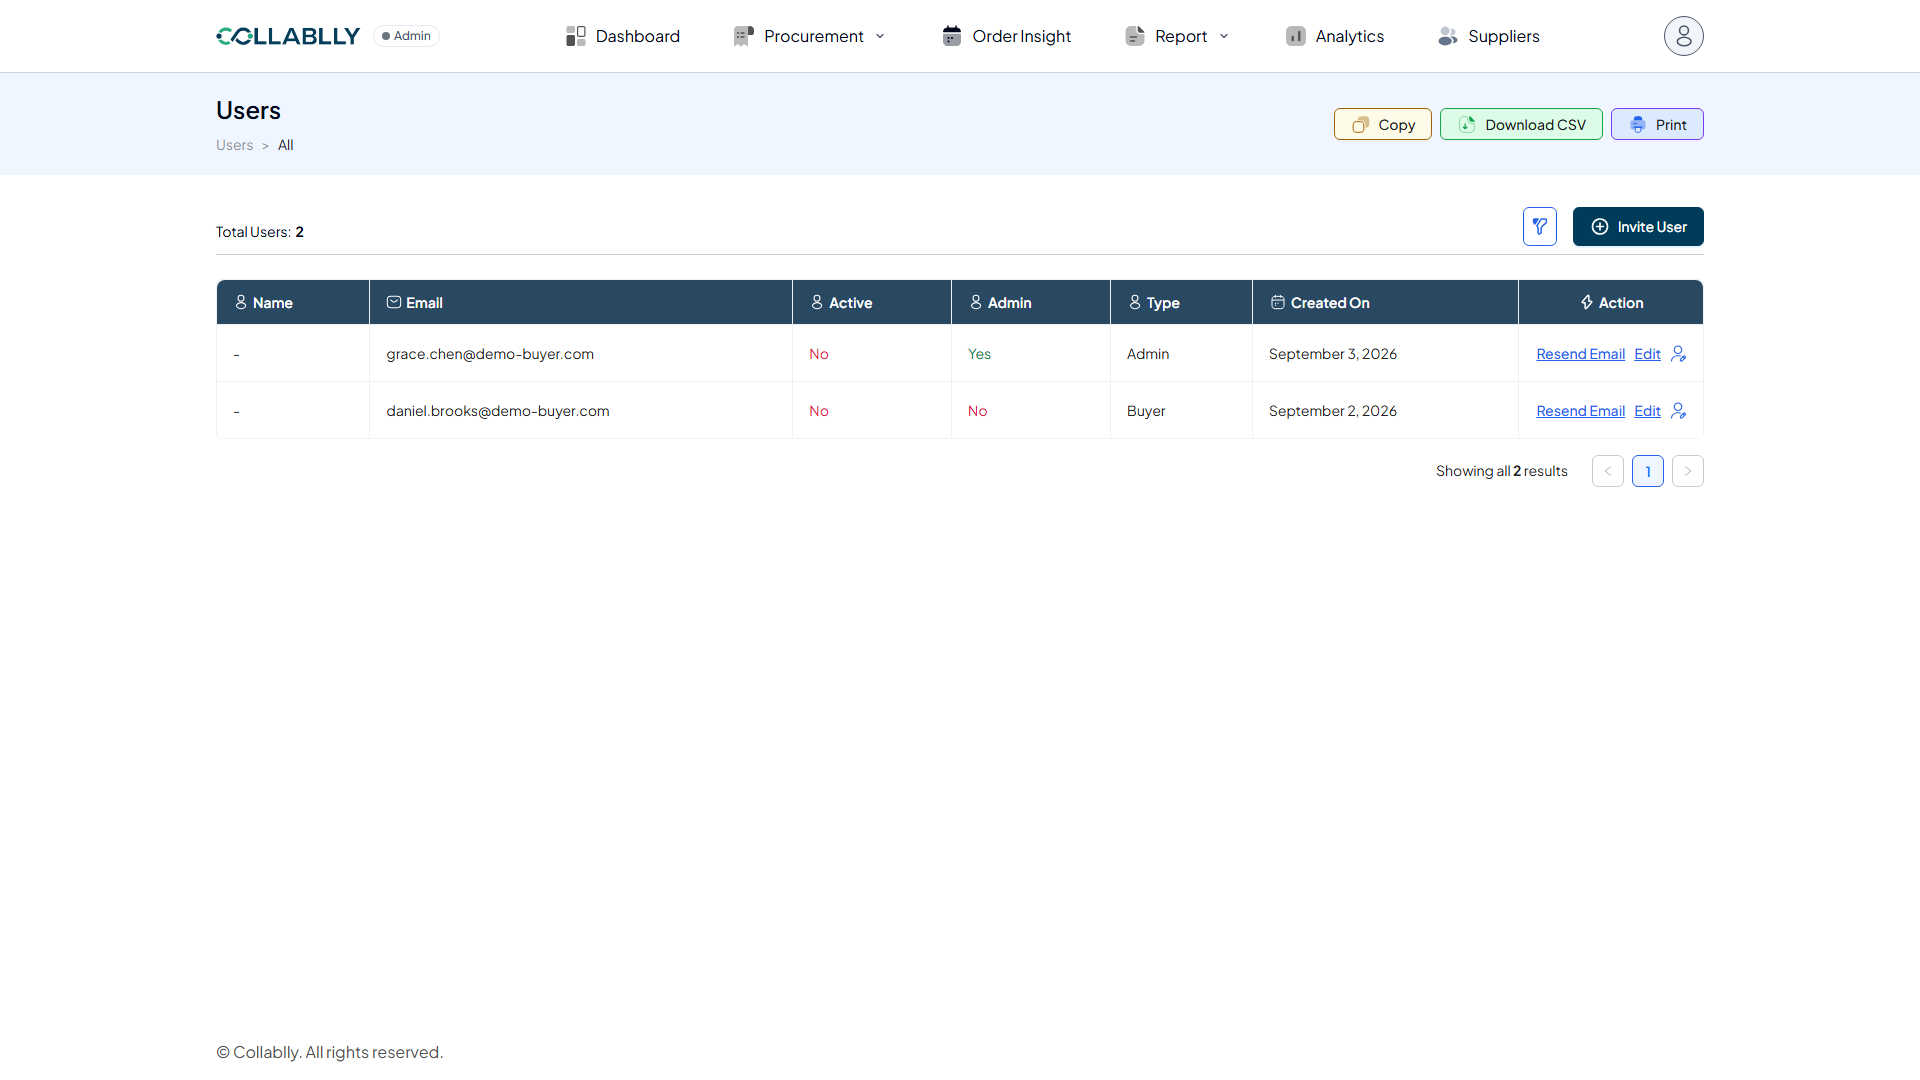
Total Users
A running count of how many users have access to this tenant.
- Step 4 of 18
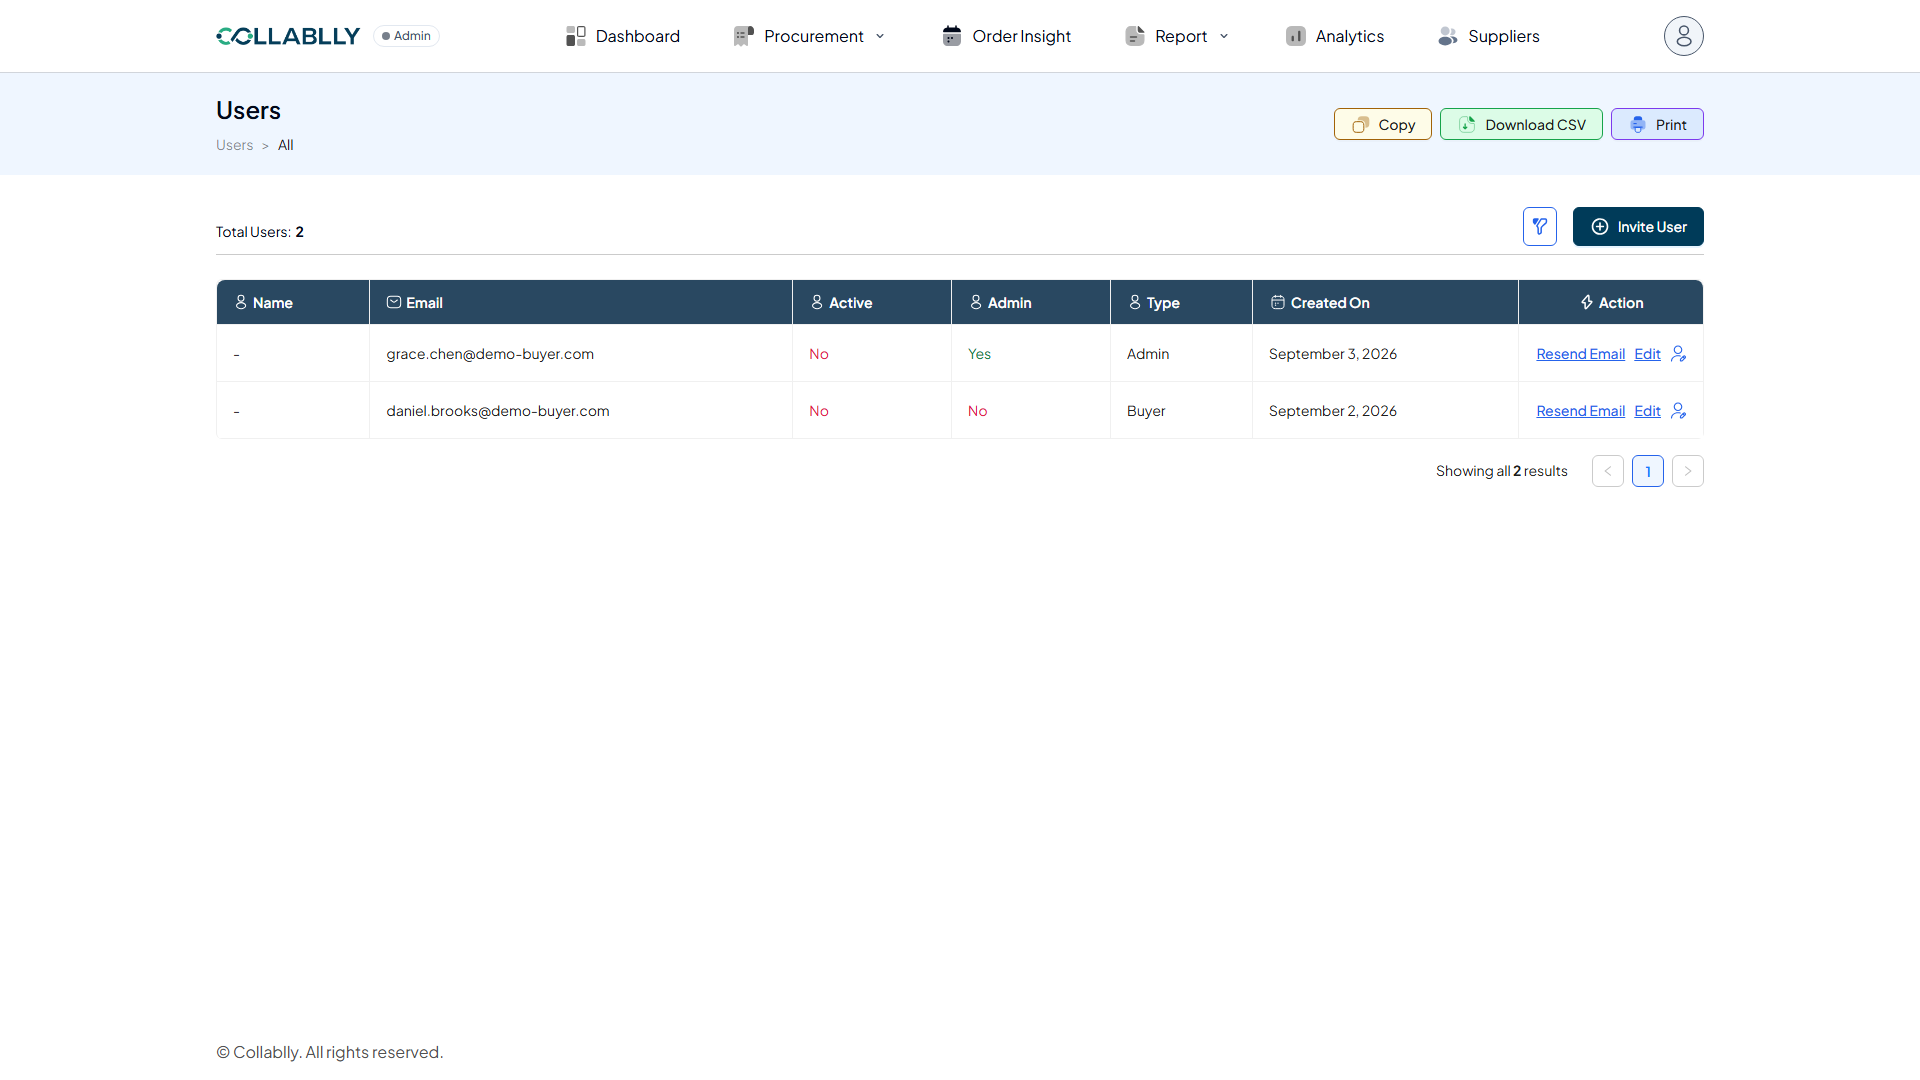
Invite User
Opens a form to invite a new Admin or Buyer to Collablly.
- Step 5 of 18
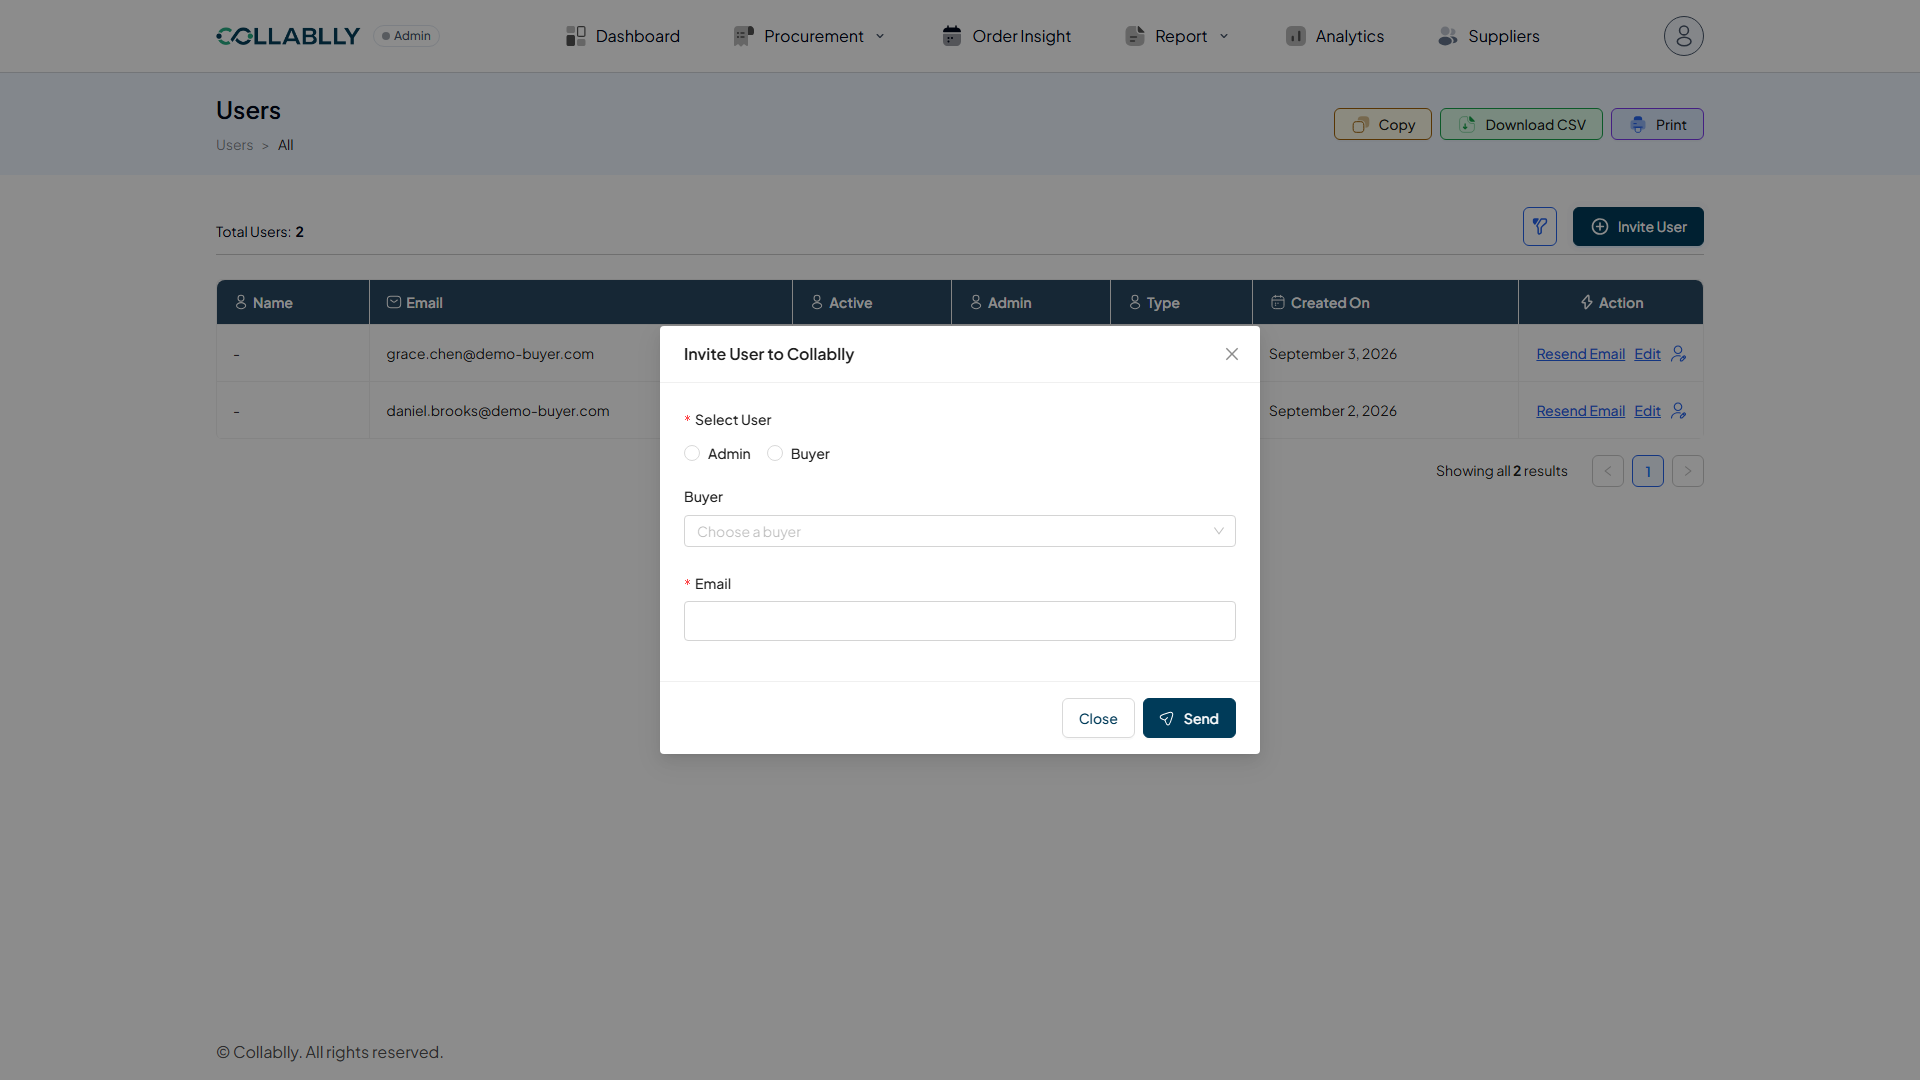
The Invite User form
Choose whether the new user is an Admin or a Buyer, then pick who from your existing Buyer contacts to invite, the Email field fills in automatically from that record rather than being typed freely. Click Send to email them an invite.
- Step 6 of 18
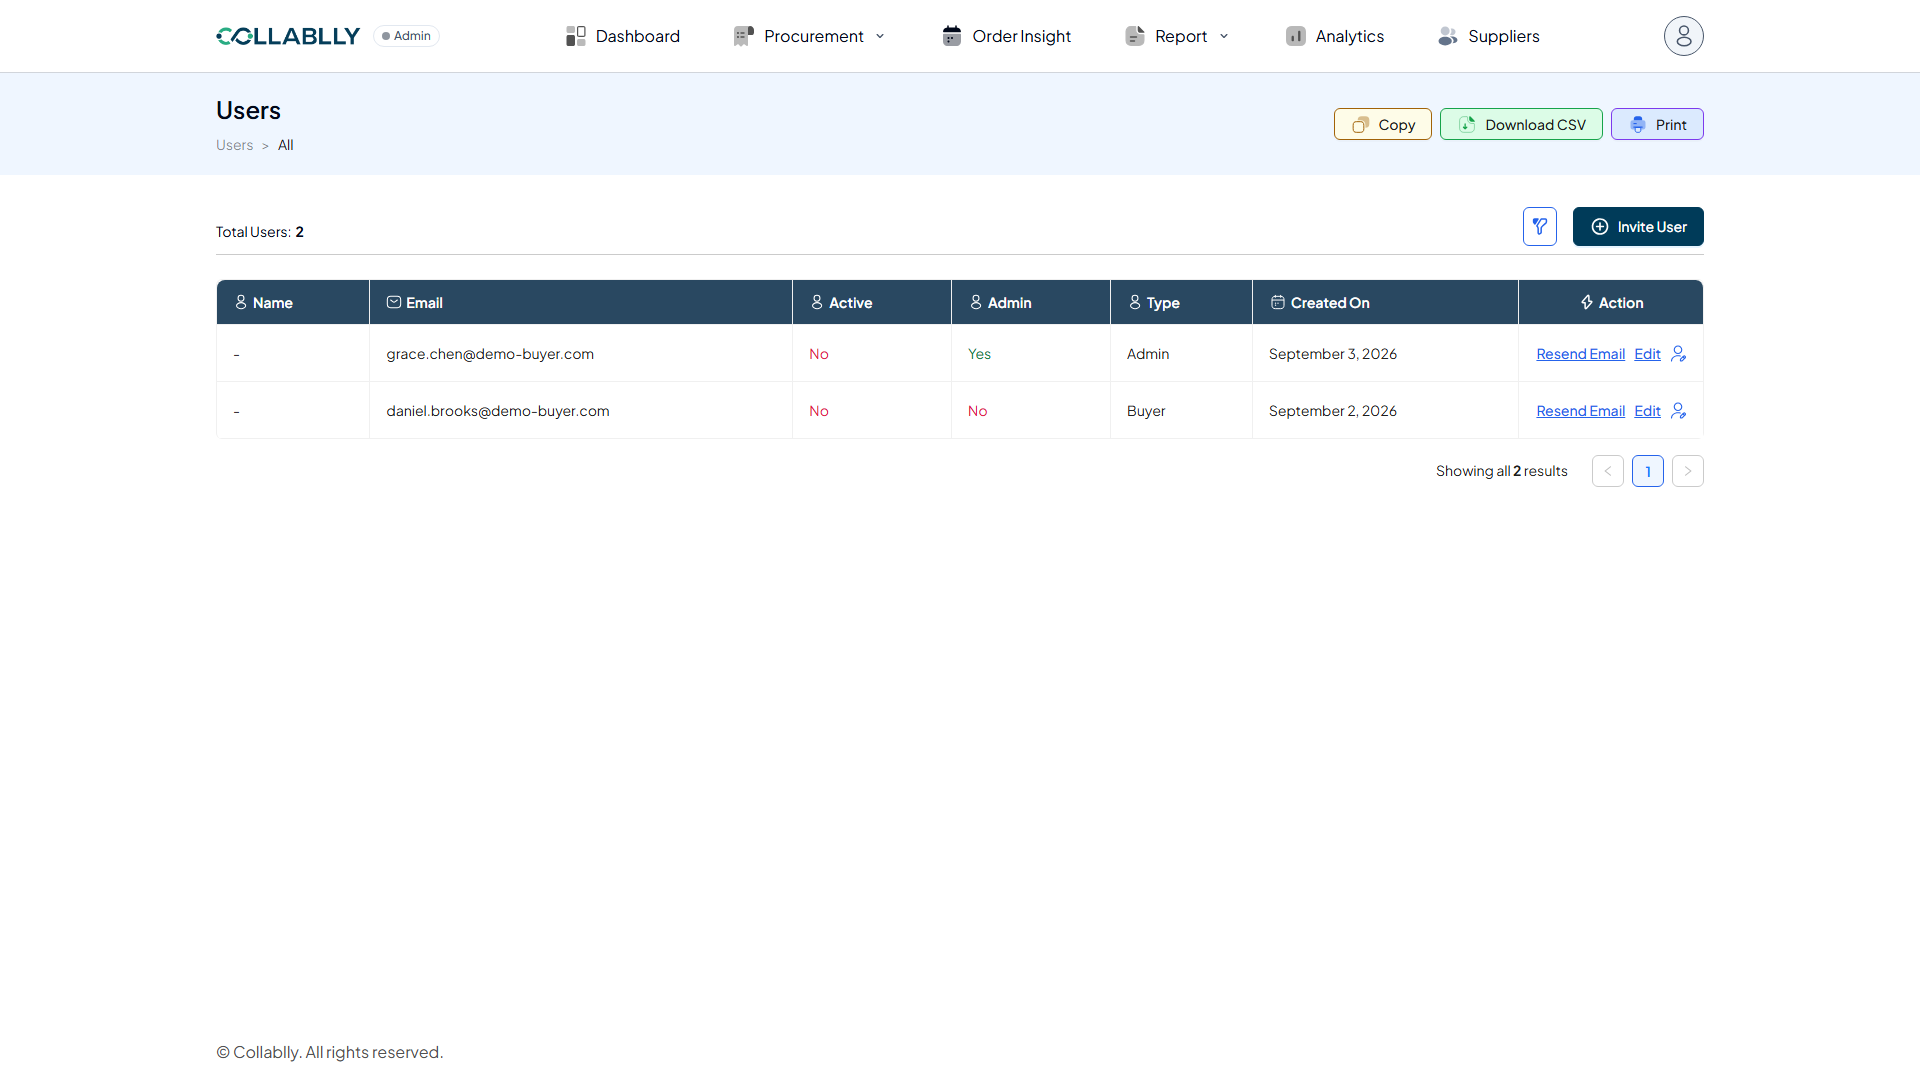
Filter
Opens search fields to narrow the list, the same filter pattern used across Collablly SRM.
- Step 7 of 18
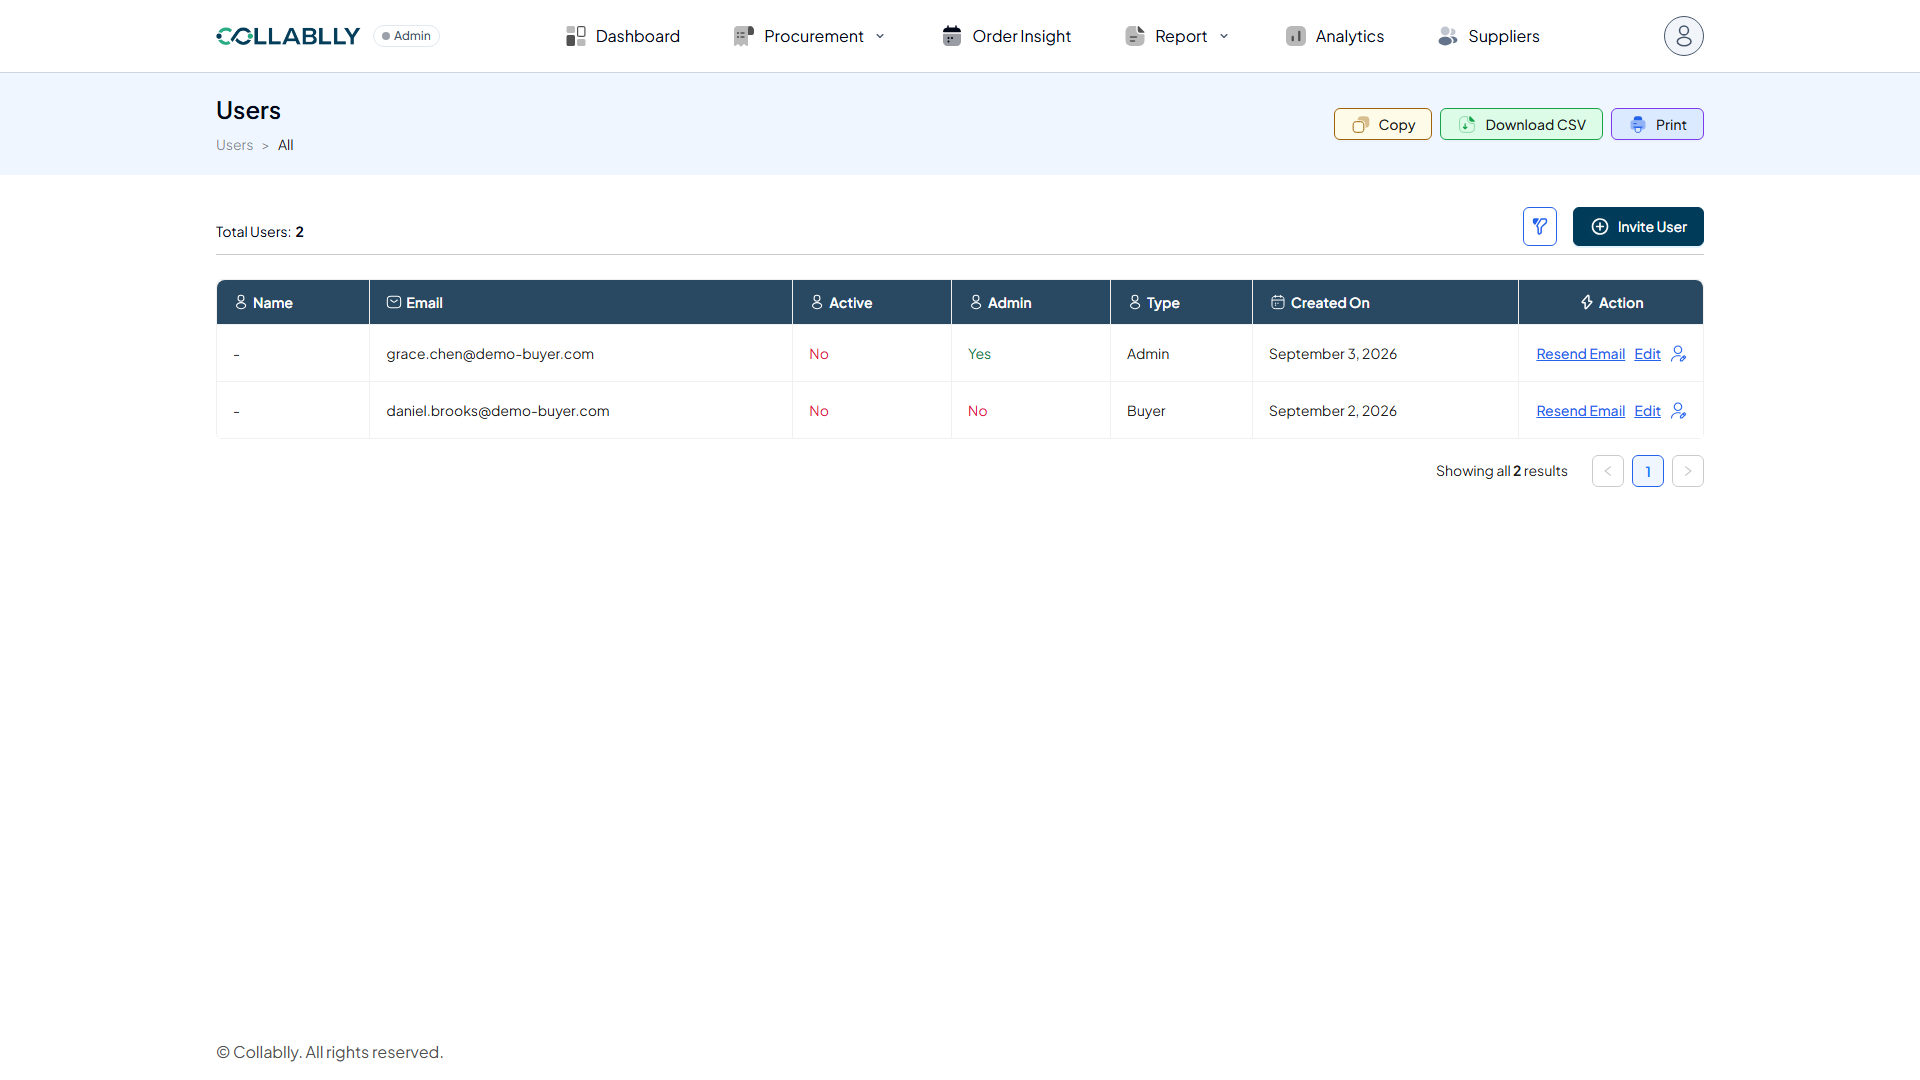
Copy
Copies the current table to your clipboard.
- Step 8 of 18
Download CSV
Exports the current view as a CSV file.
- Step 9 of 18
Print
Opens a print-friendly version of the current table.
- Step 10 of 18
Column: Name
The user's full name, set by the user themselves the first time they sign in. Until then, like both rows here, it shows a dash.
- Step 11 of 18
Column: Email
The email address this user signs in with, taken from the Buyer record they were invited as.
- Step 12 of 18
Column: Active
Whether this user's access is currently enabled. Both rows read No here, since neither has accepted their invite and signed in yet, Active turns on once they do (or an Admin flips it on manually from Edit).
- Step 13 of 18
Column: Admin
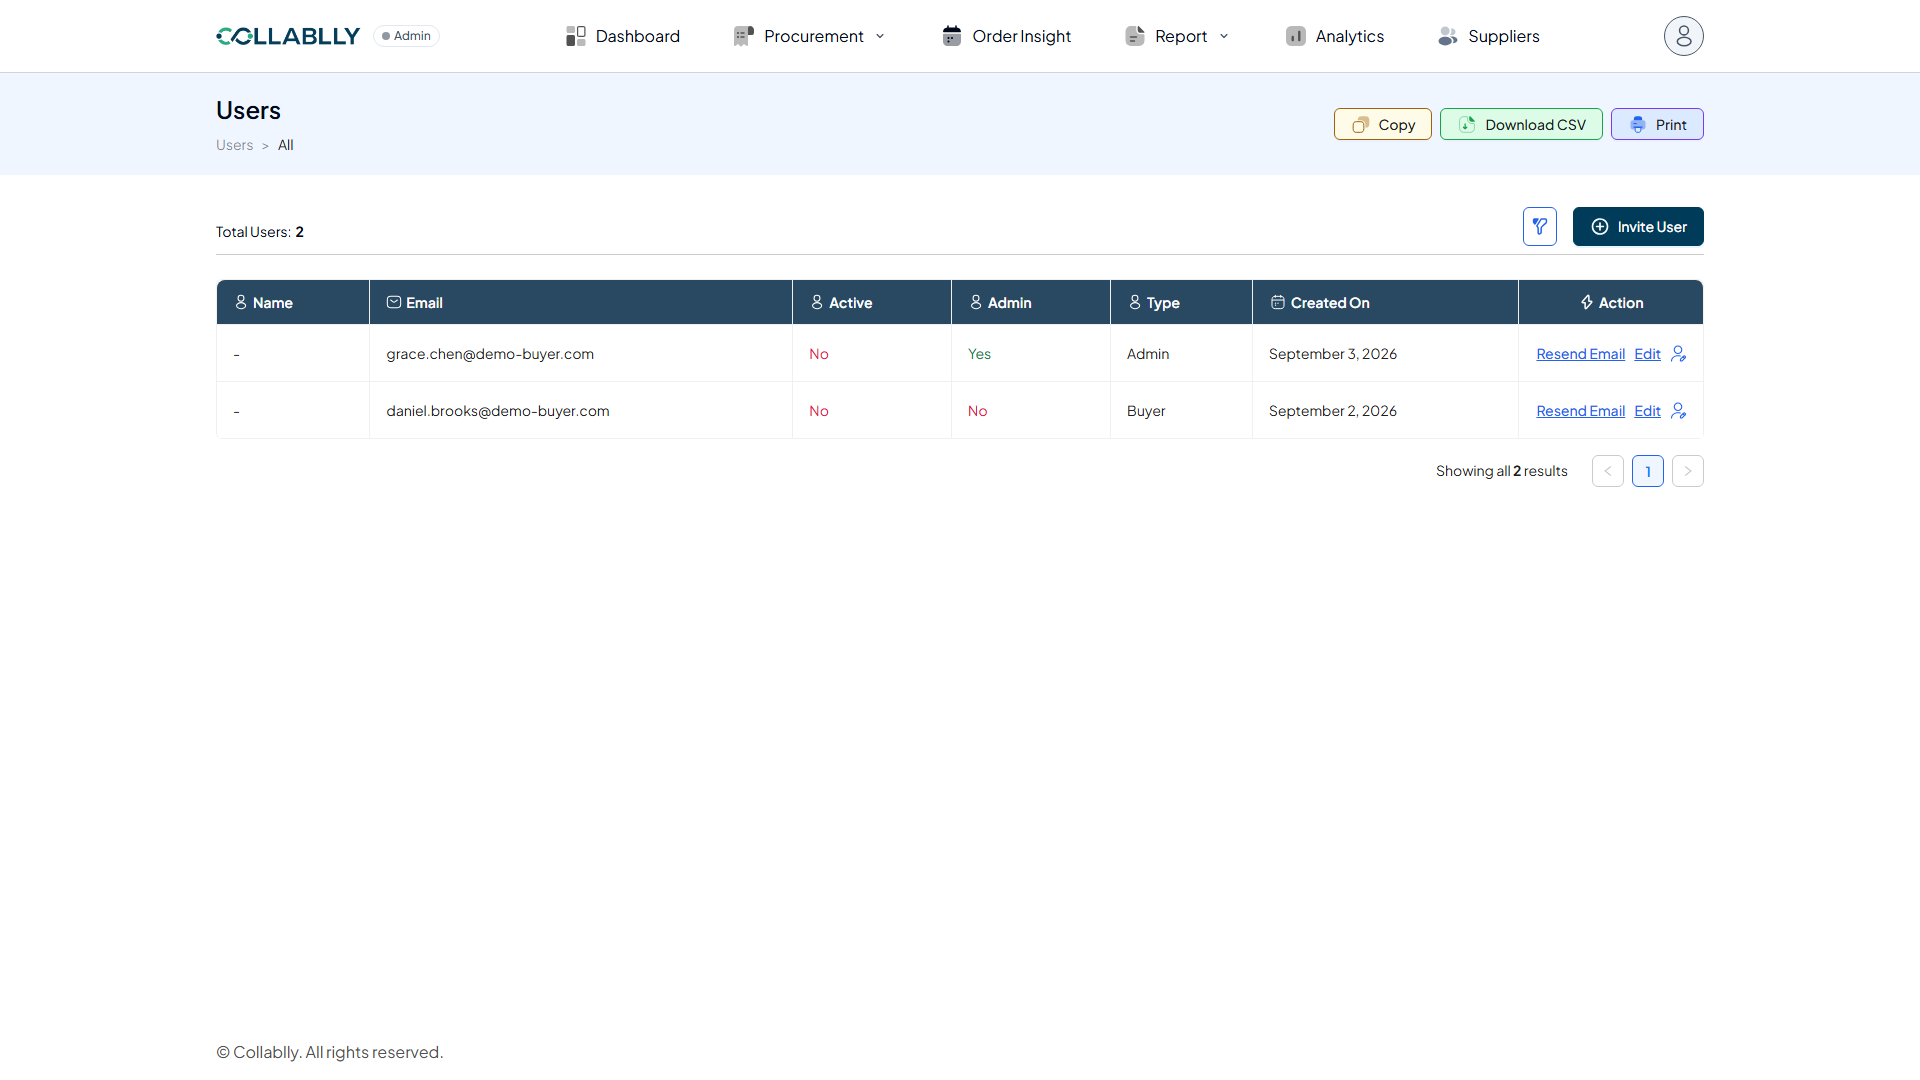
Whether this user has the Admin role, which can see every PO in the tenant and manage users. Buyers see only their own POs. Grace Chen (Yes) was invited as an Admin; Daniel Brooks (No) as a Buyer.
- Step 14 of 18
Column: Type
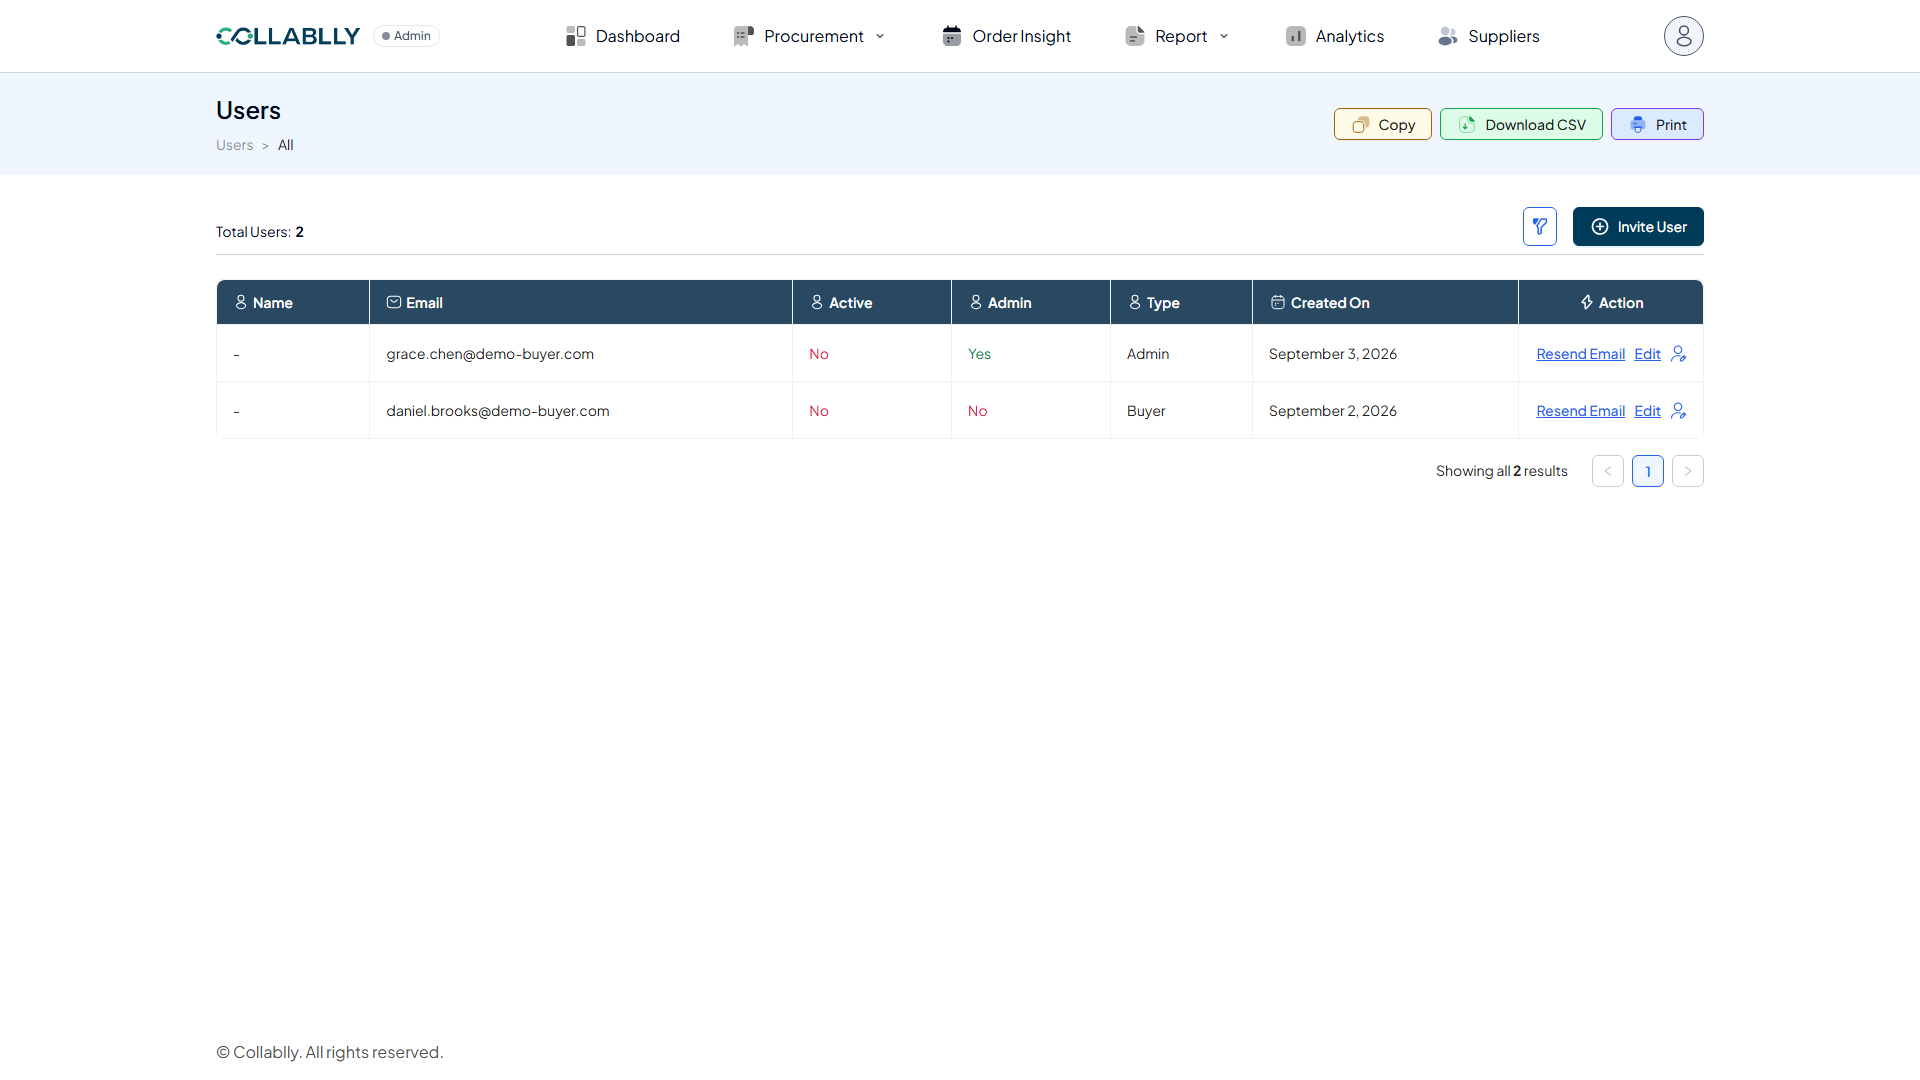
The user's account type, always matching the Admin/Buyer choice made when they were invited.
- Step 15 of 18
Column: Created On
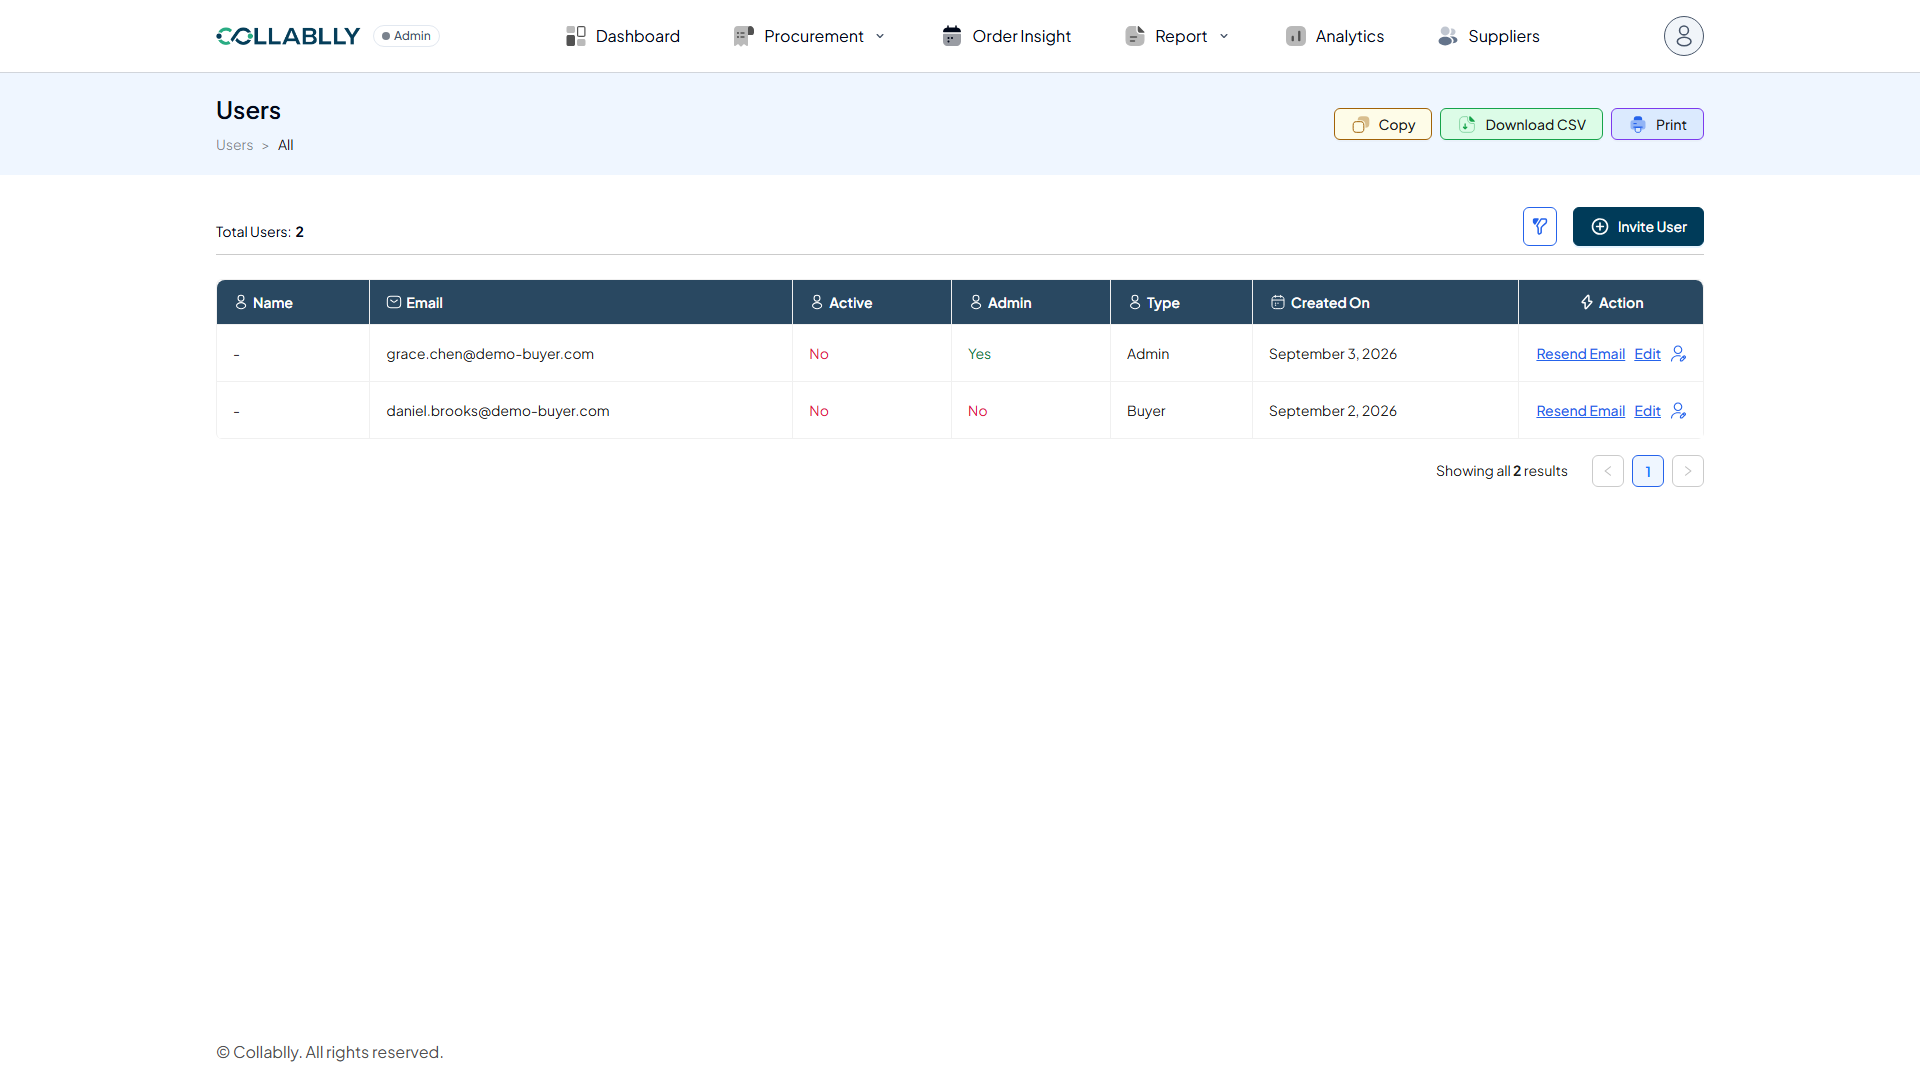
The date this user was invited, set automatically by the system, not something you can backdate.
- Step 16 of 18
Column: Action
Resend Email and Edit for managing this user, covered next.
- Step 17 of 18
Edit: view and change permissions
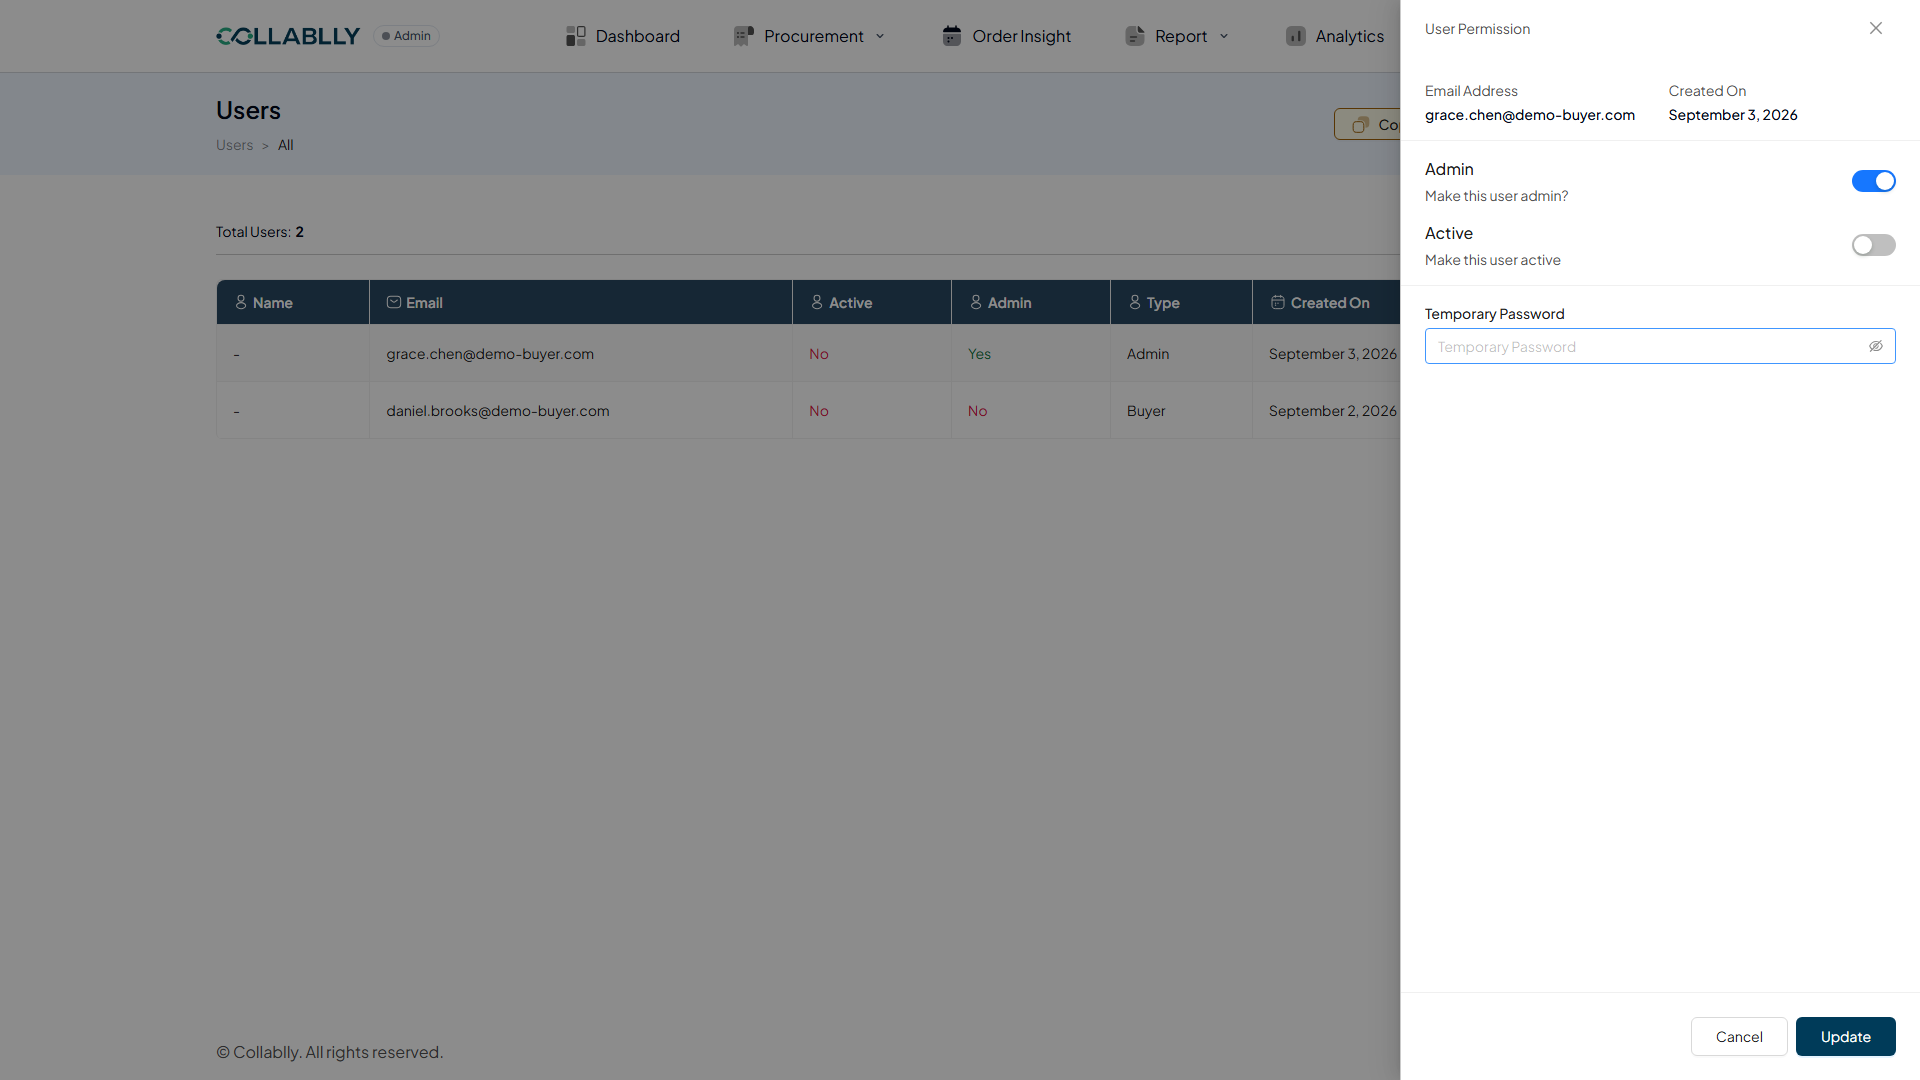
Edit opens the User Permission panel for that one user: Email Address and Created On for reference, an Admin toggle ("Make this user admin?") to grant or remove Admin access, an Active toggle ("Make this user active") to enable or disable their login, and a Temporary Password field an Admin can set for them. Click Update to save, or Cancel to leave everything unchanged.
- Step 18 of 18
Resend Email
Resend Email re-sends that user's original invite email, useful when an invite was missed, expired, or landed in spam. It doesn't change anything about the user's record, it's purely a re-send.