- Step 1 of 11
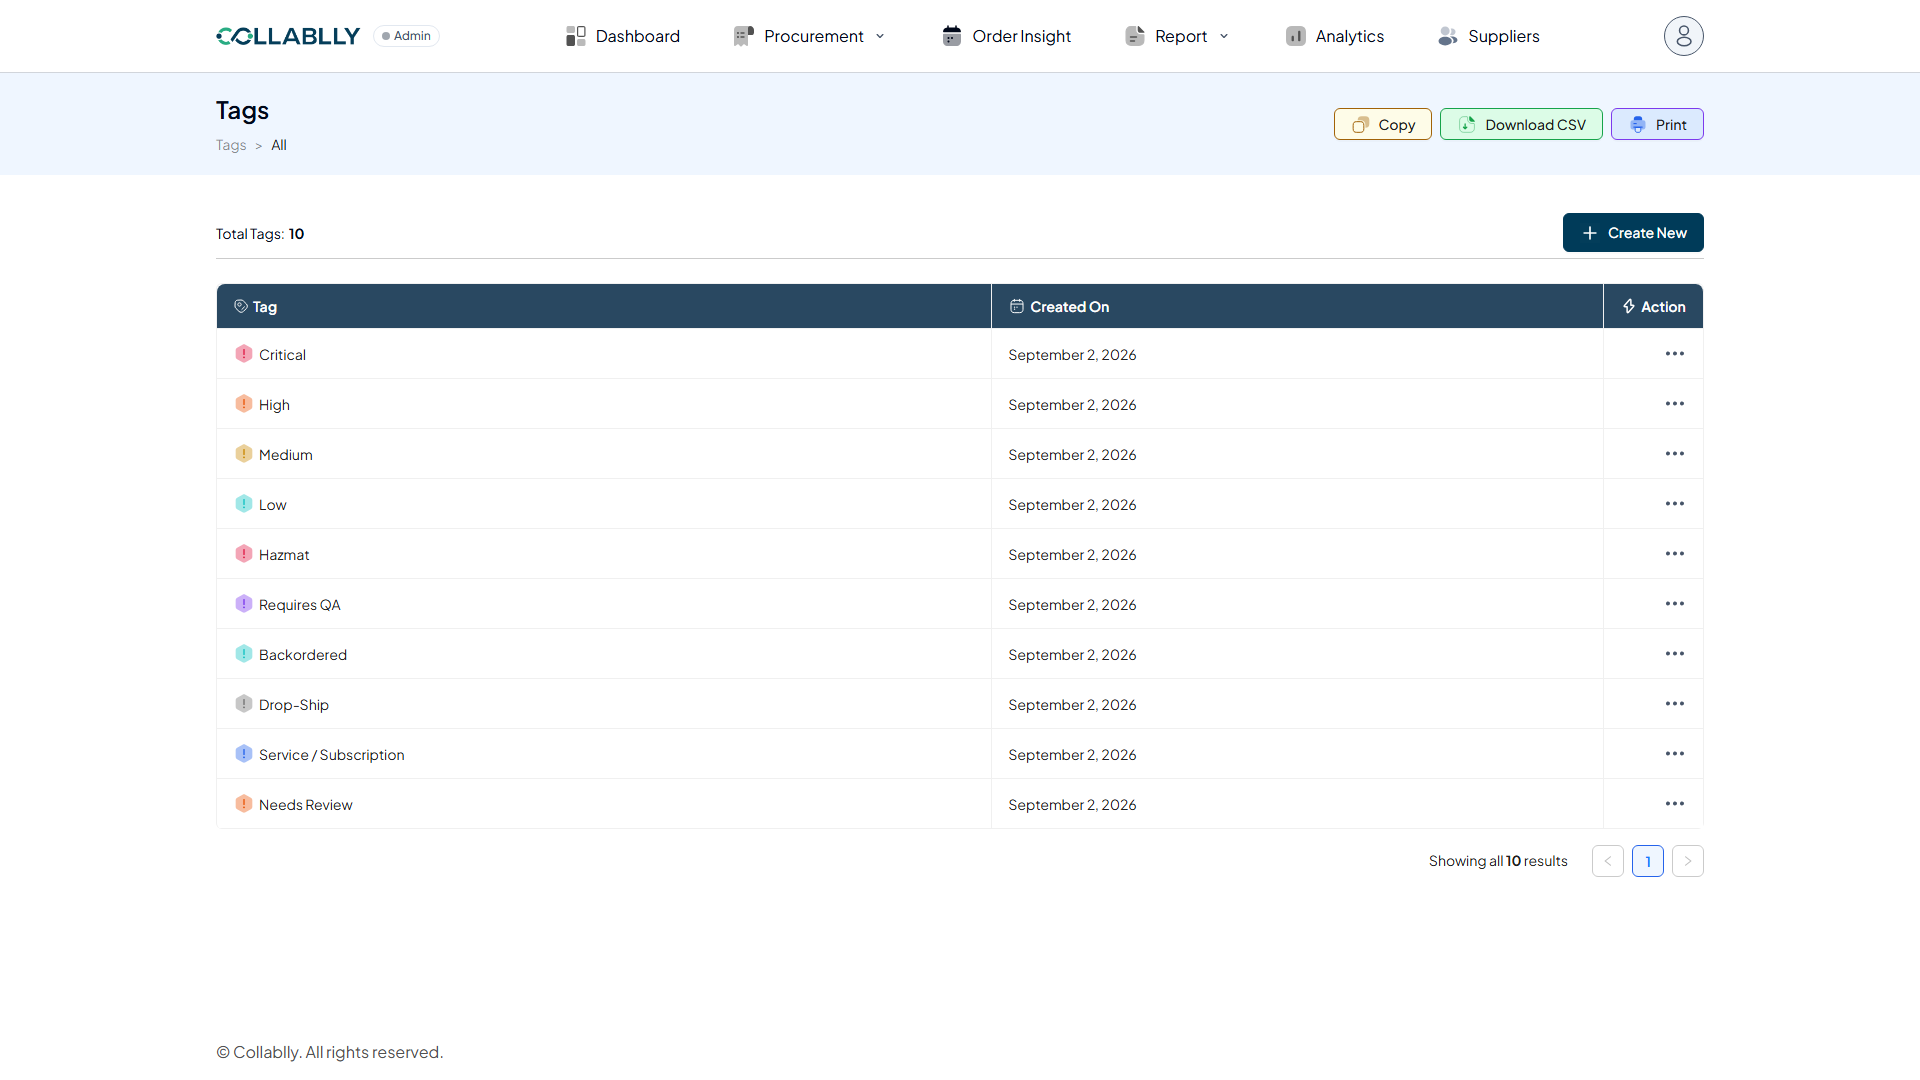
Open Tags
Click your avatar in the top right, then select Tags from the menu.
- Step 2 of 11
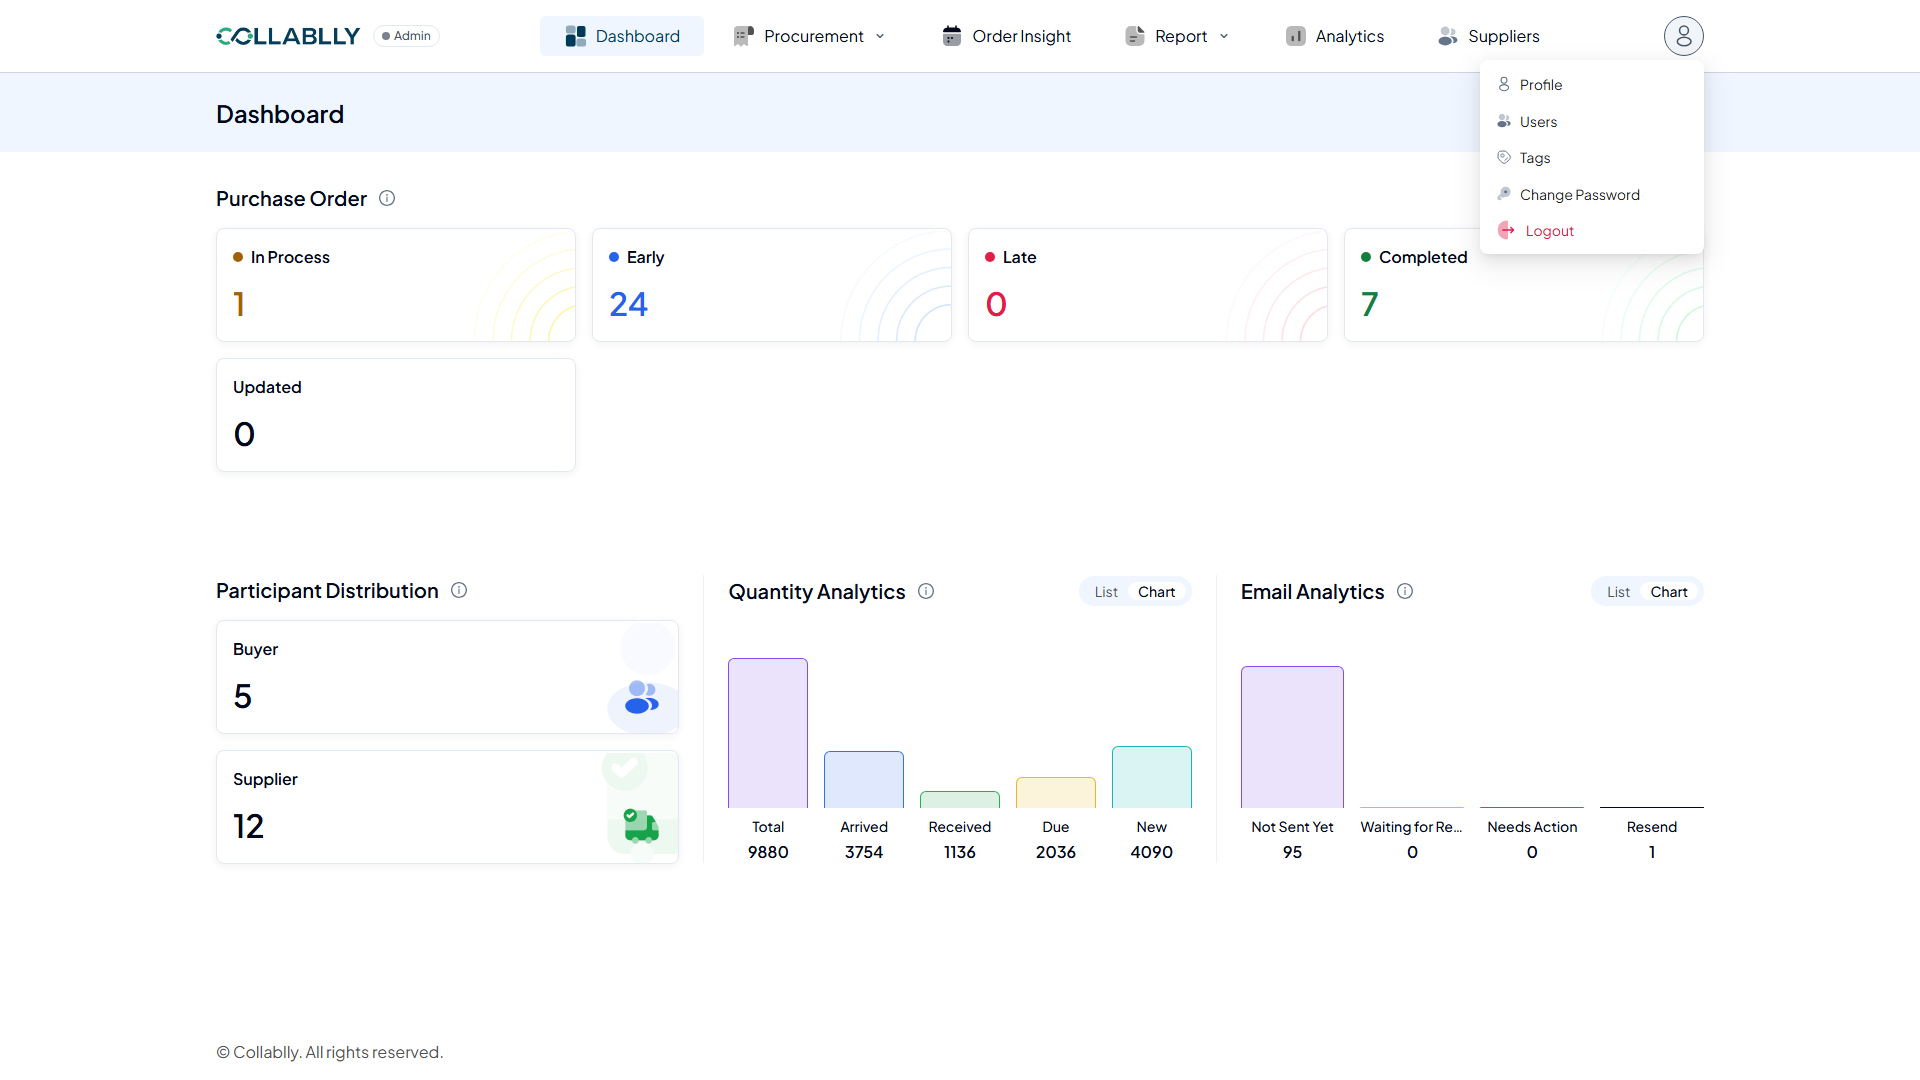
What this page shows
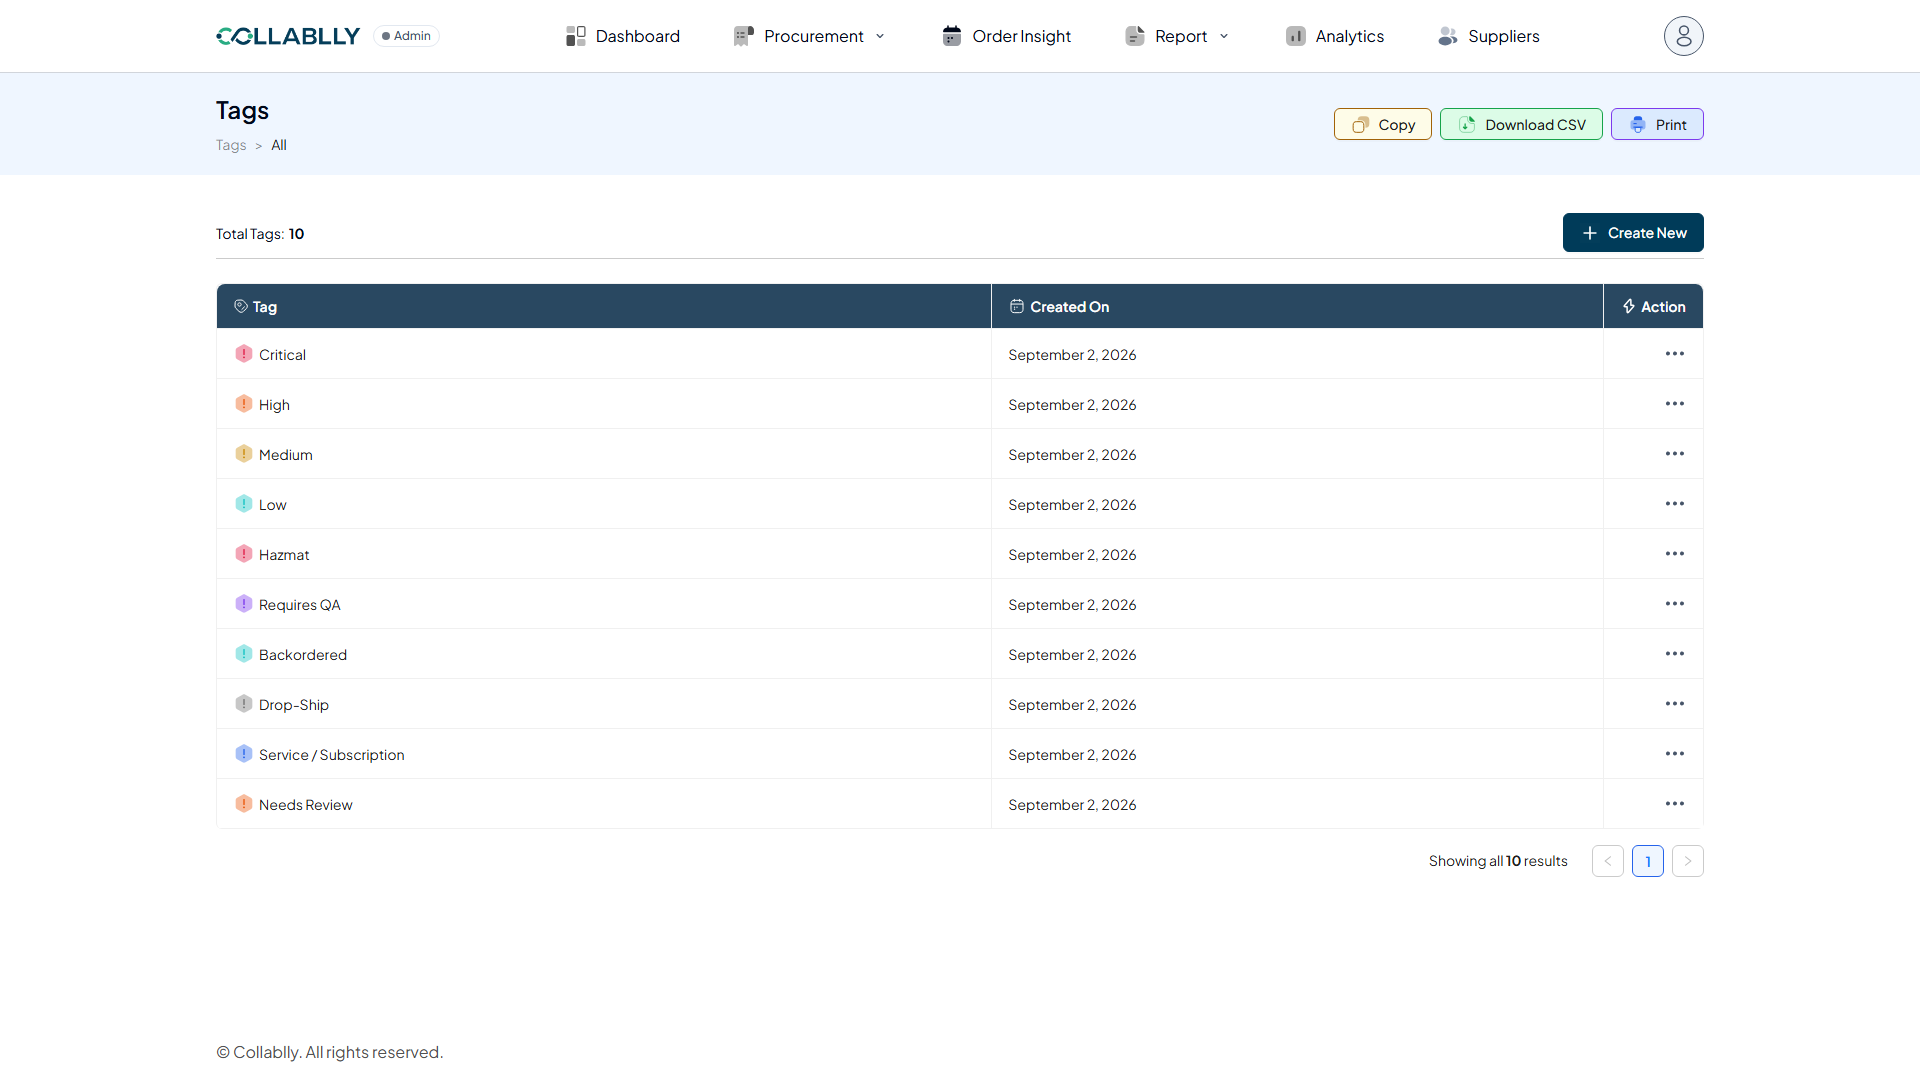
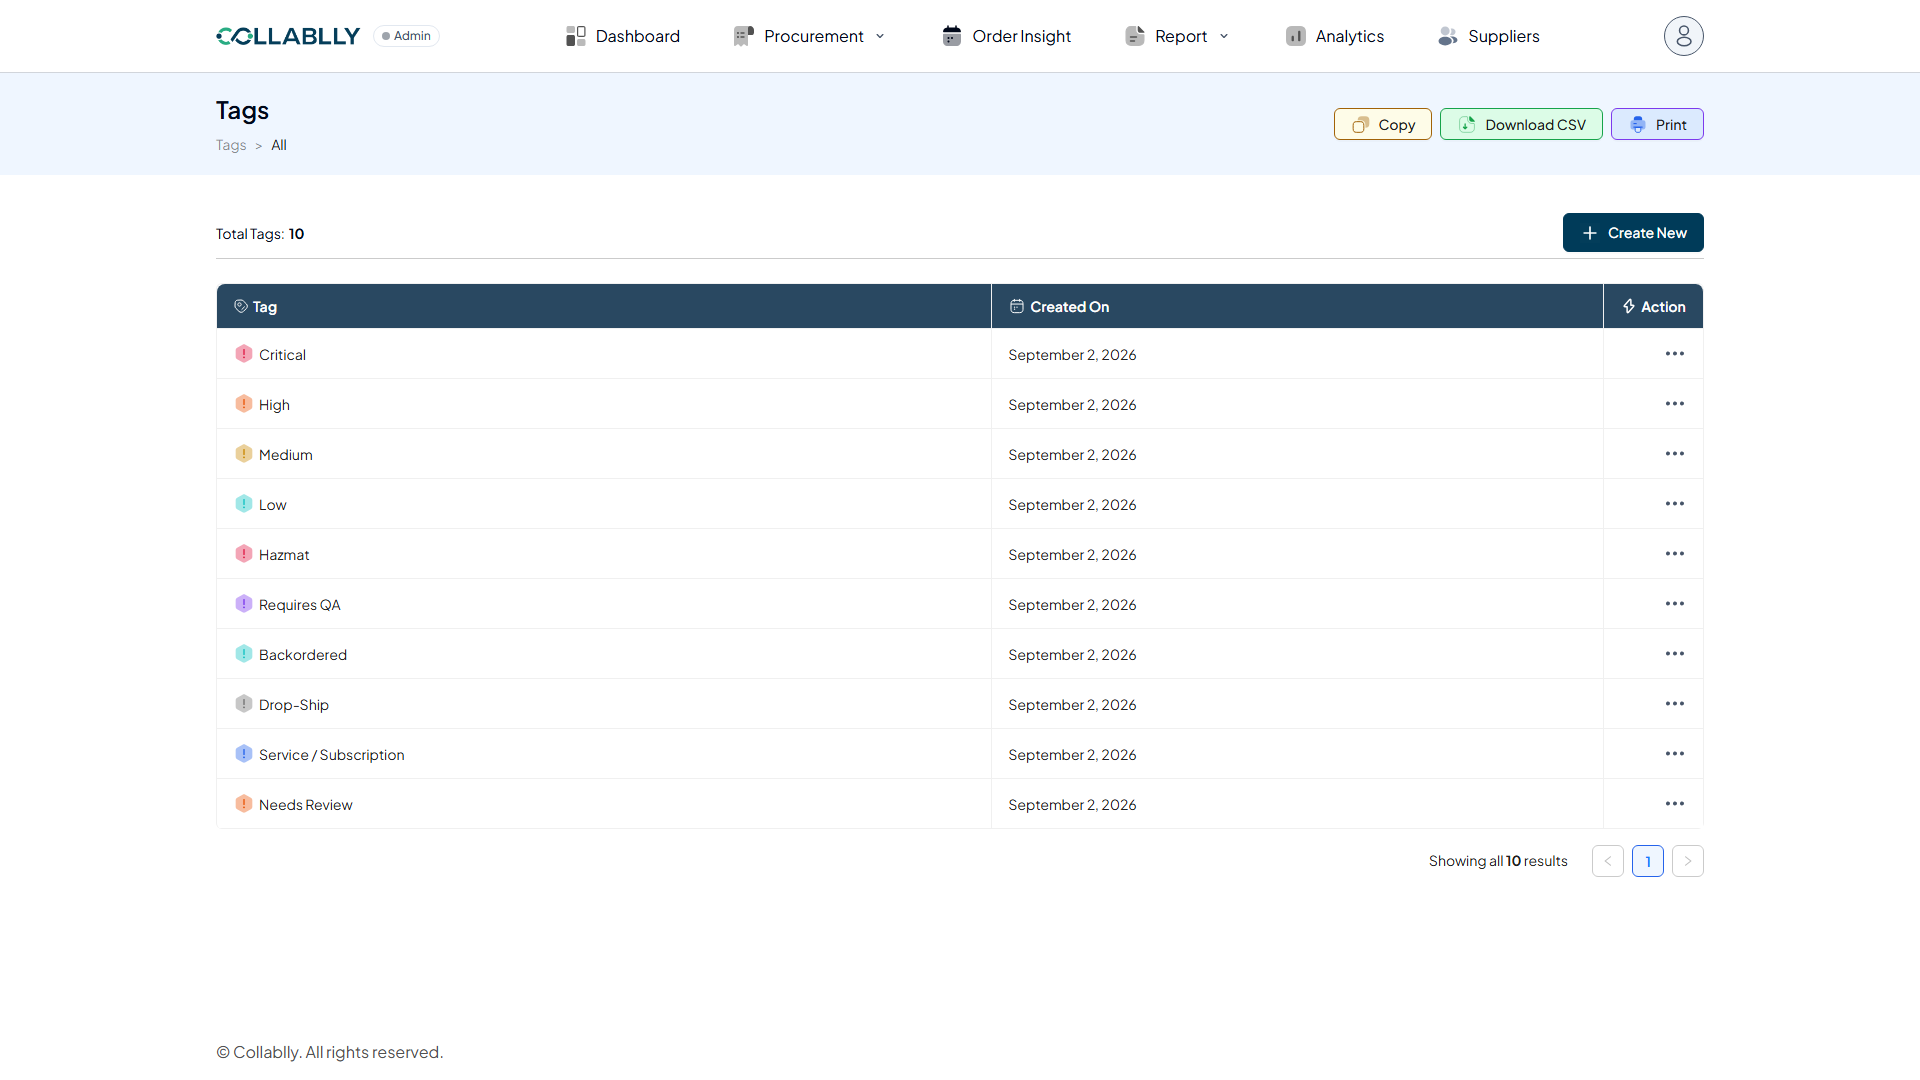
Tags lists every custom tag defined in this tenant, here a working set of 10: severity tags like Critical, High, Medium, and Low, and workflow tags like Hazmat, Requires QA, Backordered, Drop-Ship, Service/Subscription, and Needs Review. Tags can be assigned to PO lines (see the Tag column in Purchase Order Details View) to categorize and filter them however you need.
- Step 3 of 11
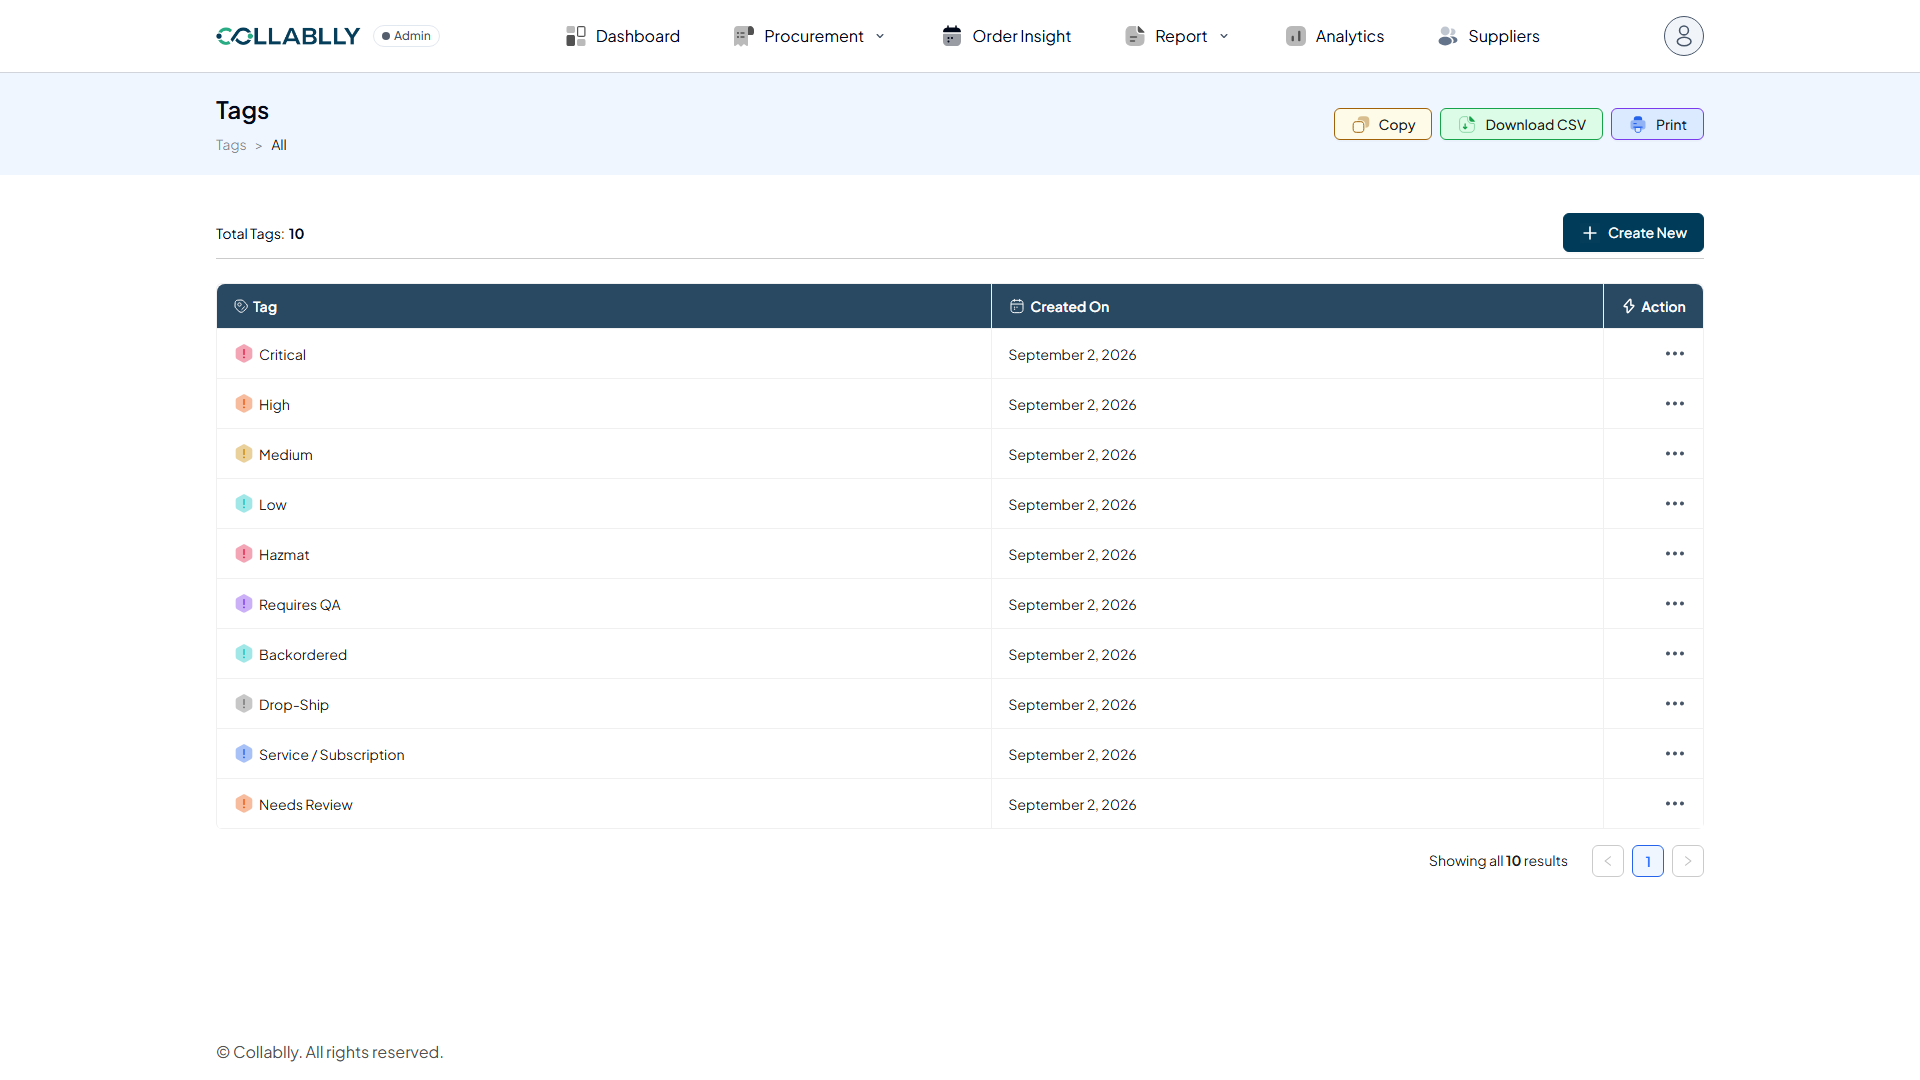
Total Tags
A running count of how many tags exist in this tenant.
- Step 4 of 11
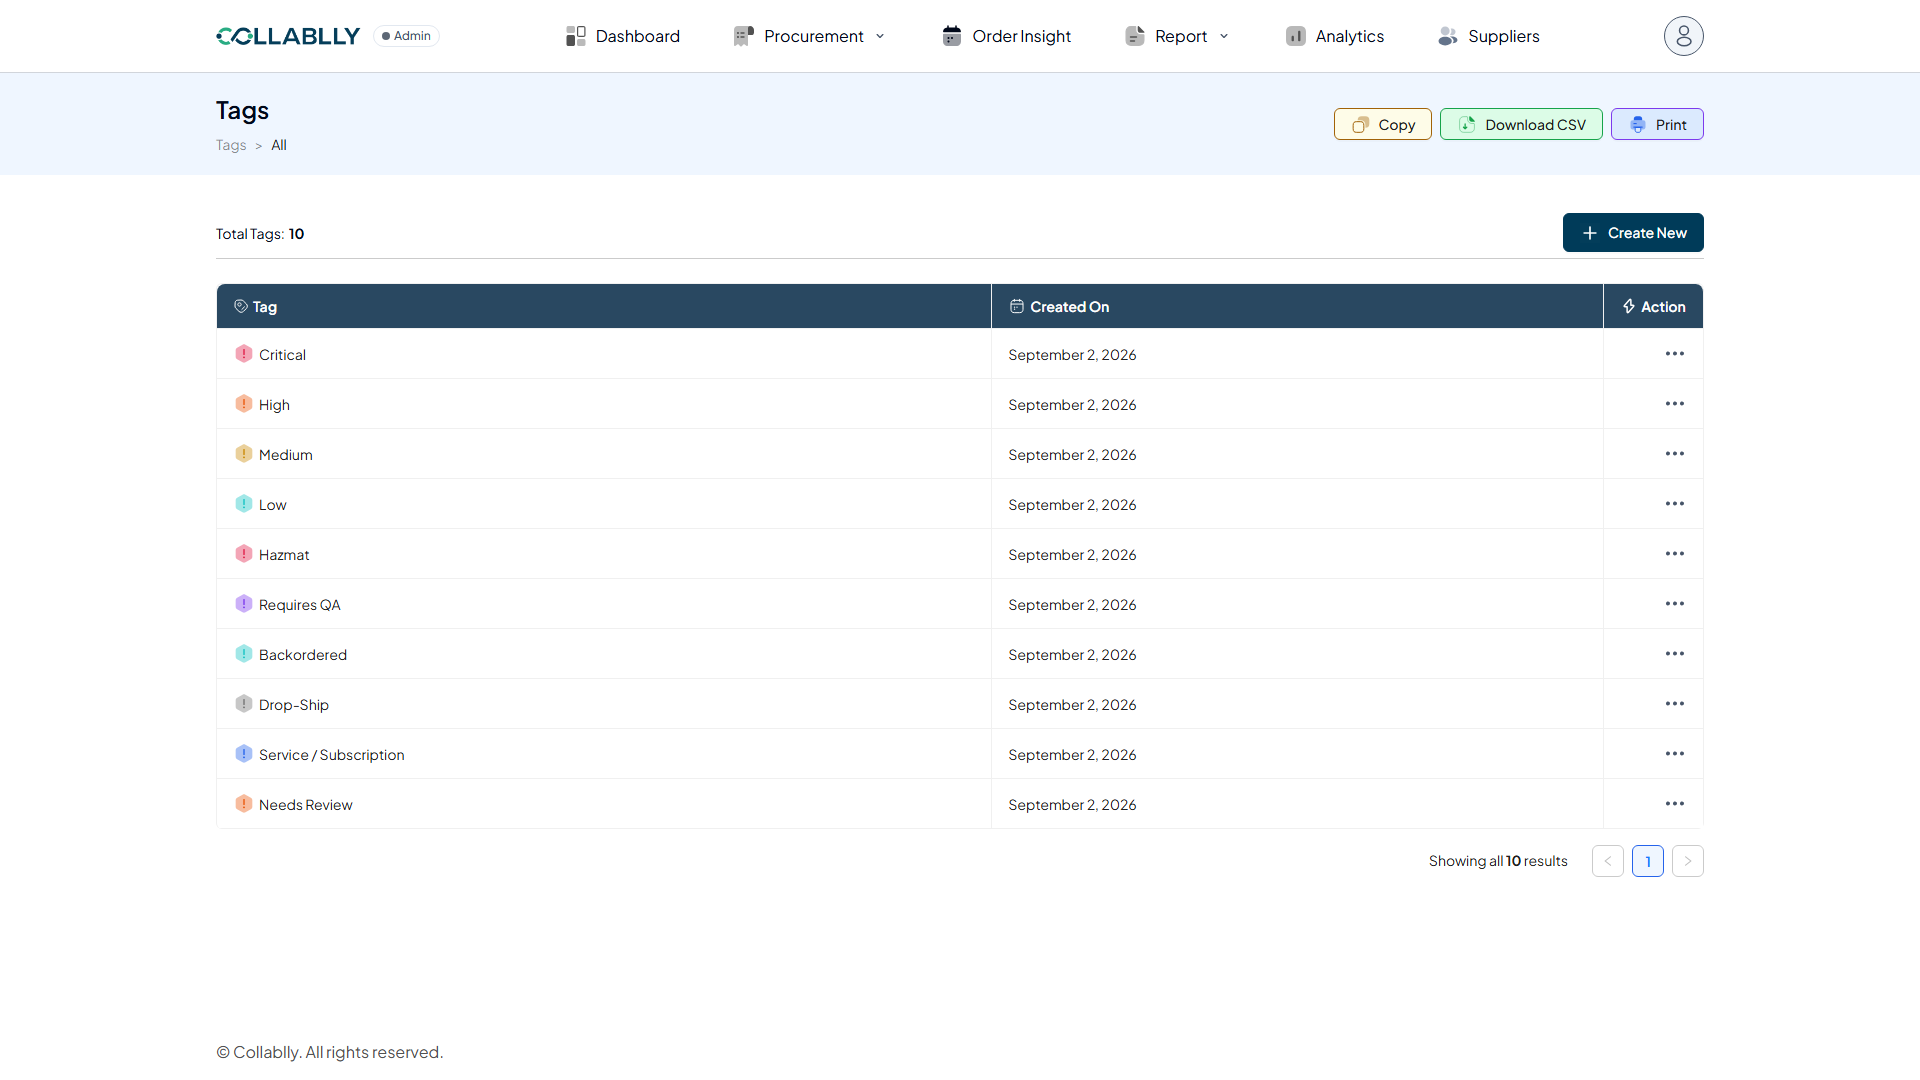
Create New
Opens a form to define a new tag.
- Step 5 of 11
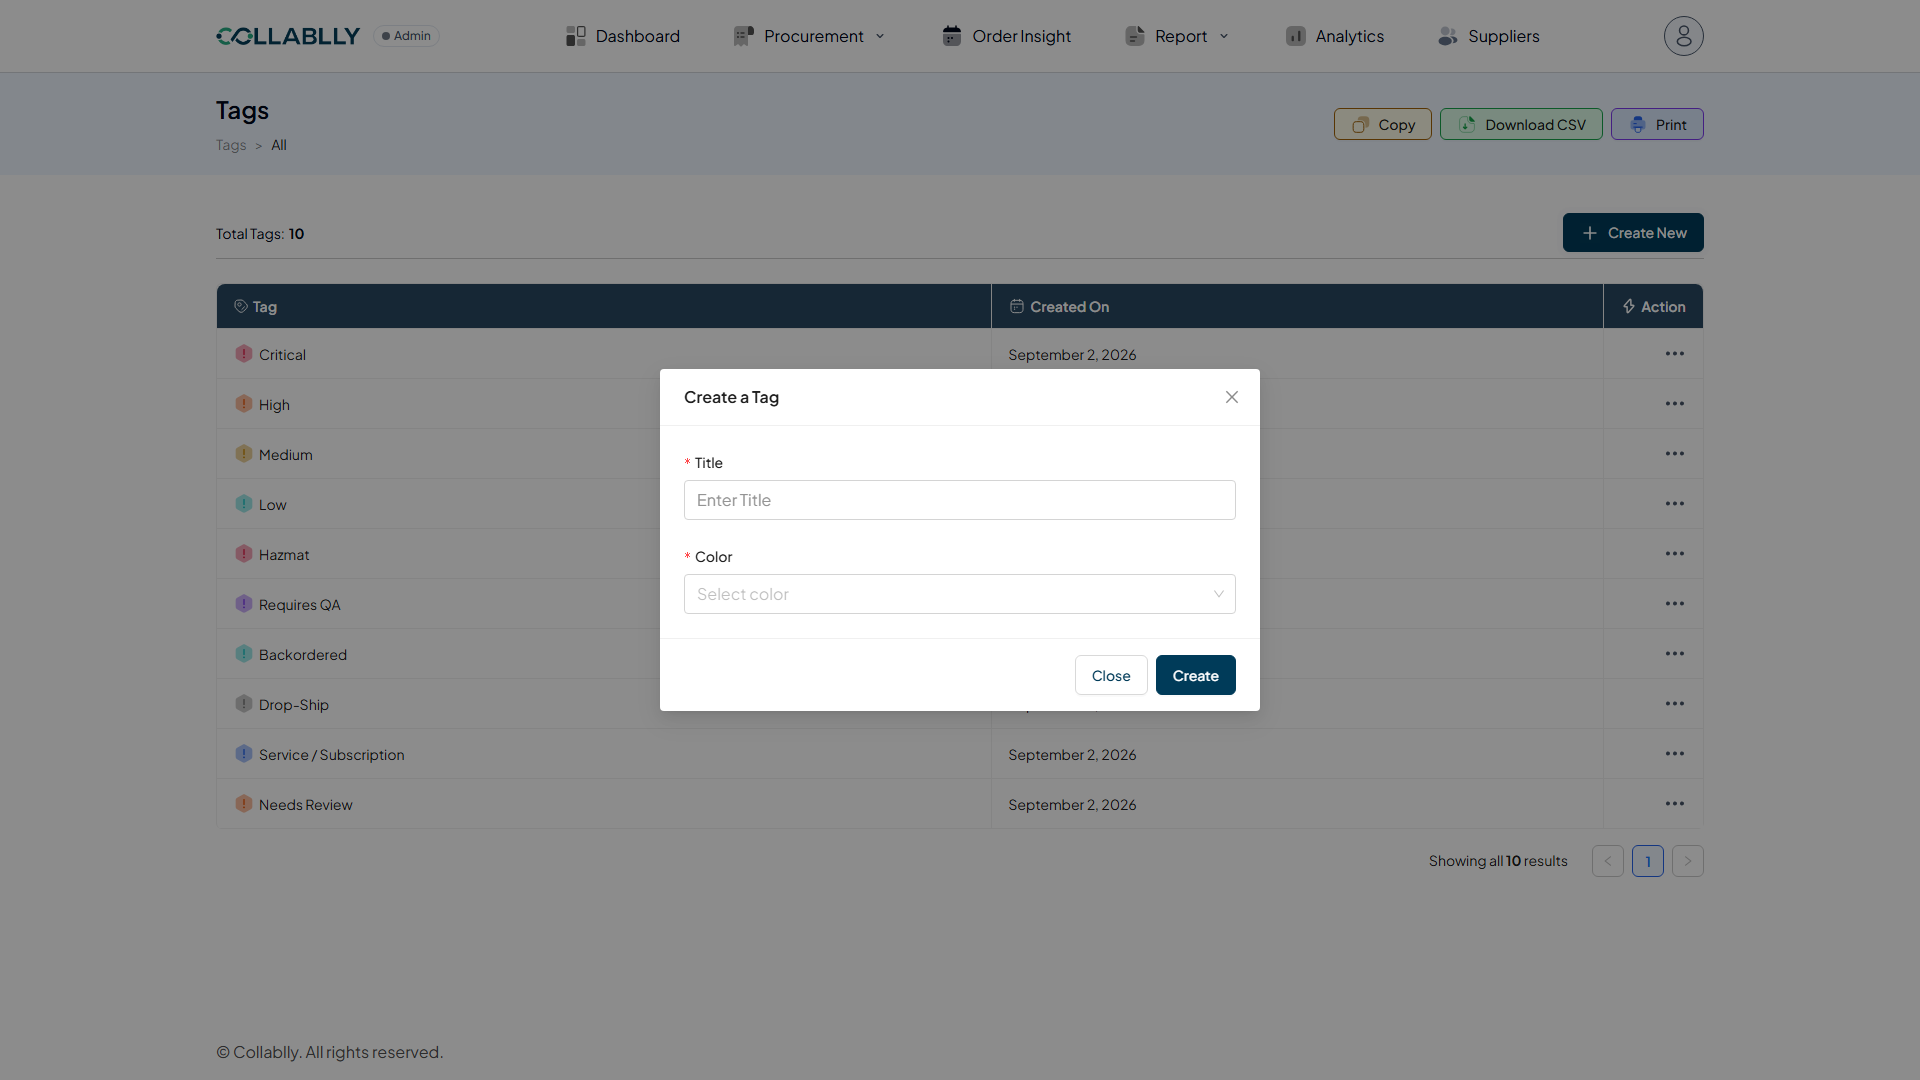
The Create a Tag form
Give the tag a Title and pick a Color, then click Create. The color is what makes it easy to spot at a glance once it is applied to a PO line.
- Step 6 of 11
Copy
Copies the current table to your clipboard.
- Step 7 of 11
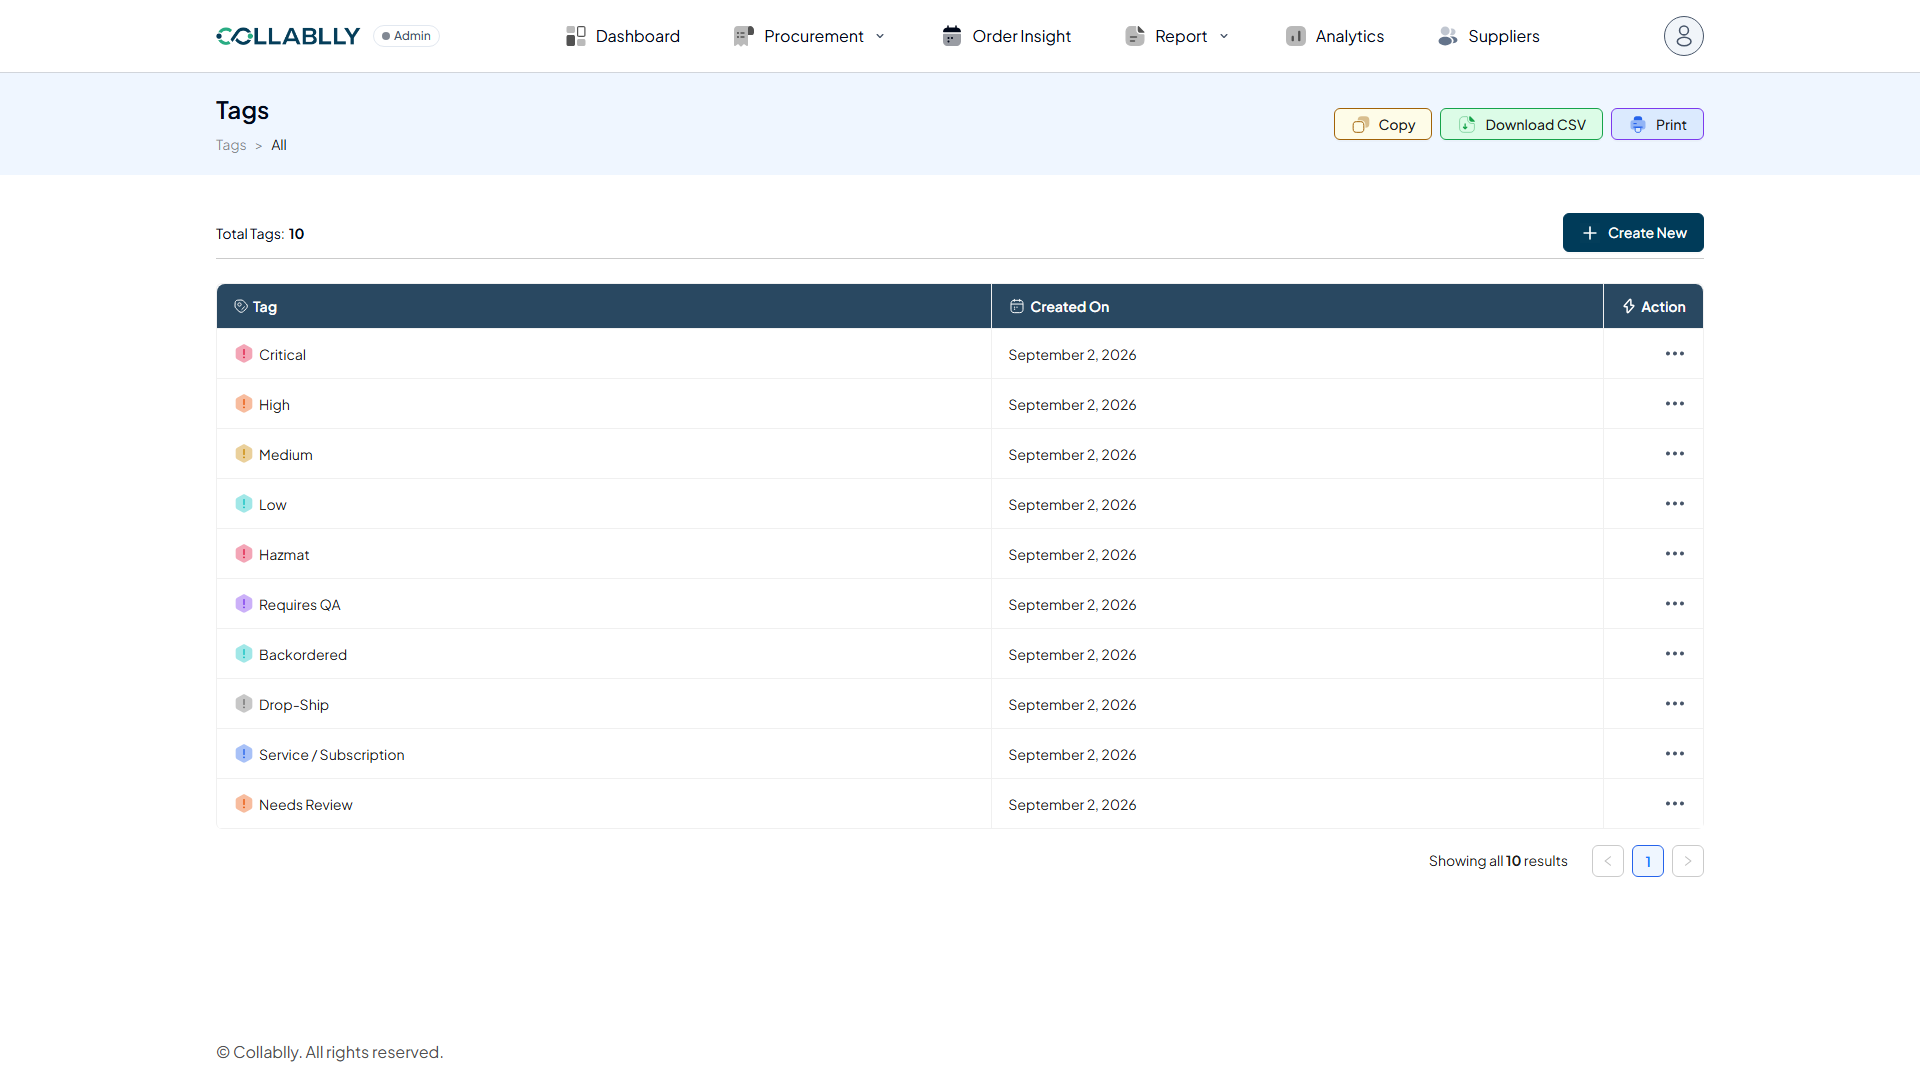
Download CSV
Exports the current view as a CSV file.
- Step 8 of 11
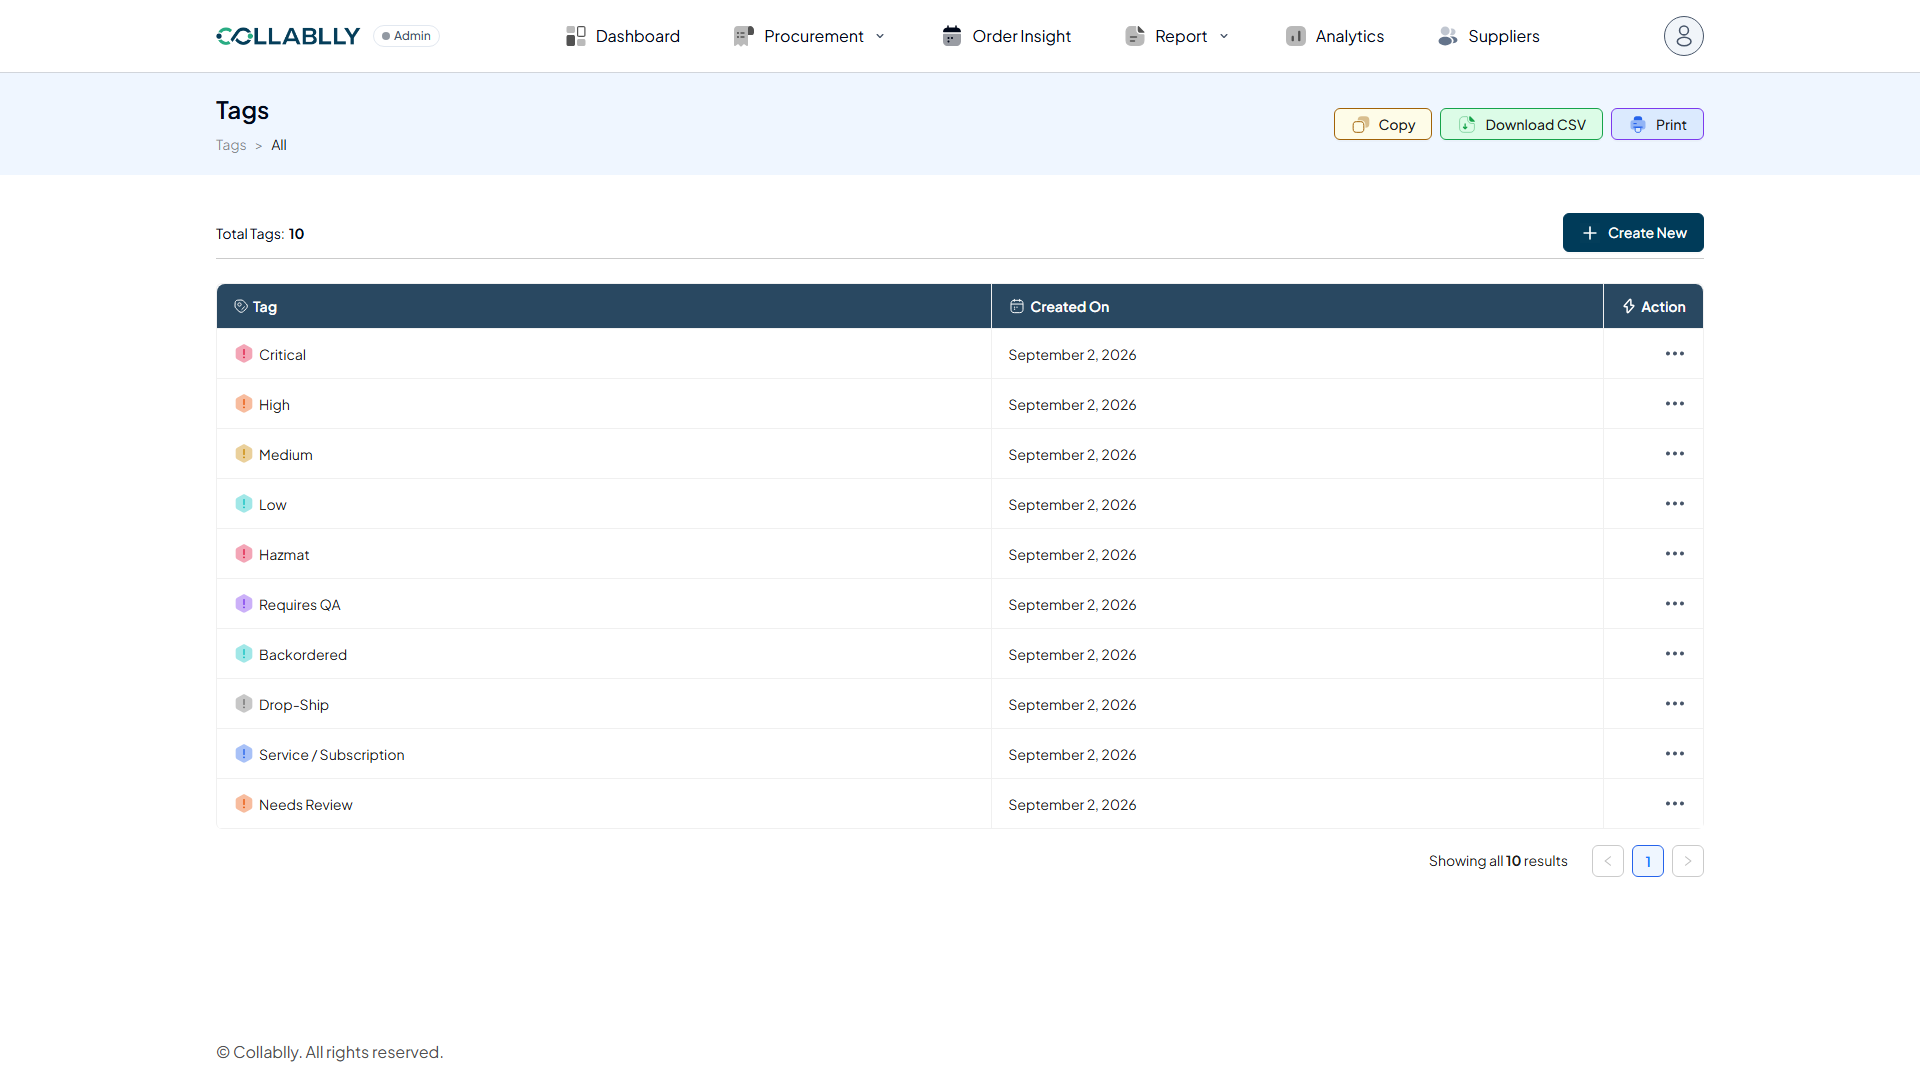
Print
Opens a print-friendly version of the current table.
- Step 9 of 11
Column: Tag
The tag's title and color, shown exactly as it appears when applied to a PO line, color-coded by severity or purpose (Critical and Hazmat in red, High and Needs Review in orange, and so on) so the right tag stands out at a glance in a busy list.
- Step 10 of 11
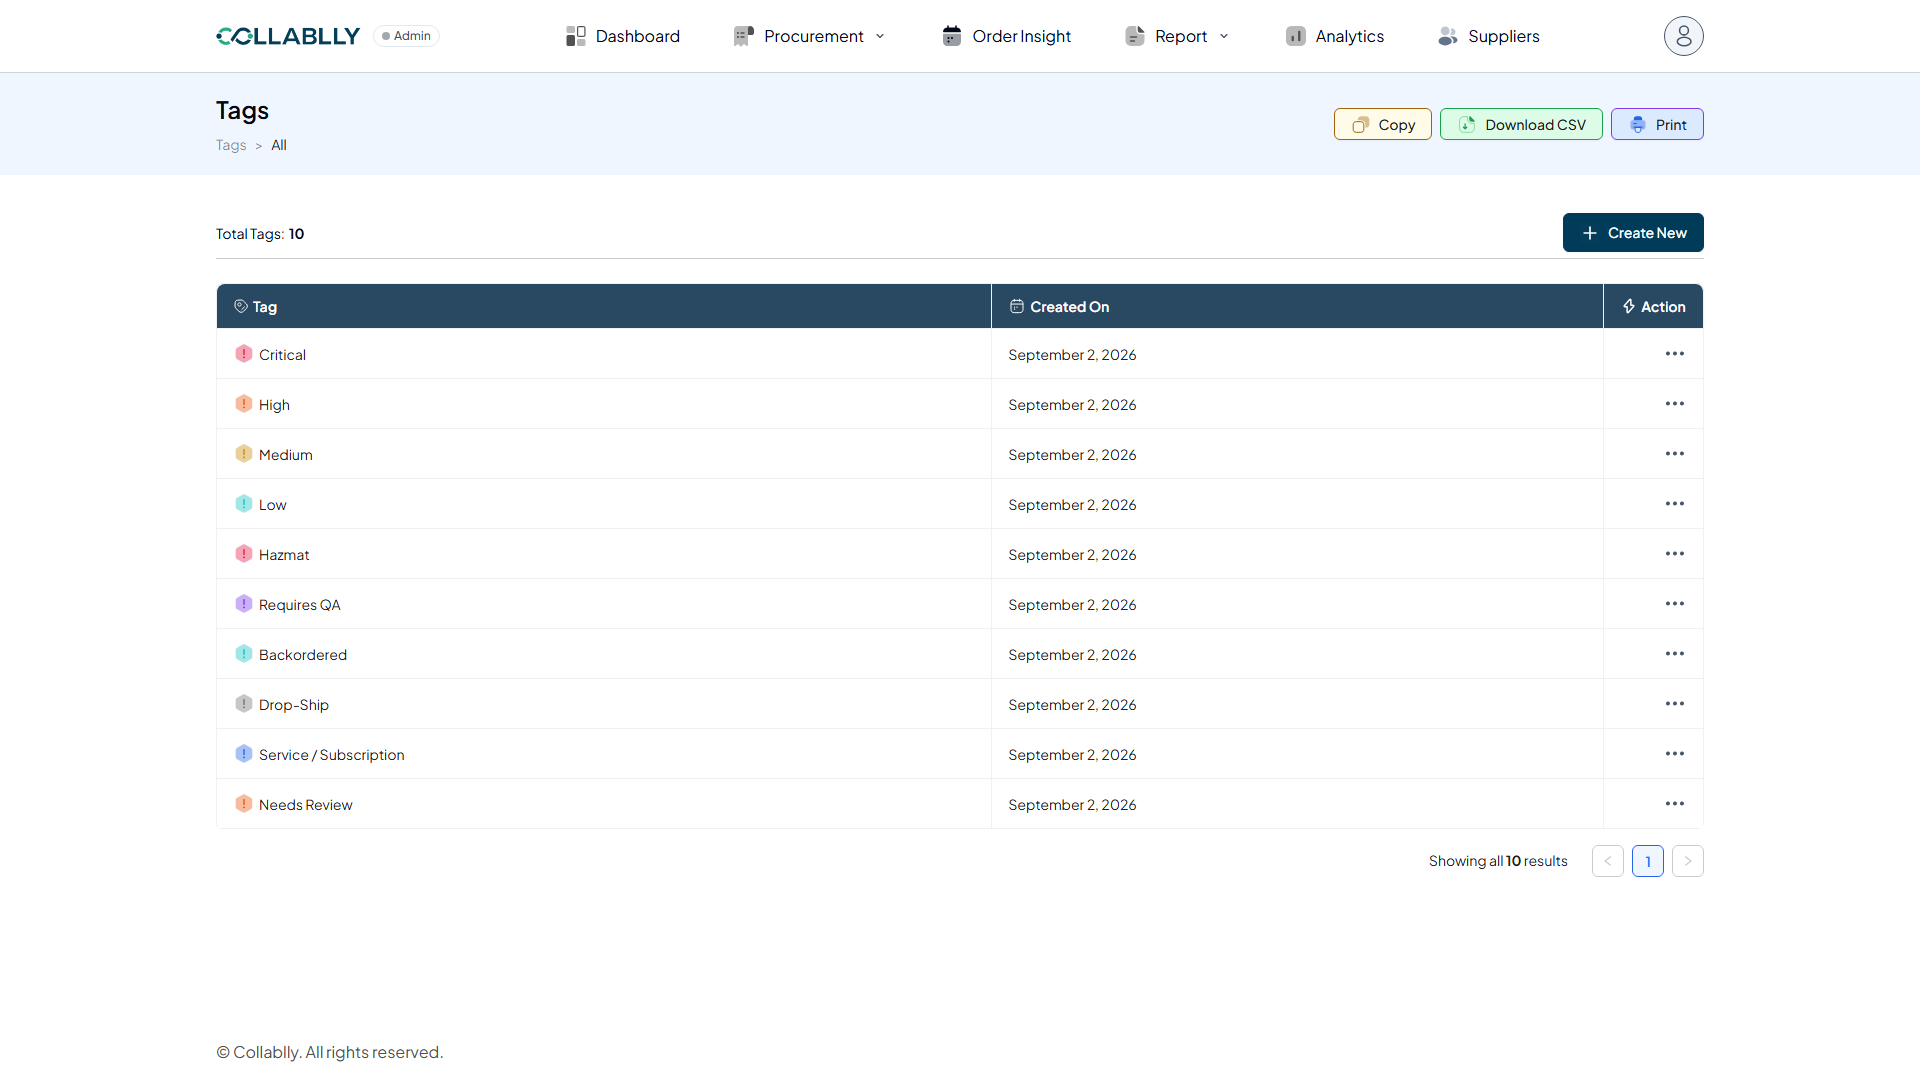
Column: Created On
The date this tag was created.
- Step 11 of 11
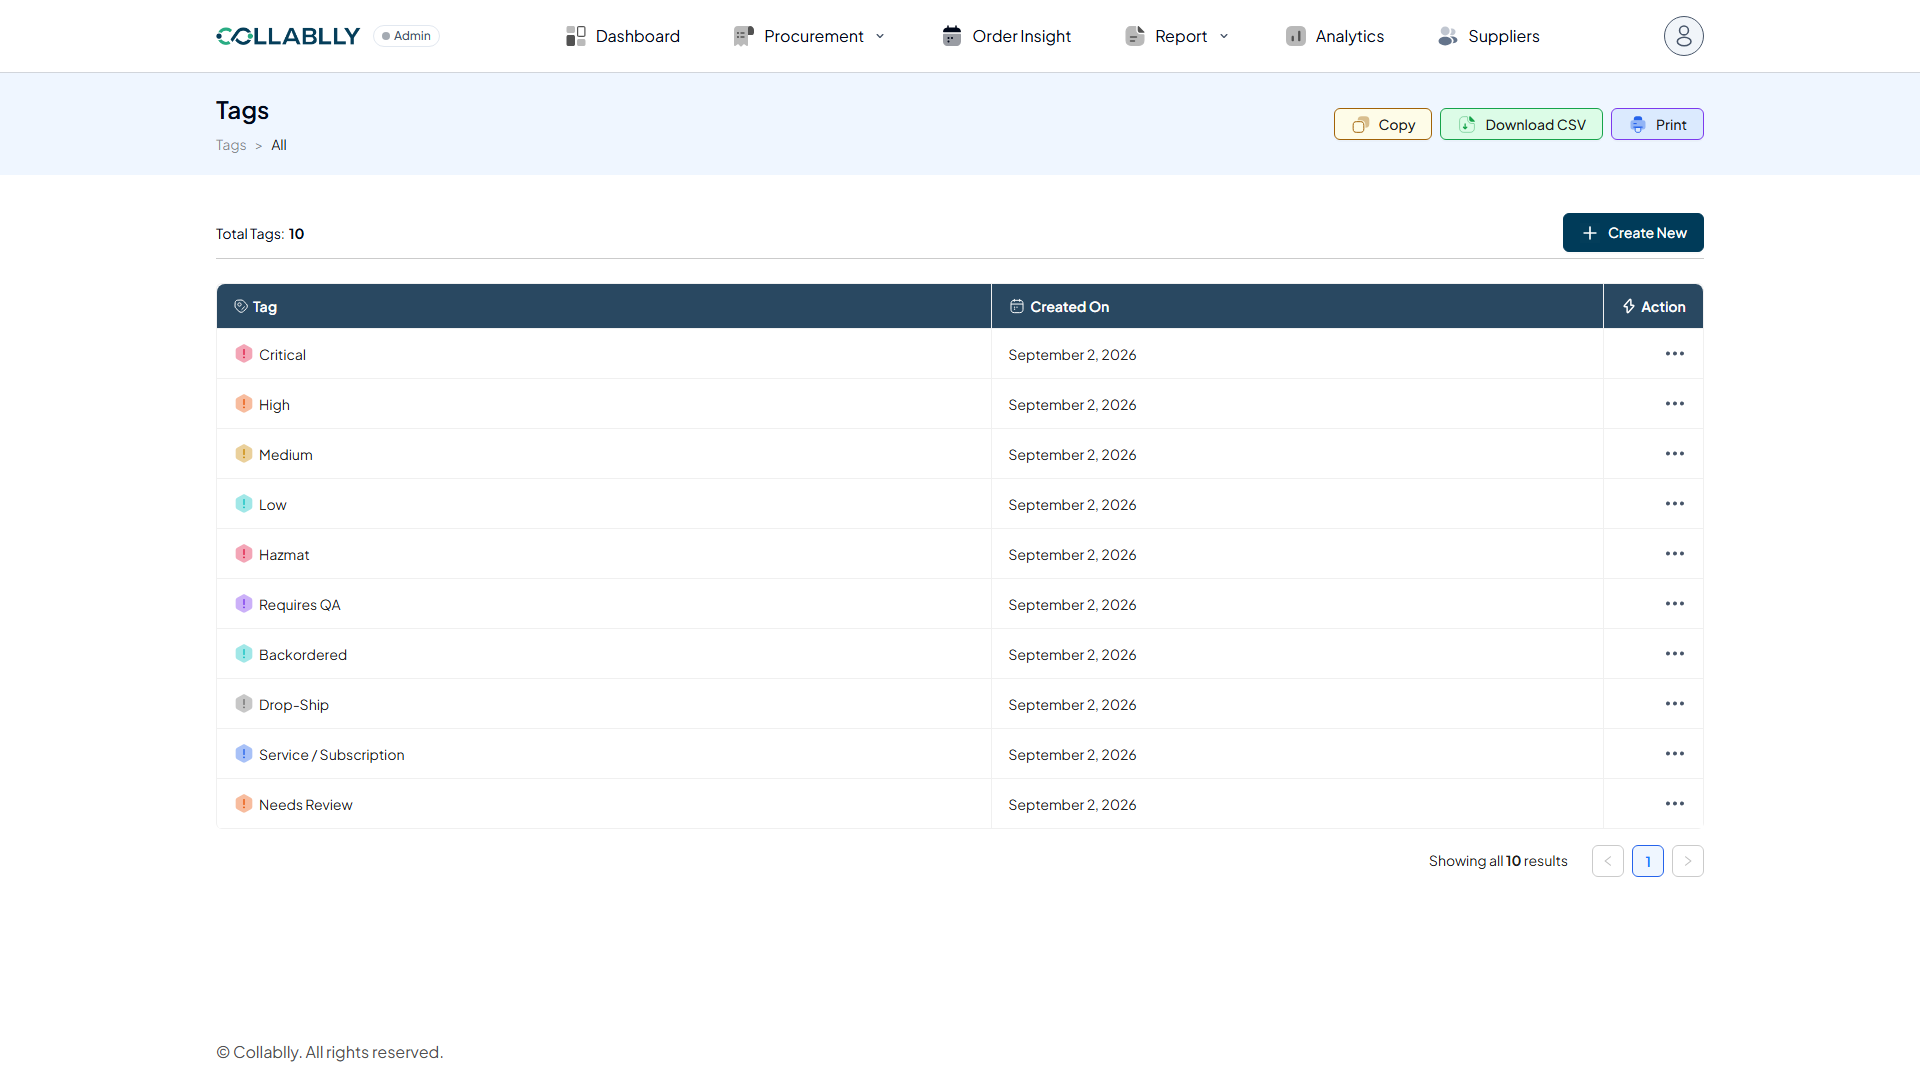
Column: Action
Edit or delete this tag.