- Step 1 of 51
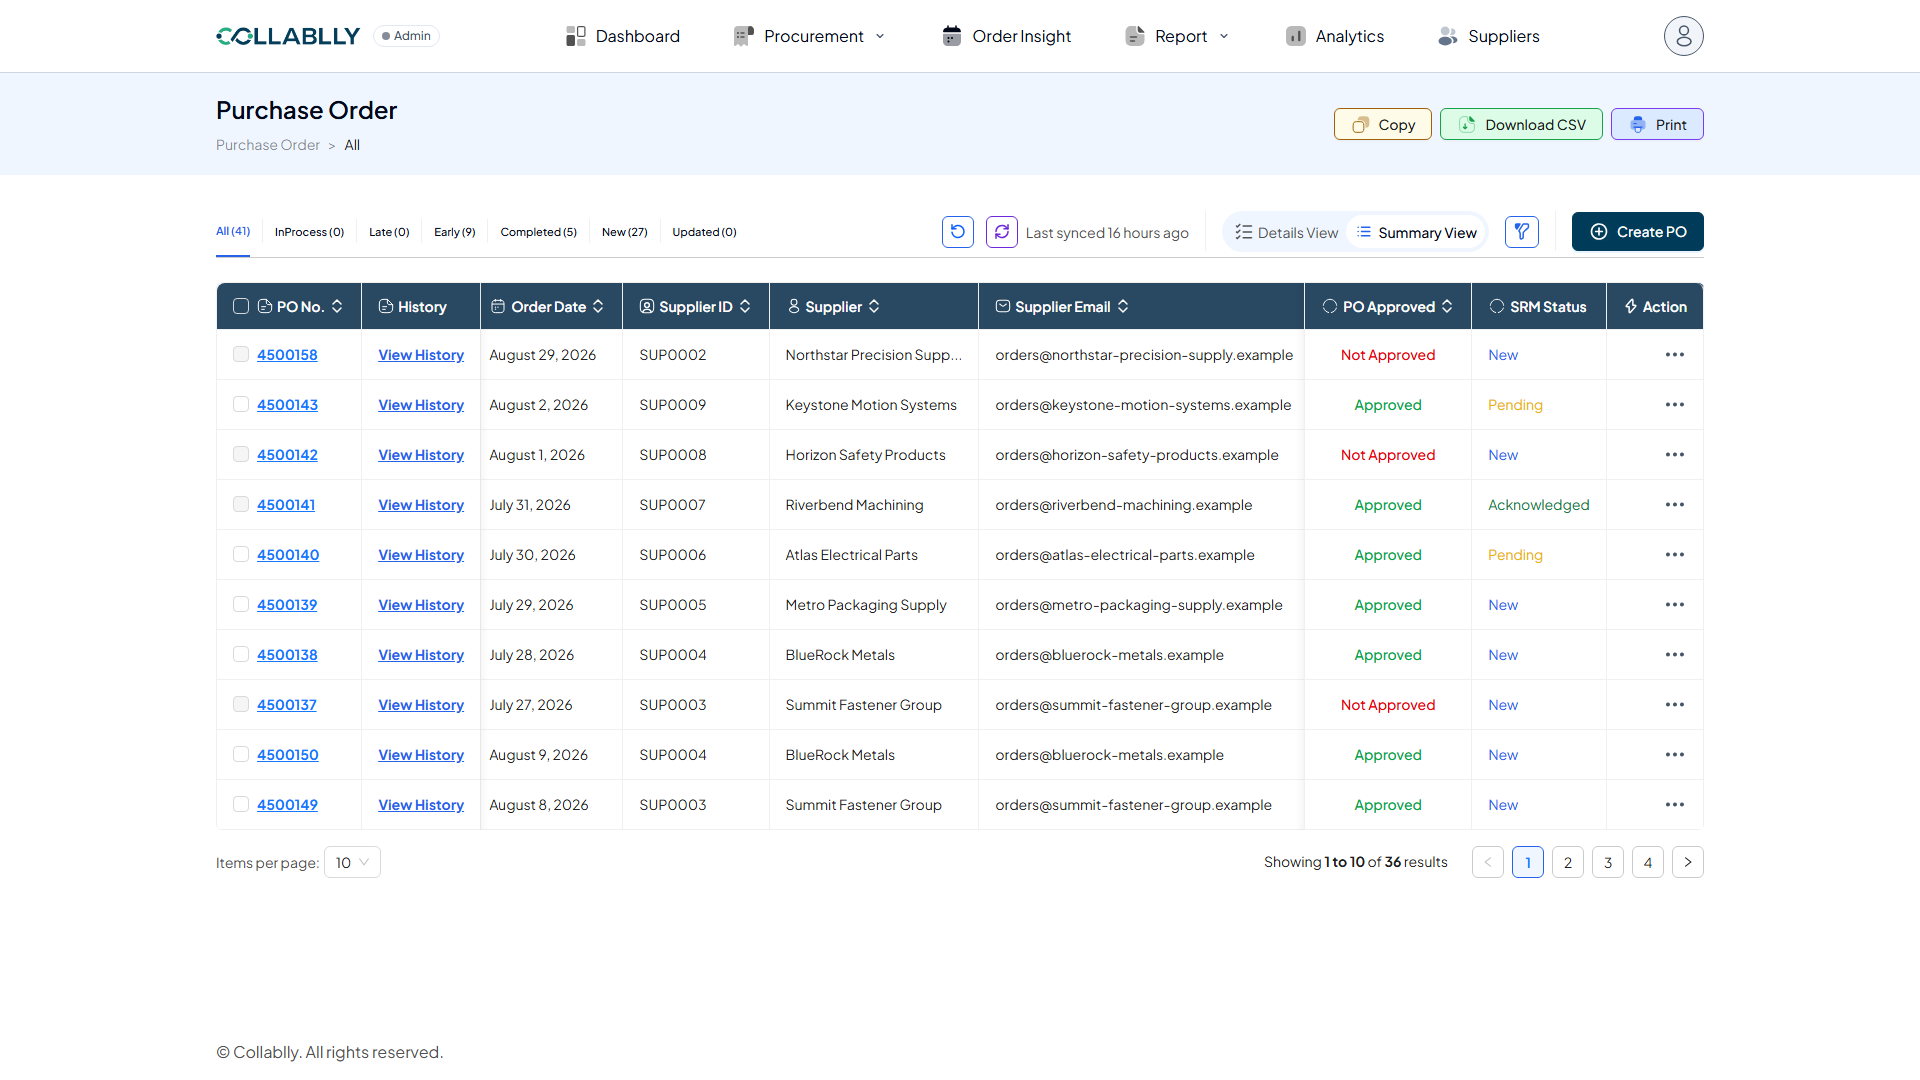
Open Purchase Order
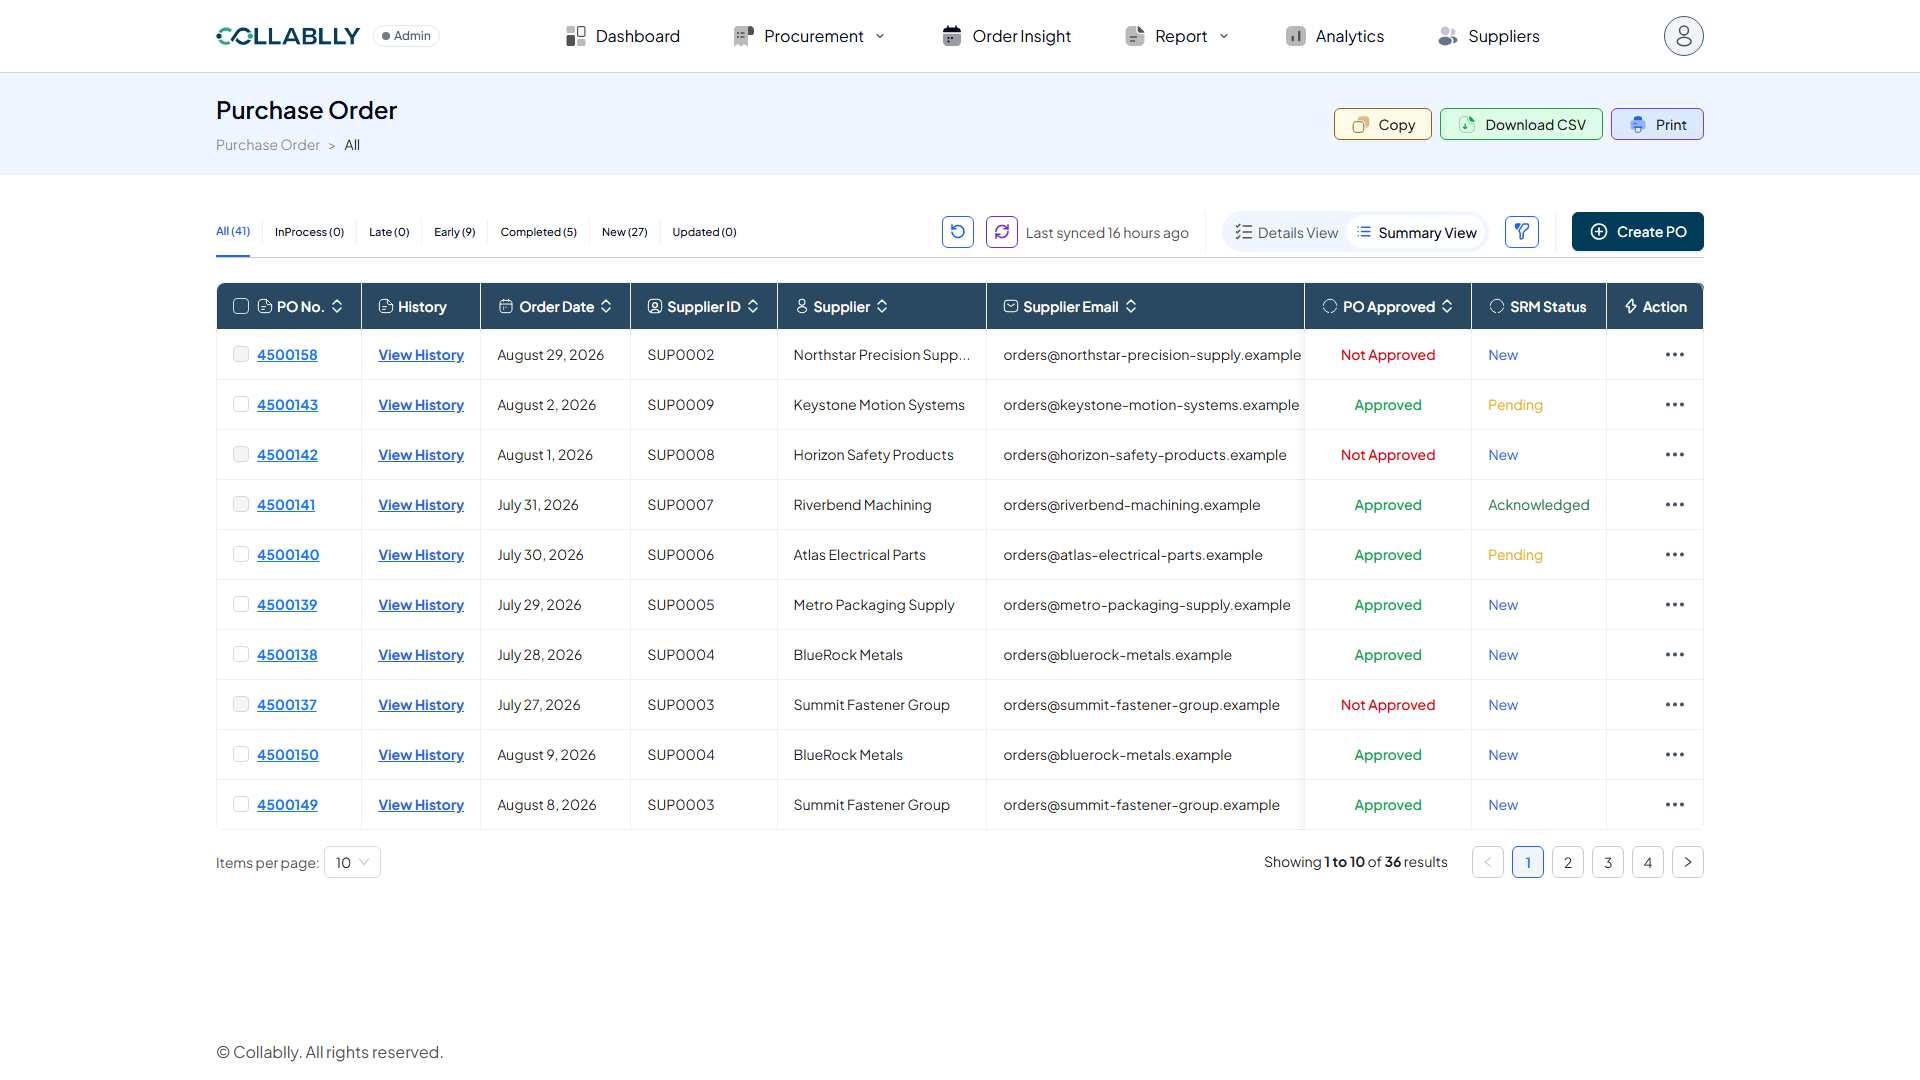
From the top navigation, open Procurement and select Purchase Order. This is where every purchase order synced from your ERP lands for tracking and action.
- Step 2 of 51
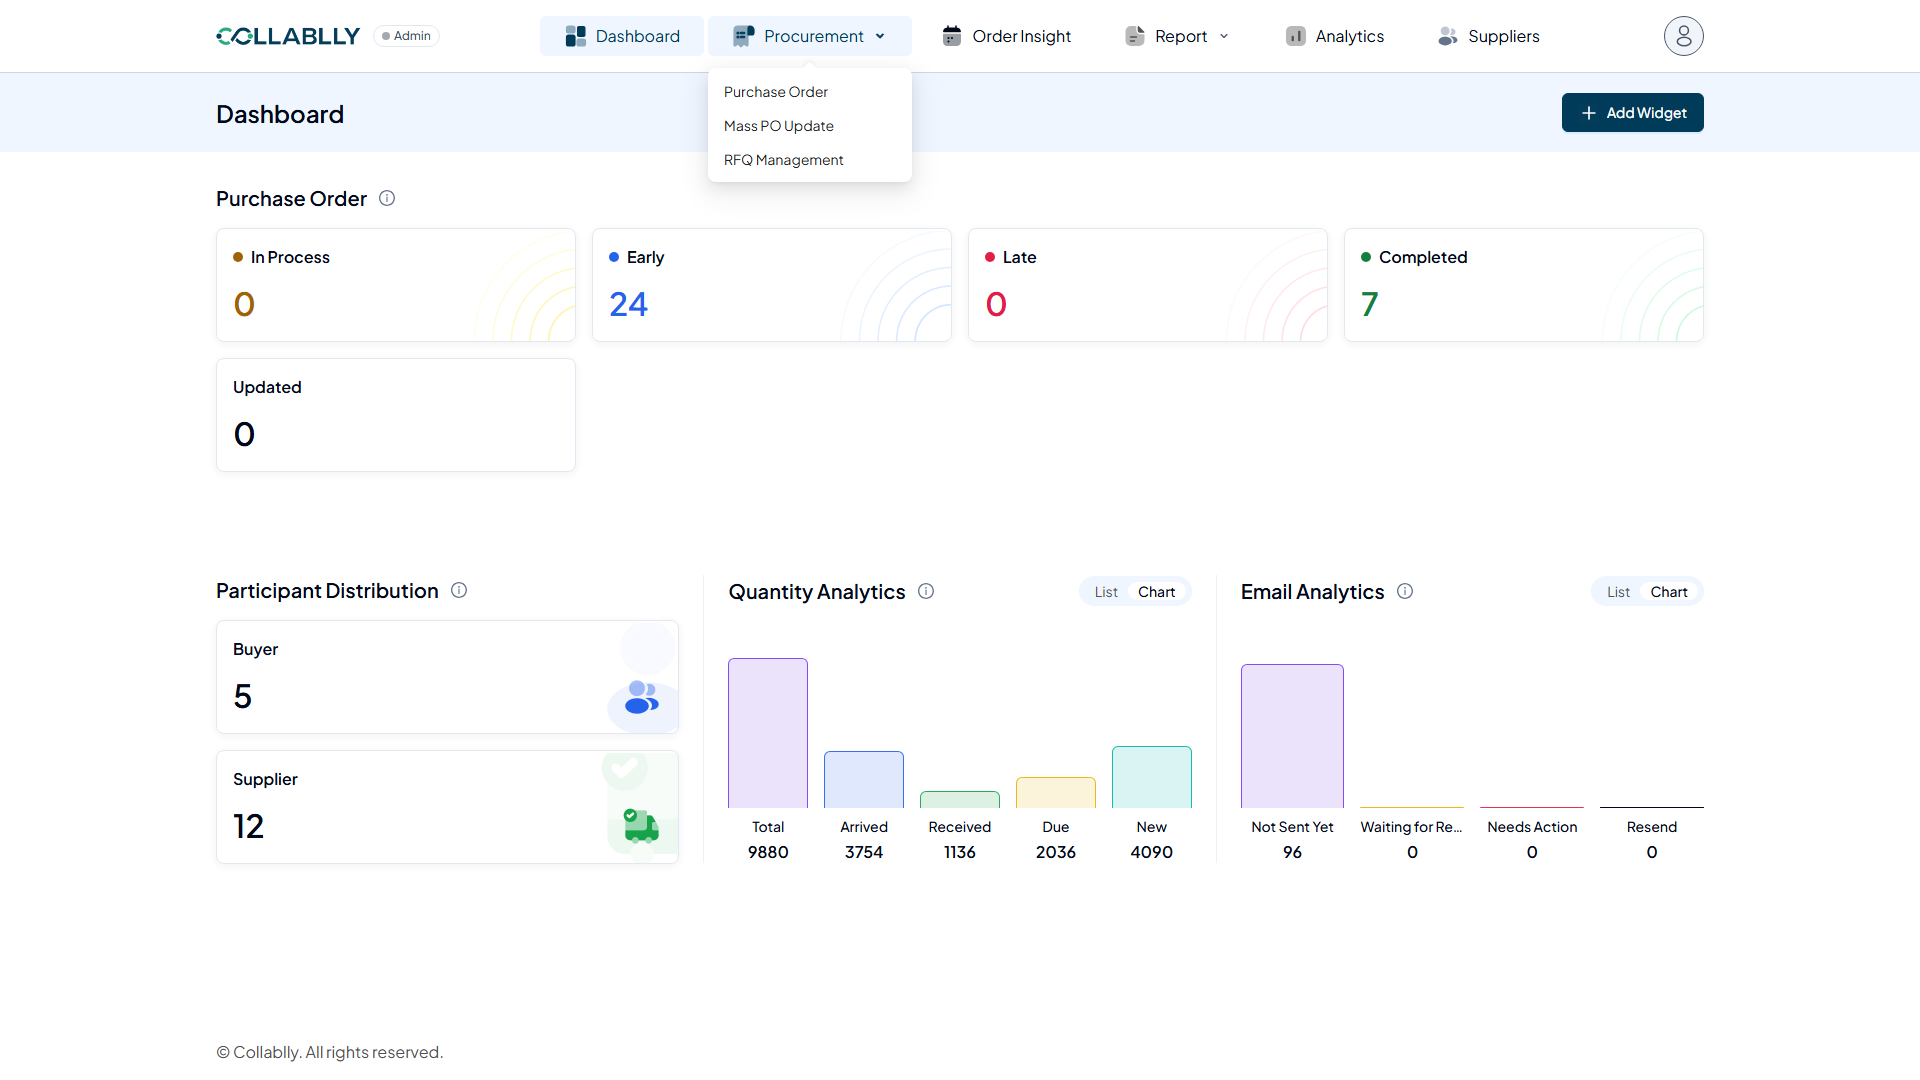
What this page shows
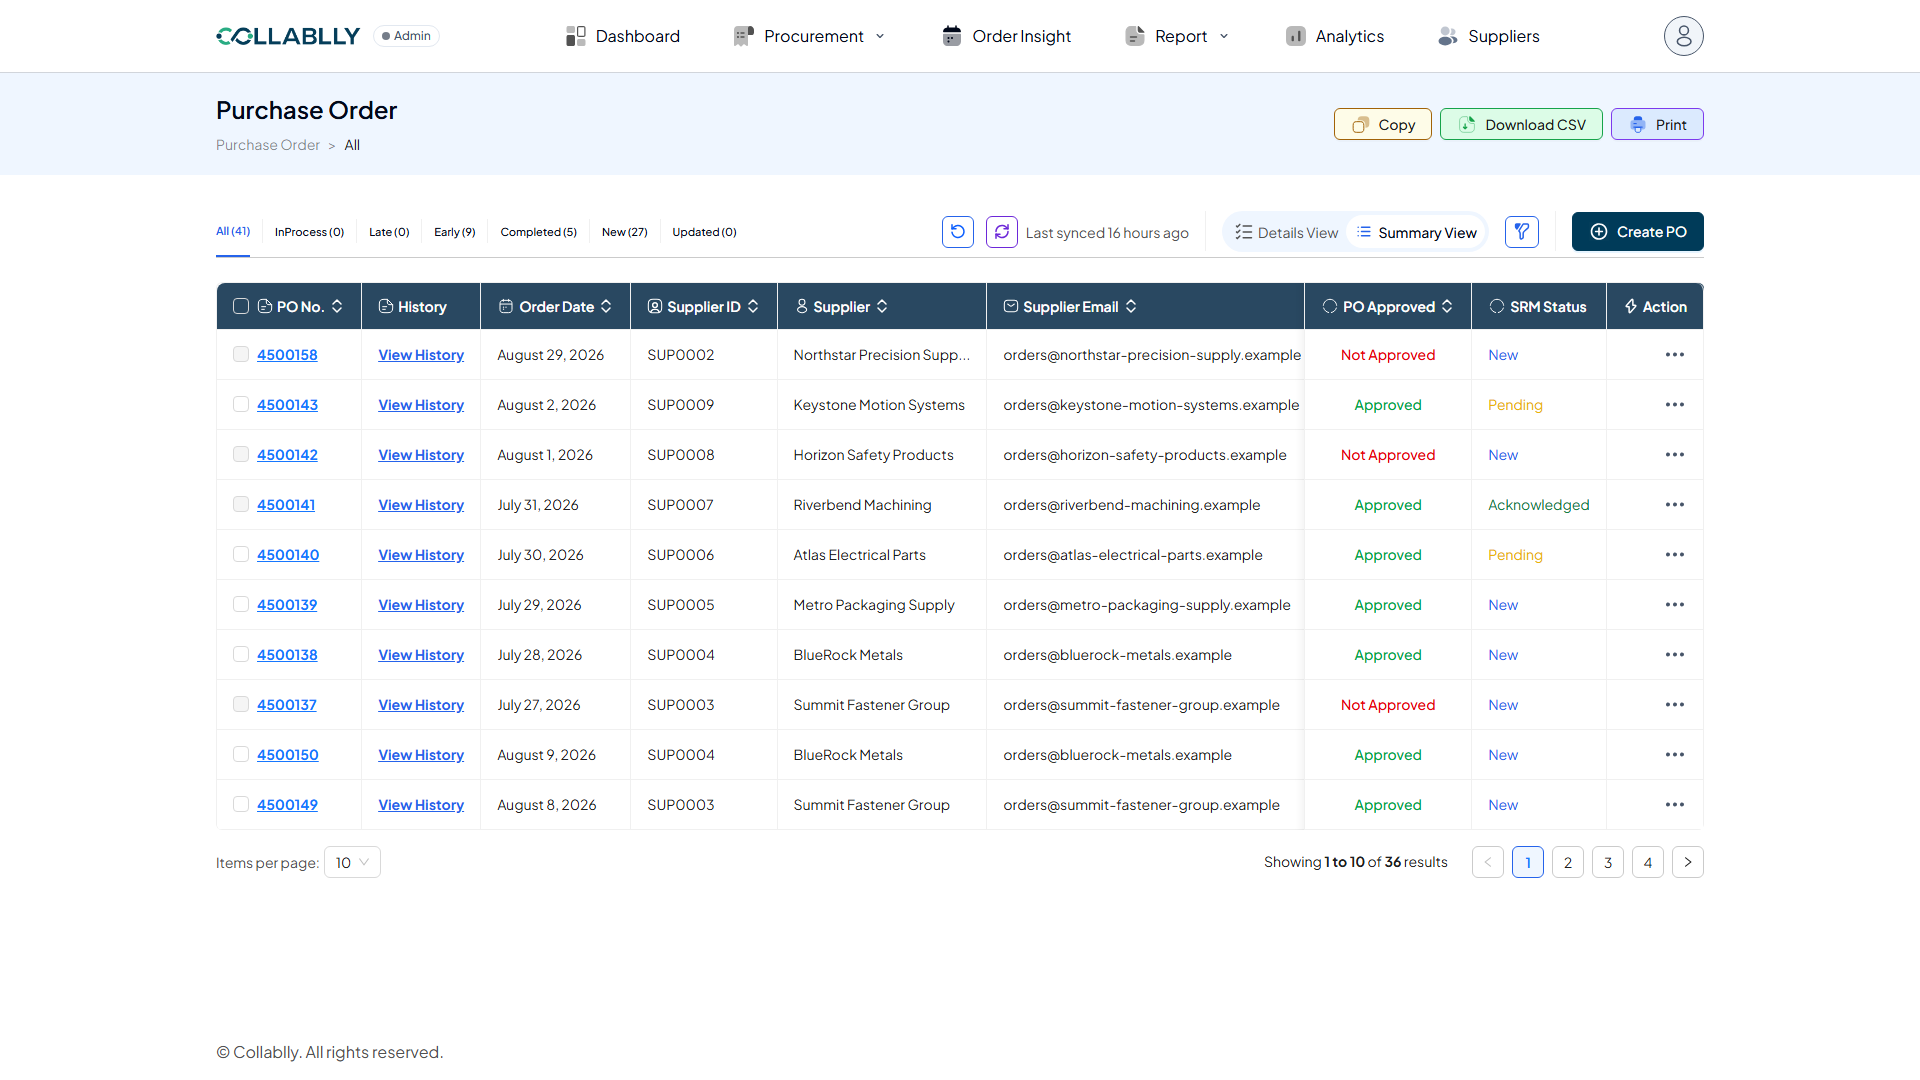
The Purchase Order page lists every PO in this tenant, one row per order in Summary View. Use the status tabs to filter, the toolbar to reload or sync data and switch views, and the Action column to open any PO’s history or detail.
- Step 3 of 51
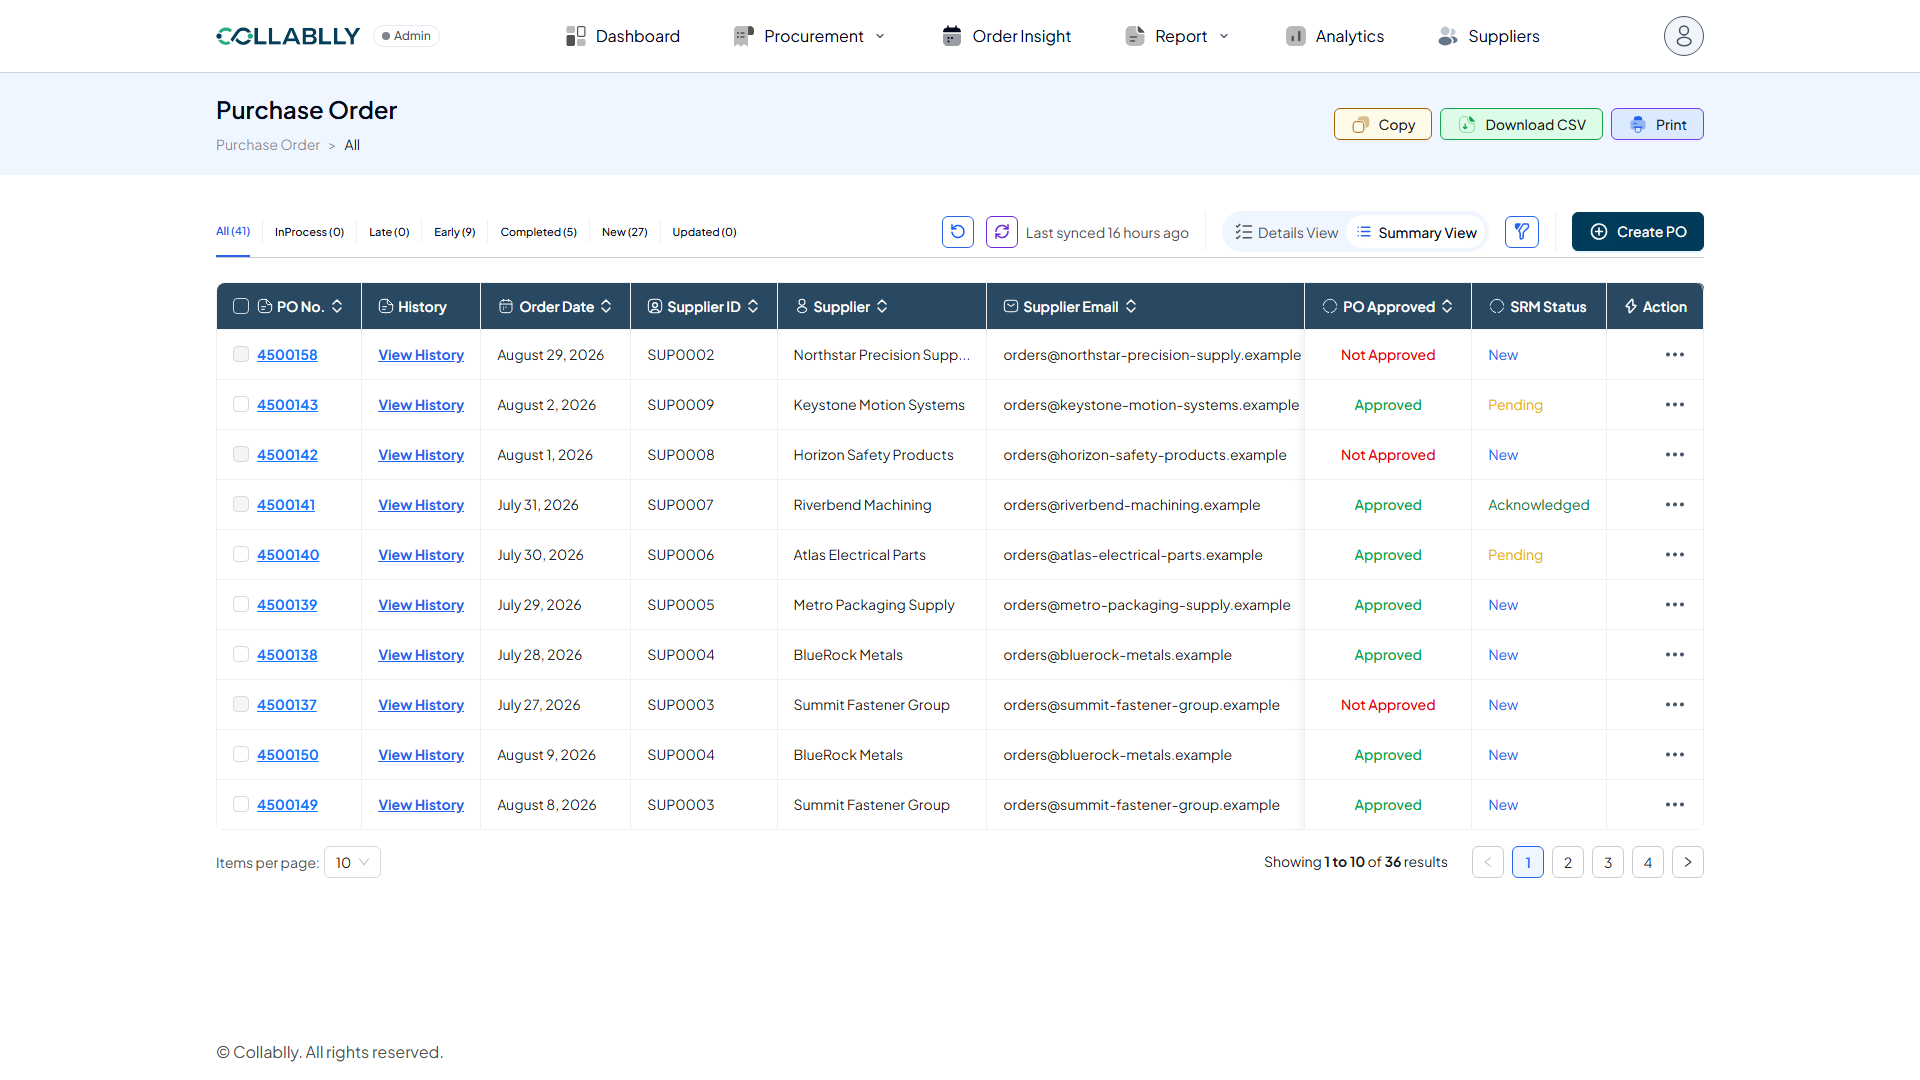
Status filter: All
Shows every purchase order regardless of status. This is the default view when you open the page.
- Step 4 of 51
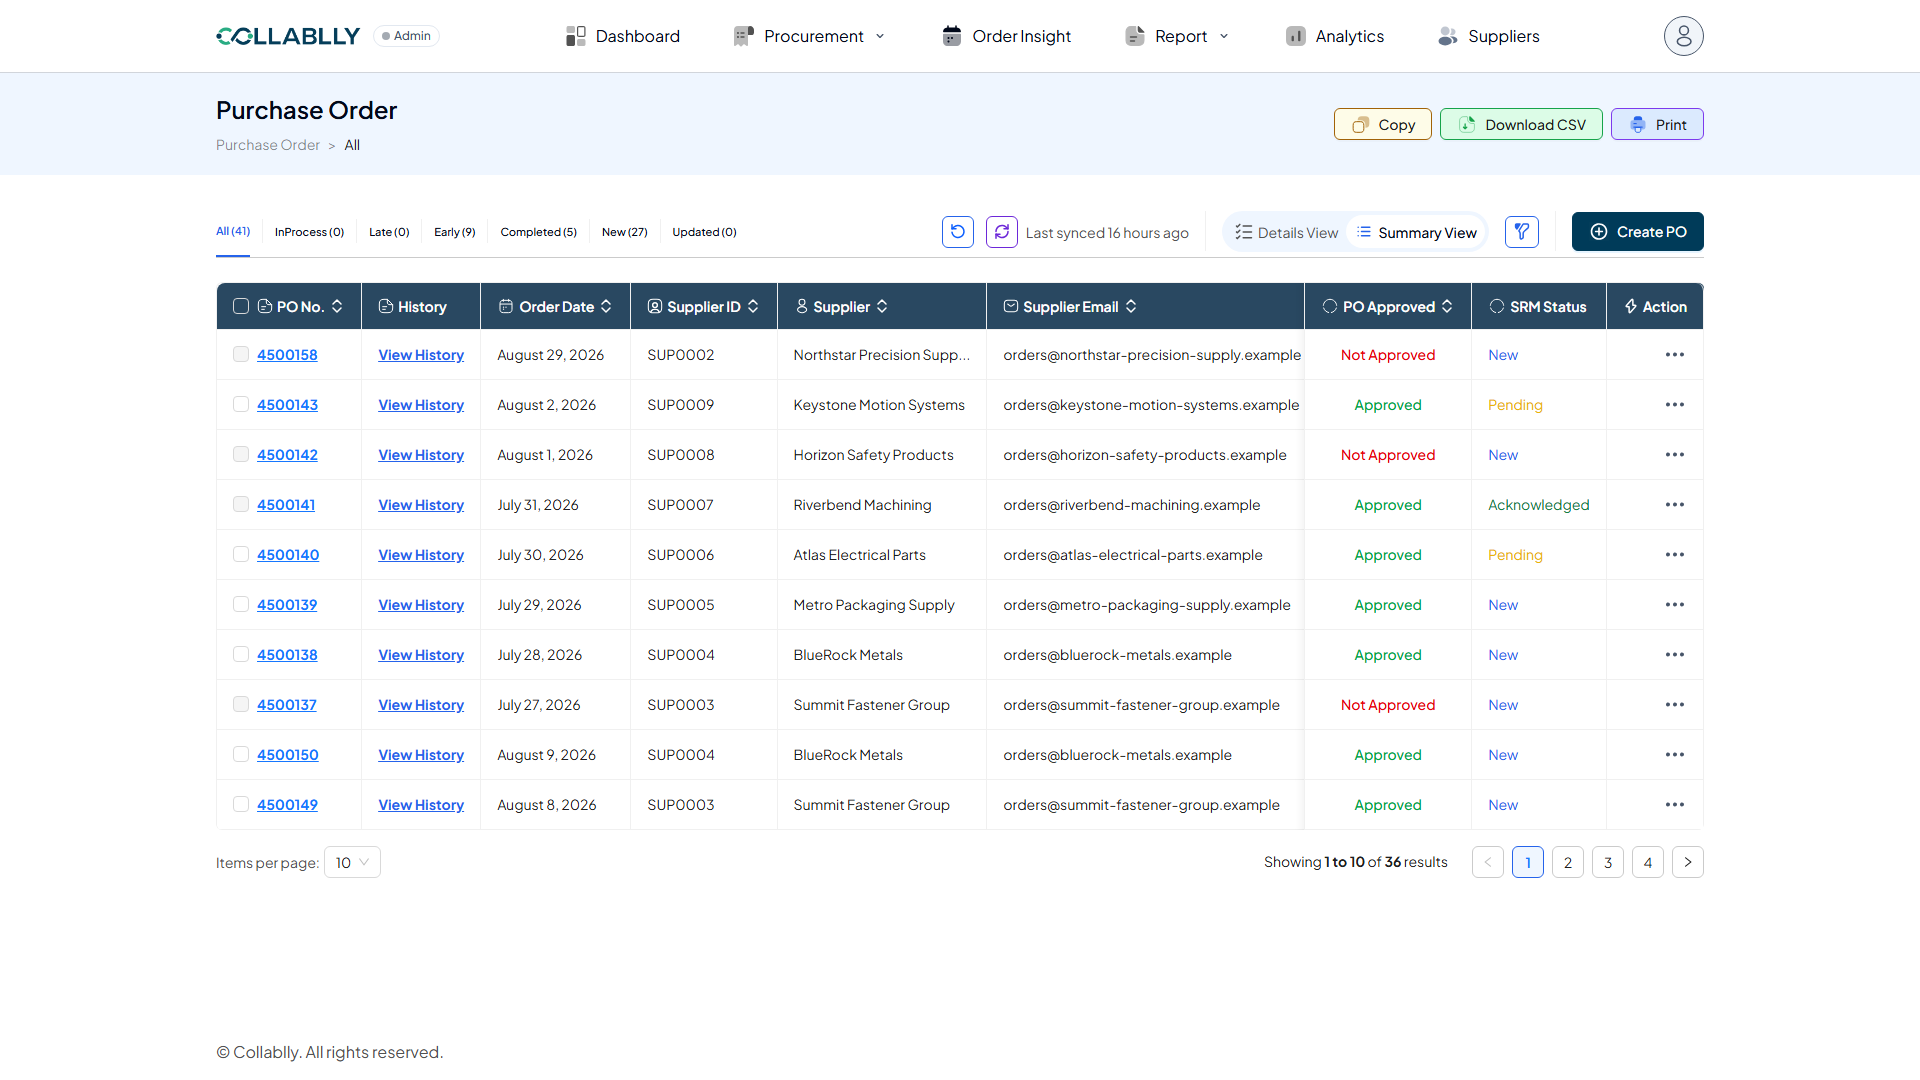
Status filter: InProcess
Purchase orders that are active and being tracked, not yet at their due date.
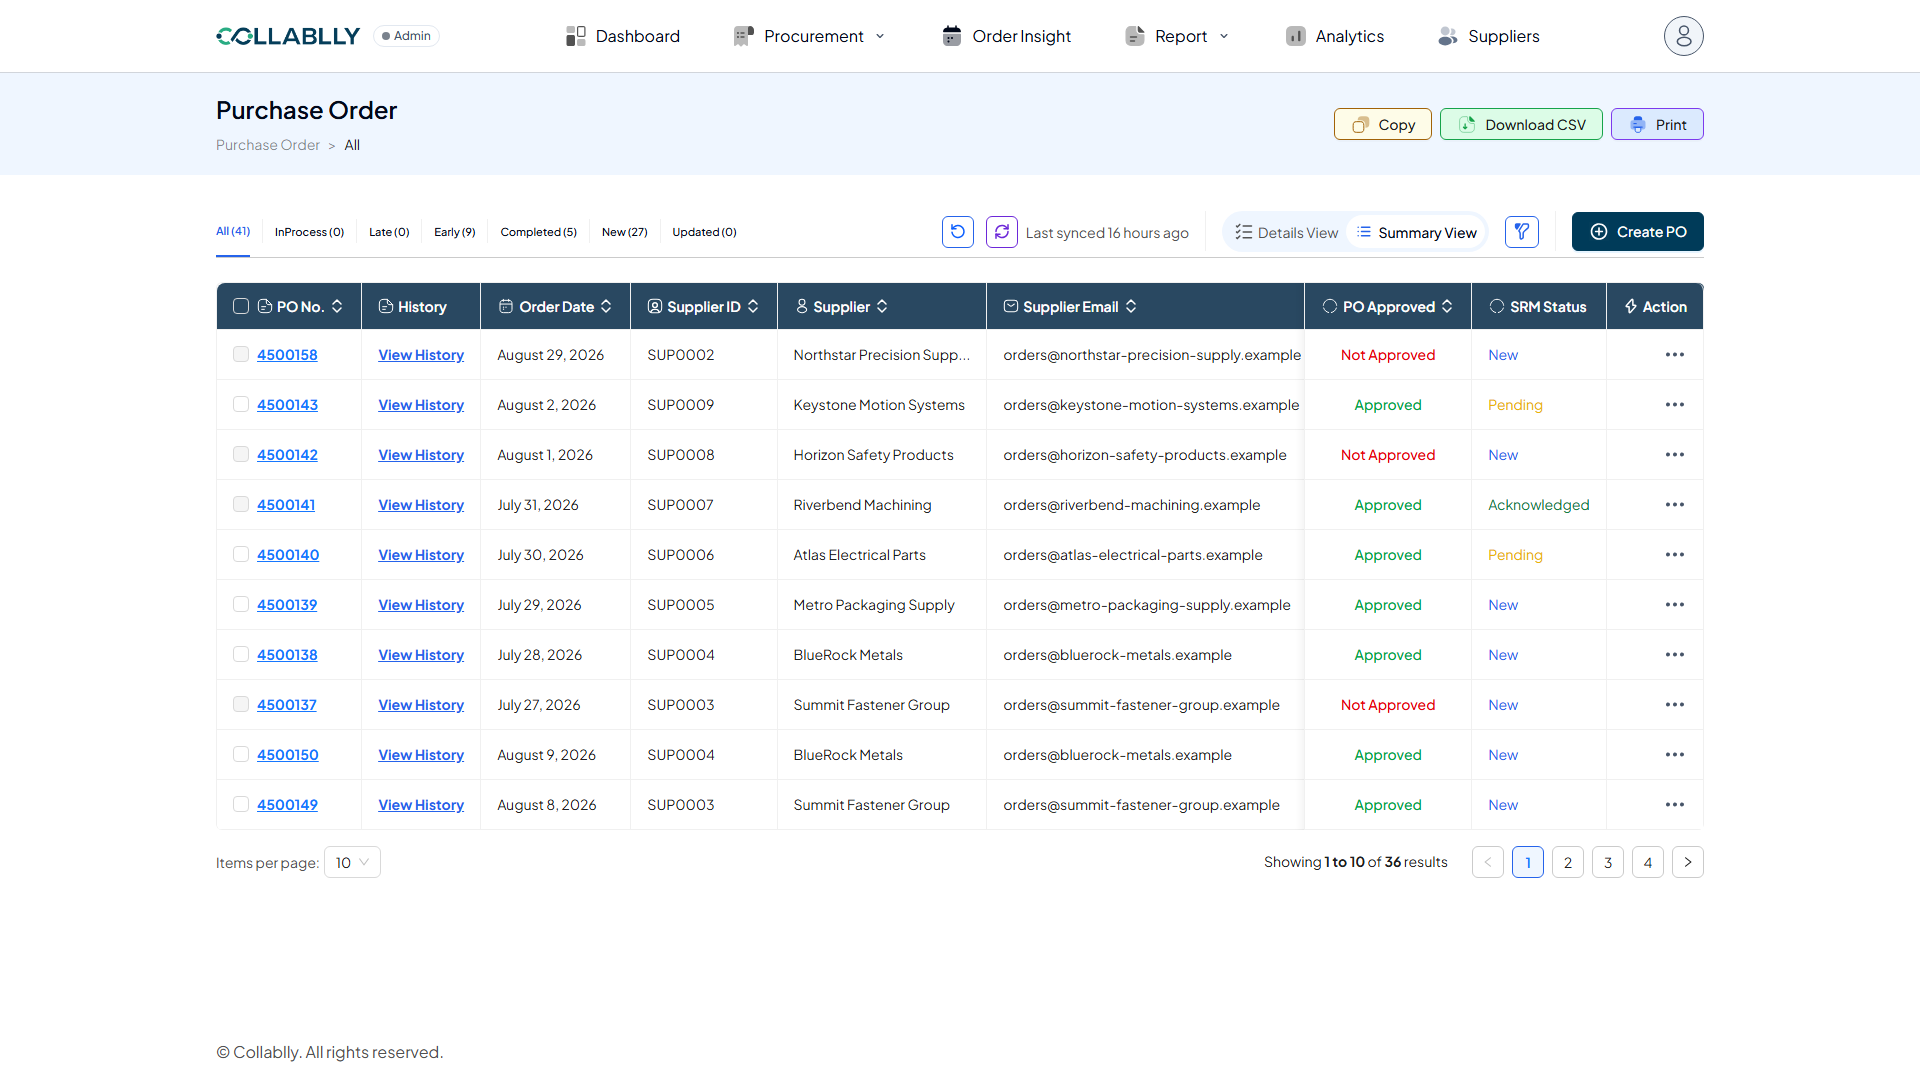
- Step 5 of 51
Status filter: Late
Purchase orders past their expected date without being completed. These typically need the most attention.
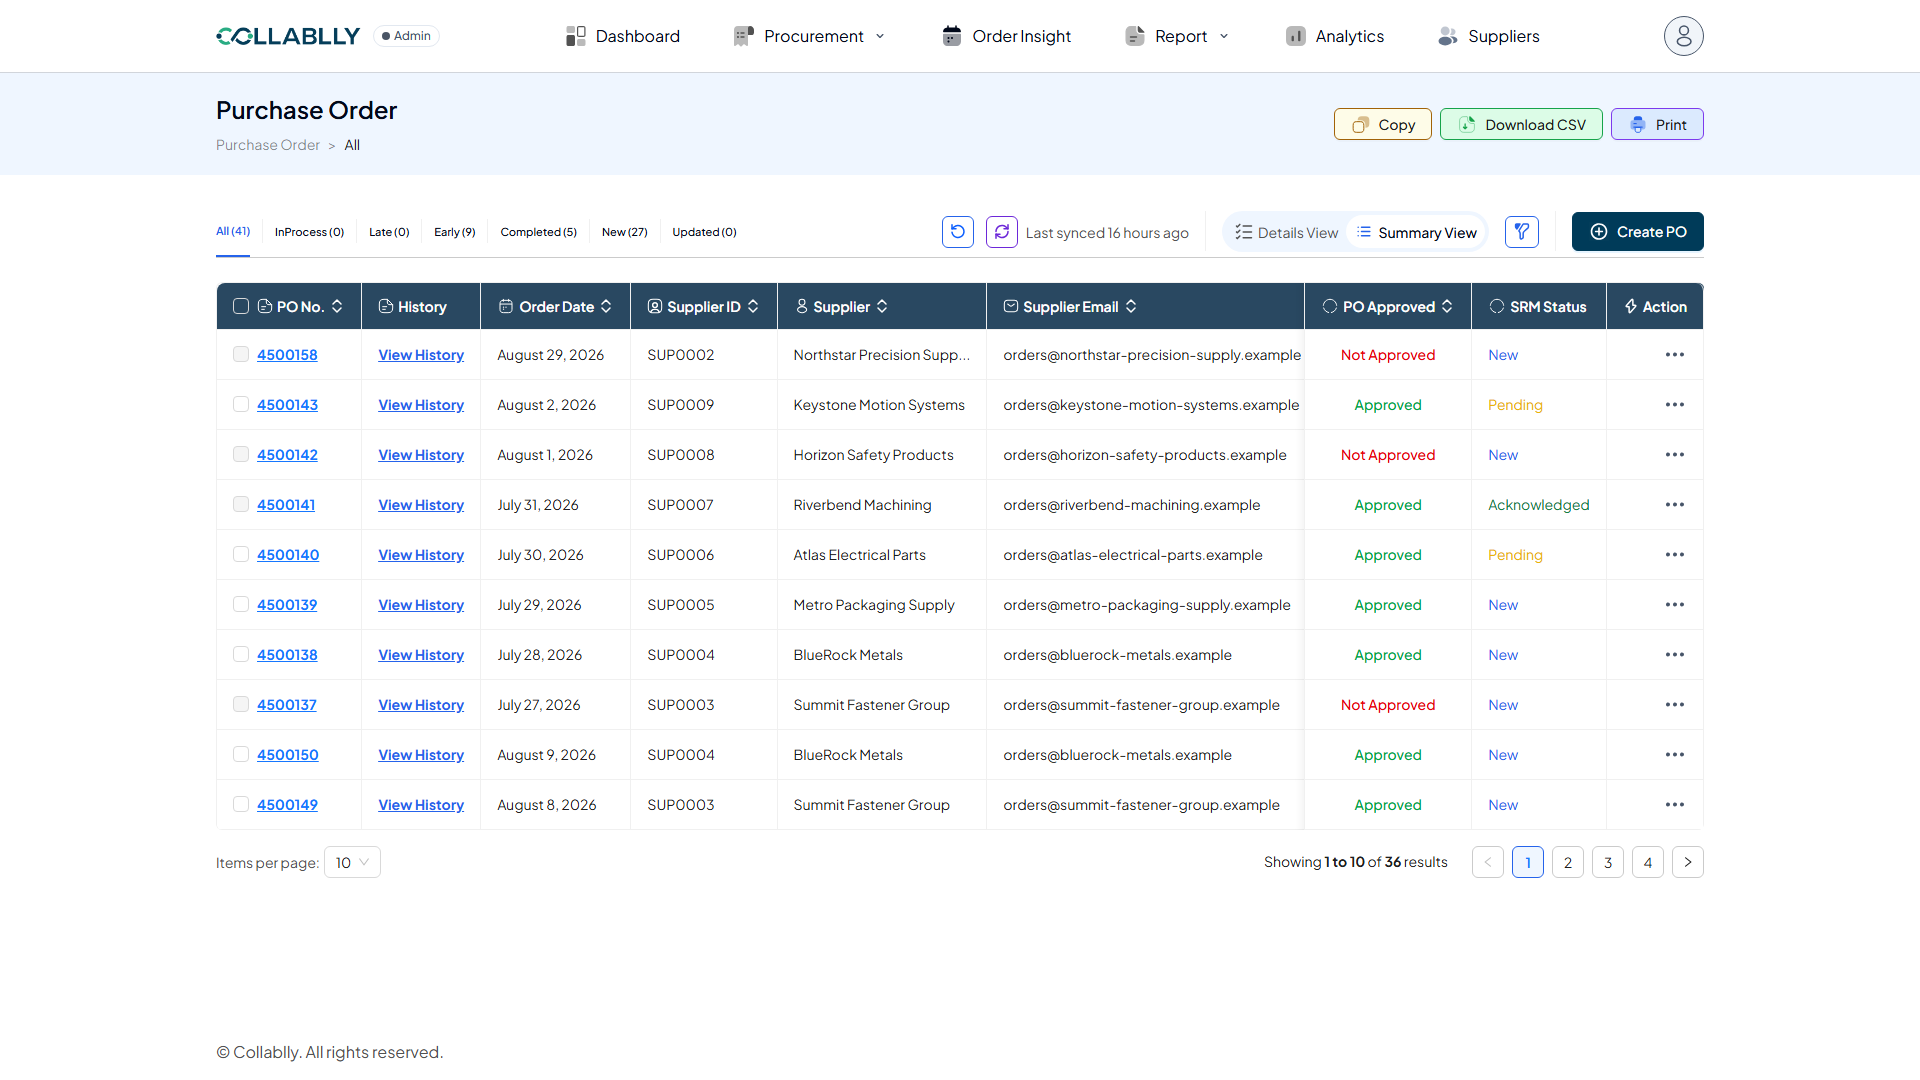
- Step 6 of 51
Status filter: Early
Purchase orders tracking ahead of schedule.
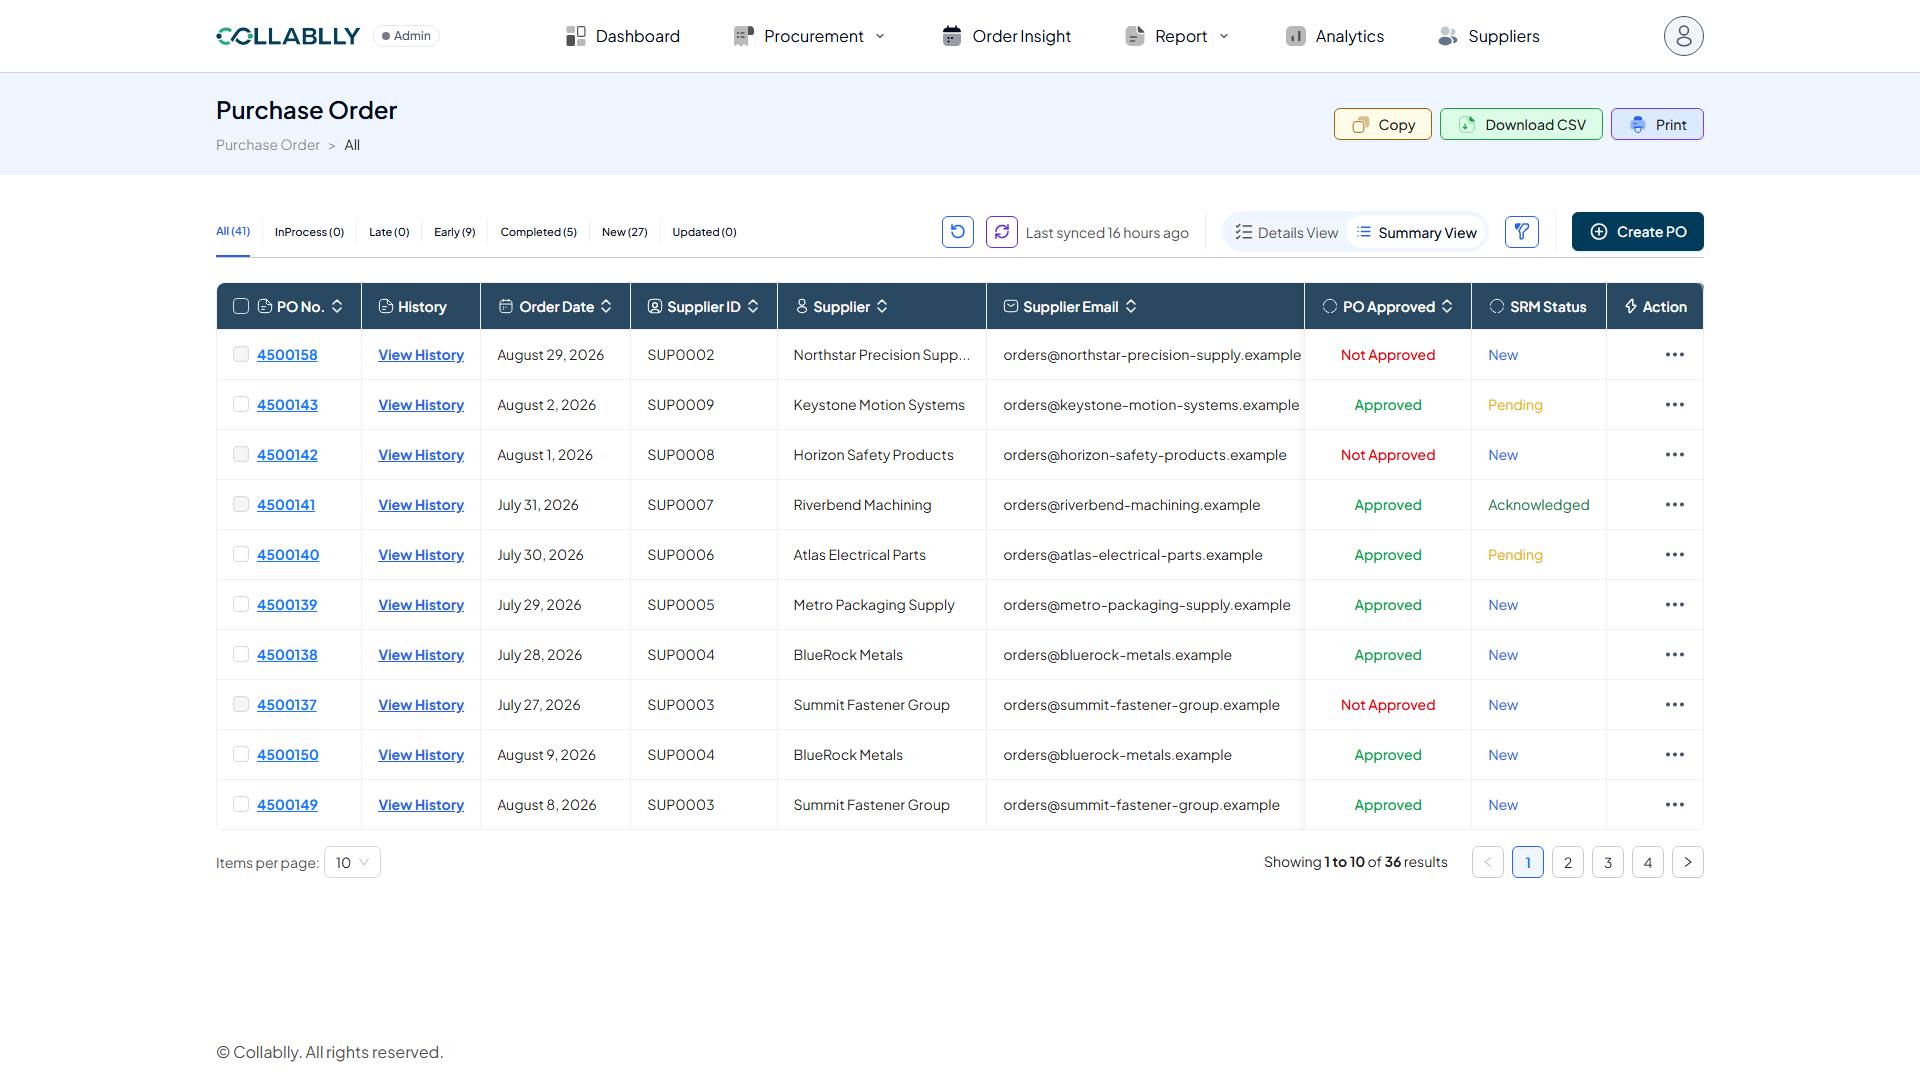
- Step 7 of 51
Status filter: Completed
Purchase orders that have been fully received and closed out.
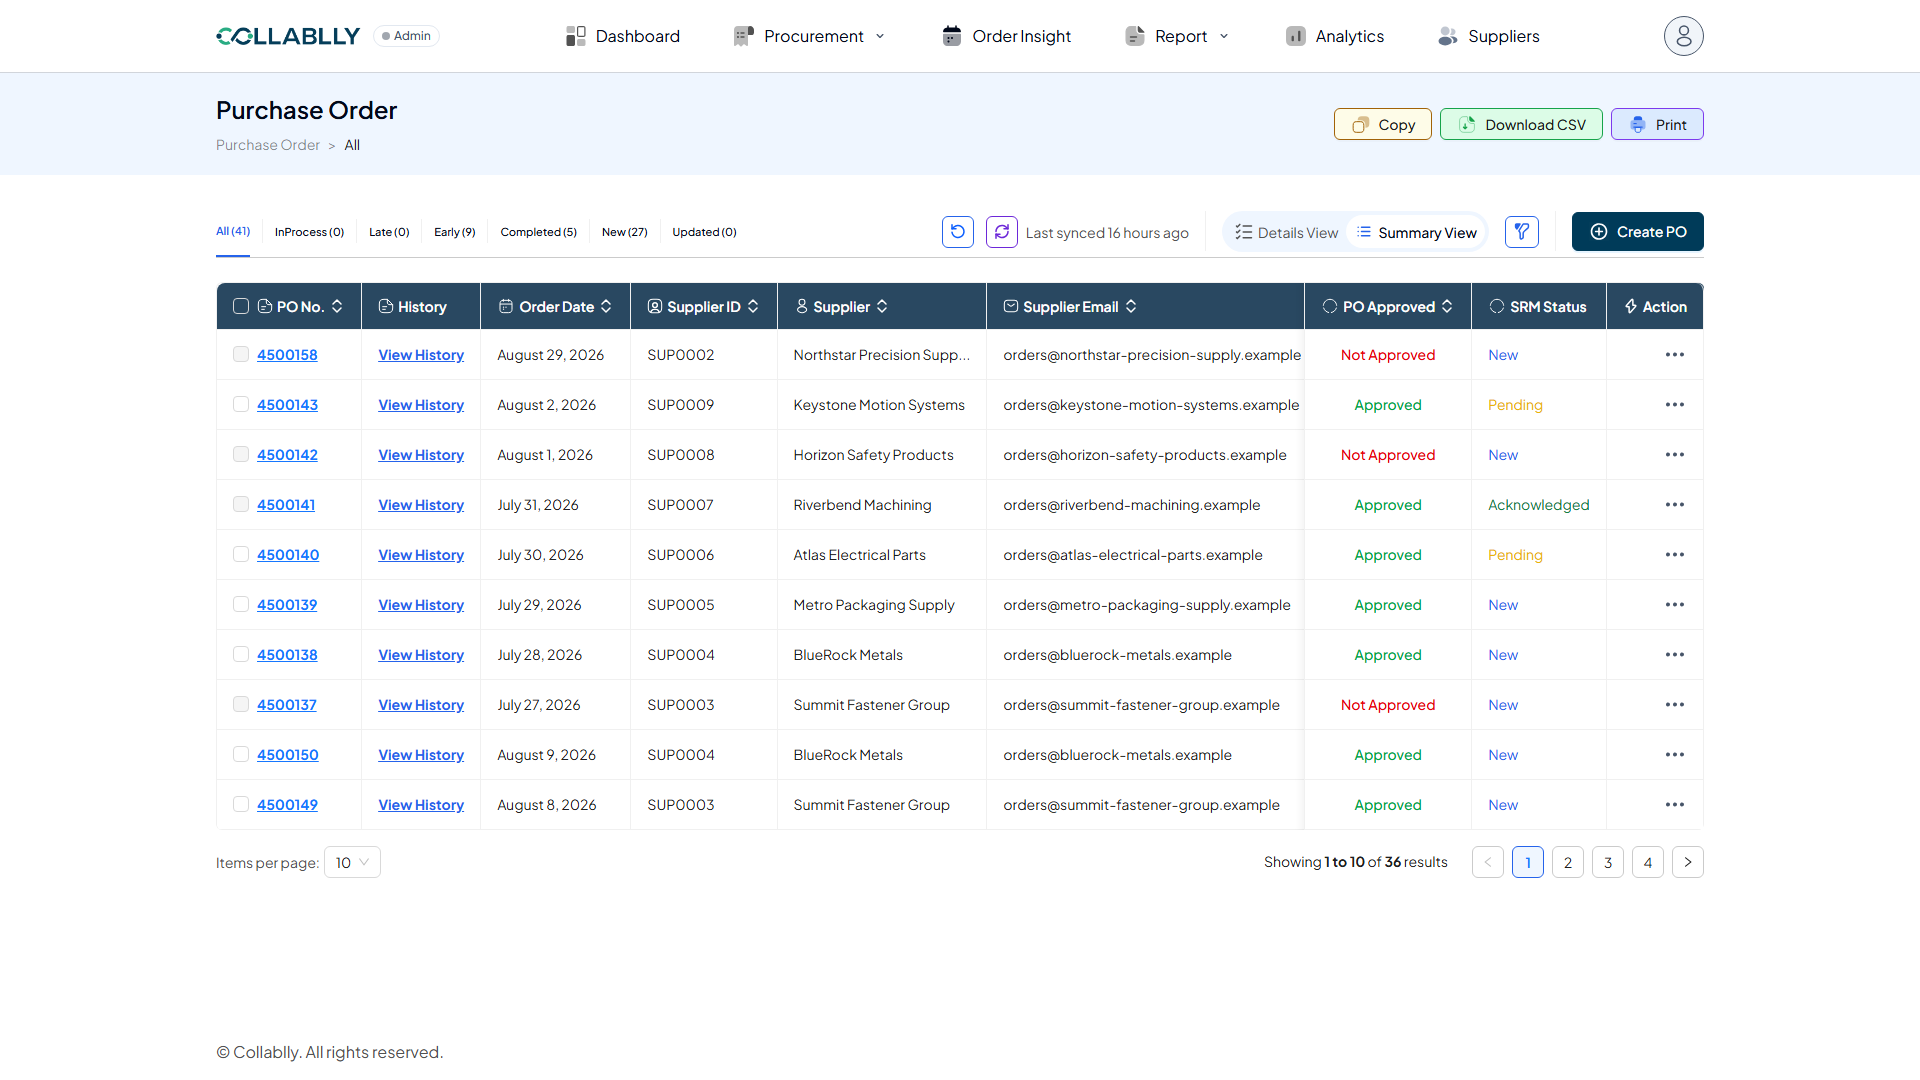
- Step 8 of 51
Status filter: New
Purchase orders synced in from the ERP that have not been reviewed yet.
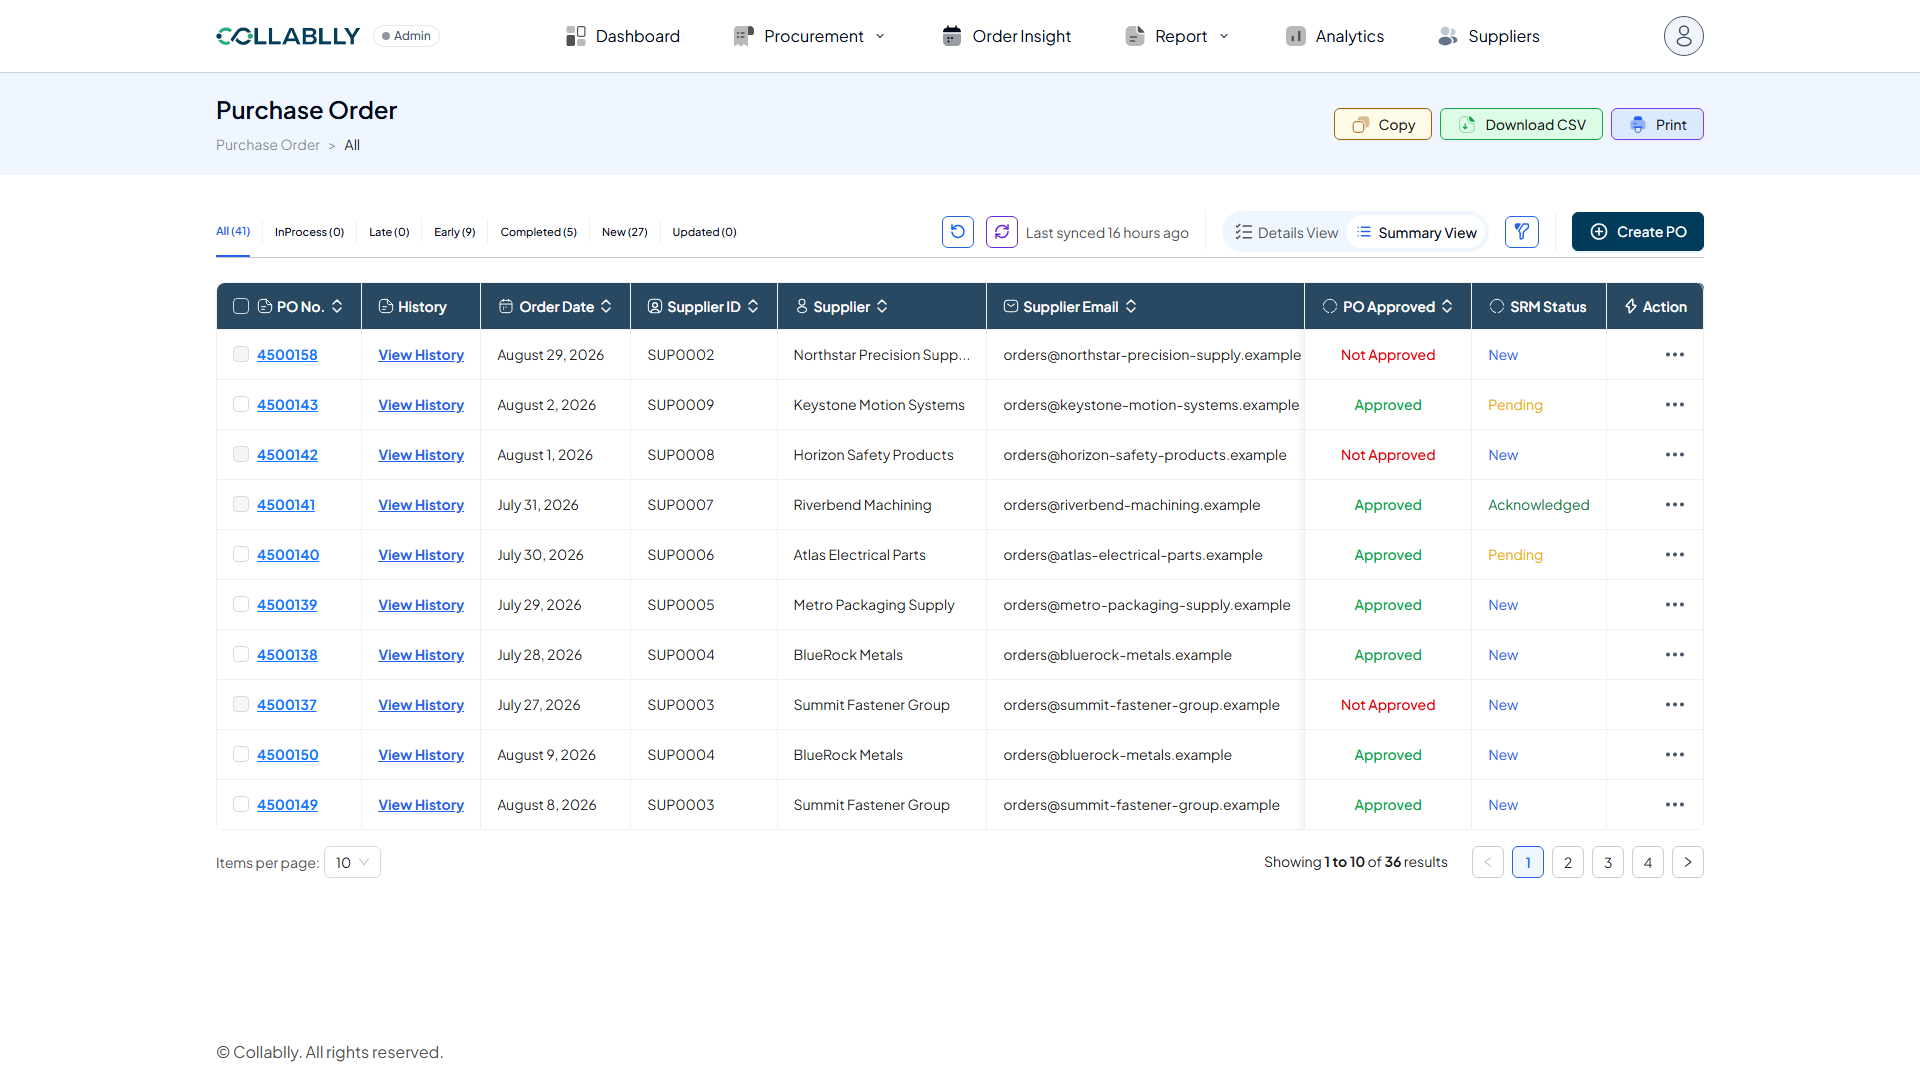
- Step 9 of 51
Status filter: Updated
Purchase order lines that were recently changed using Mass PO Update.
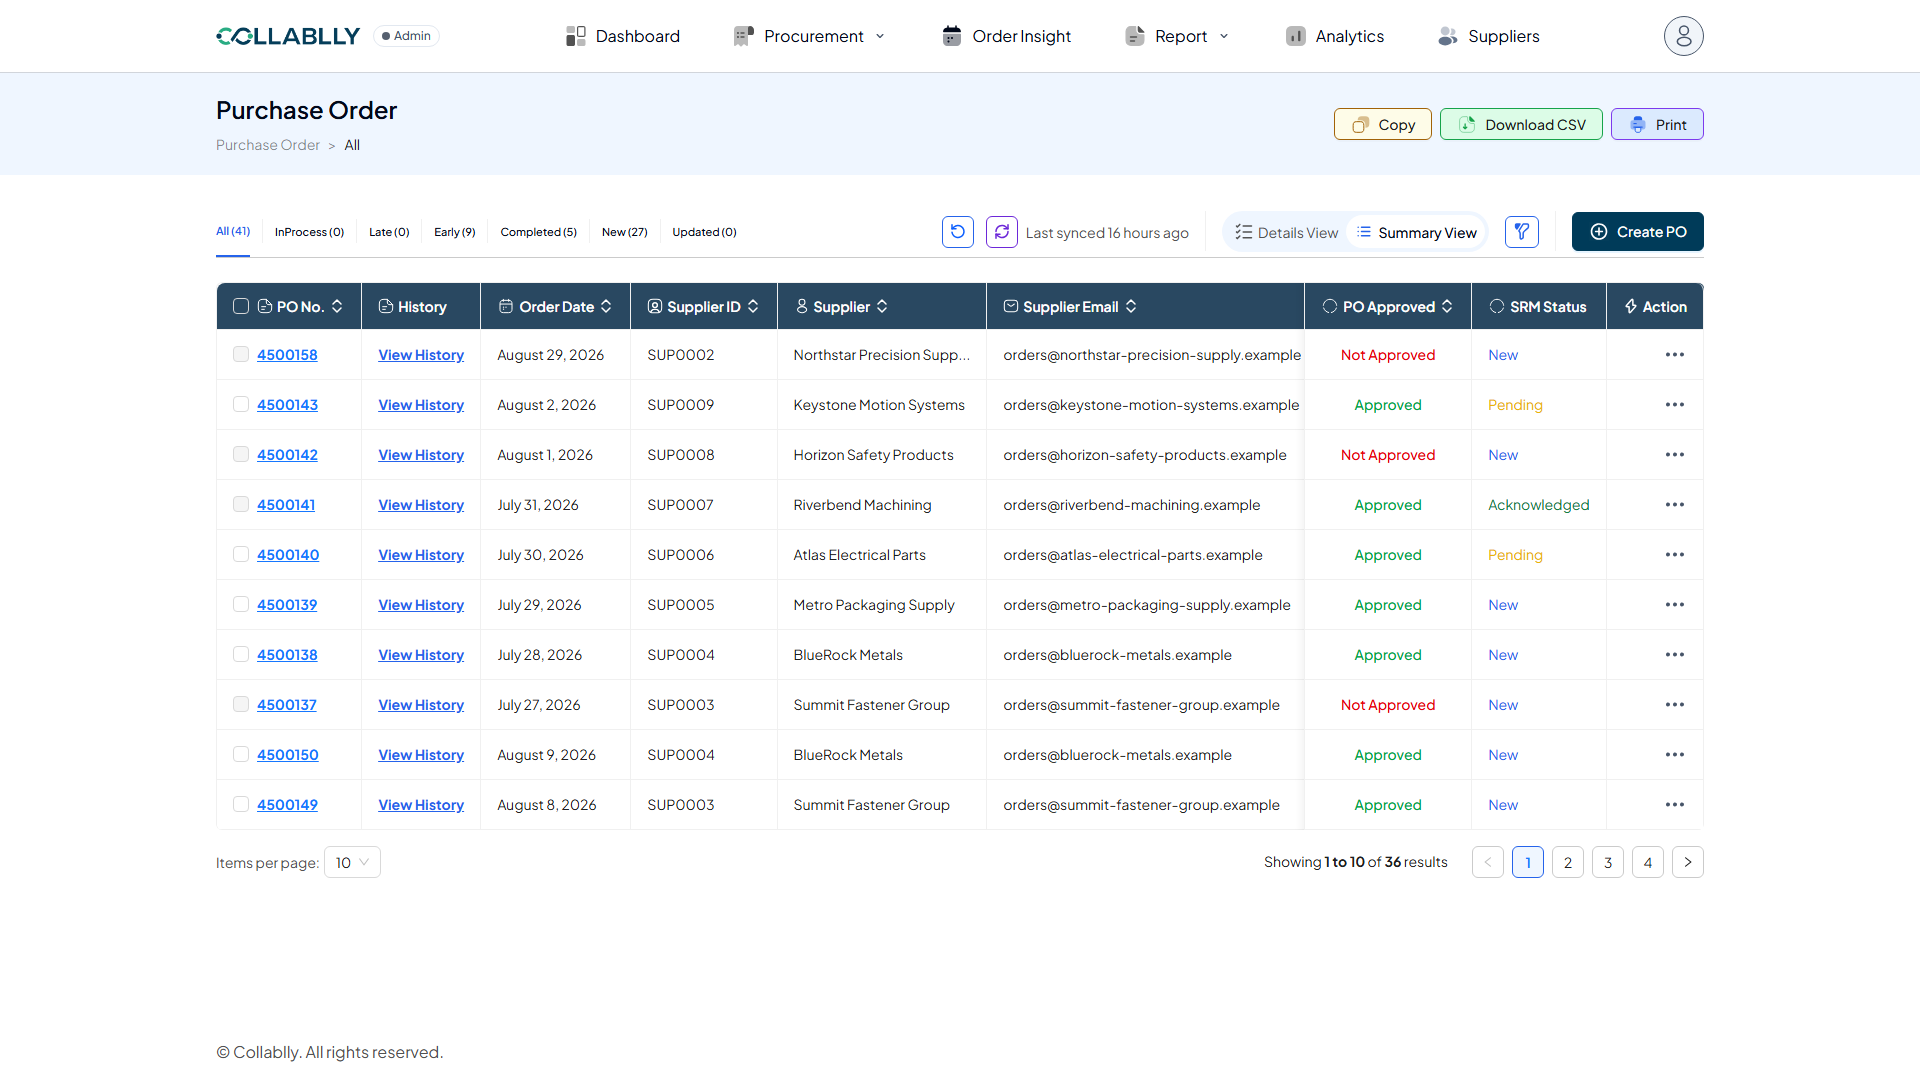
- Step 10 of 51
Reload Data
Reloads the list with the latest data already saved in Collablly, without contacting the ERP.
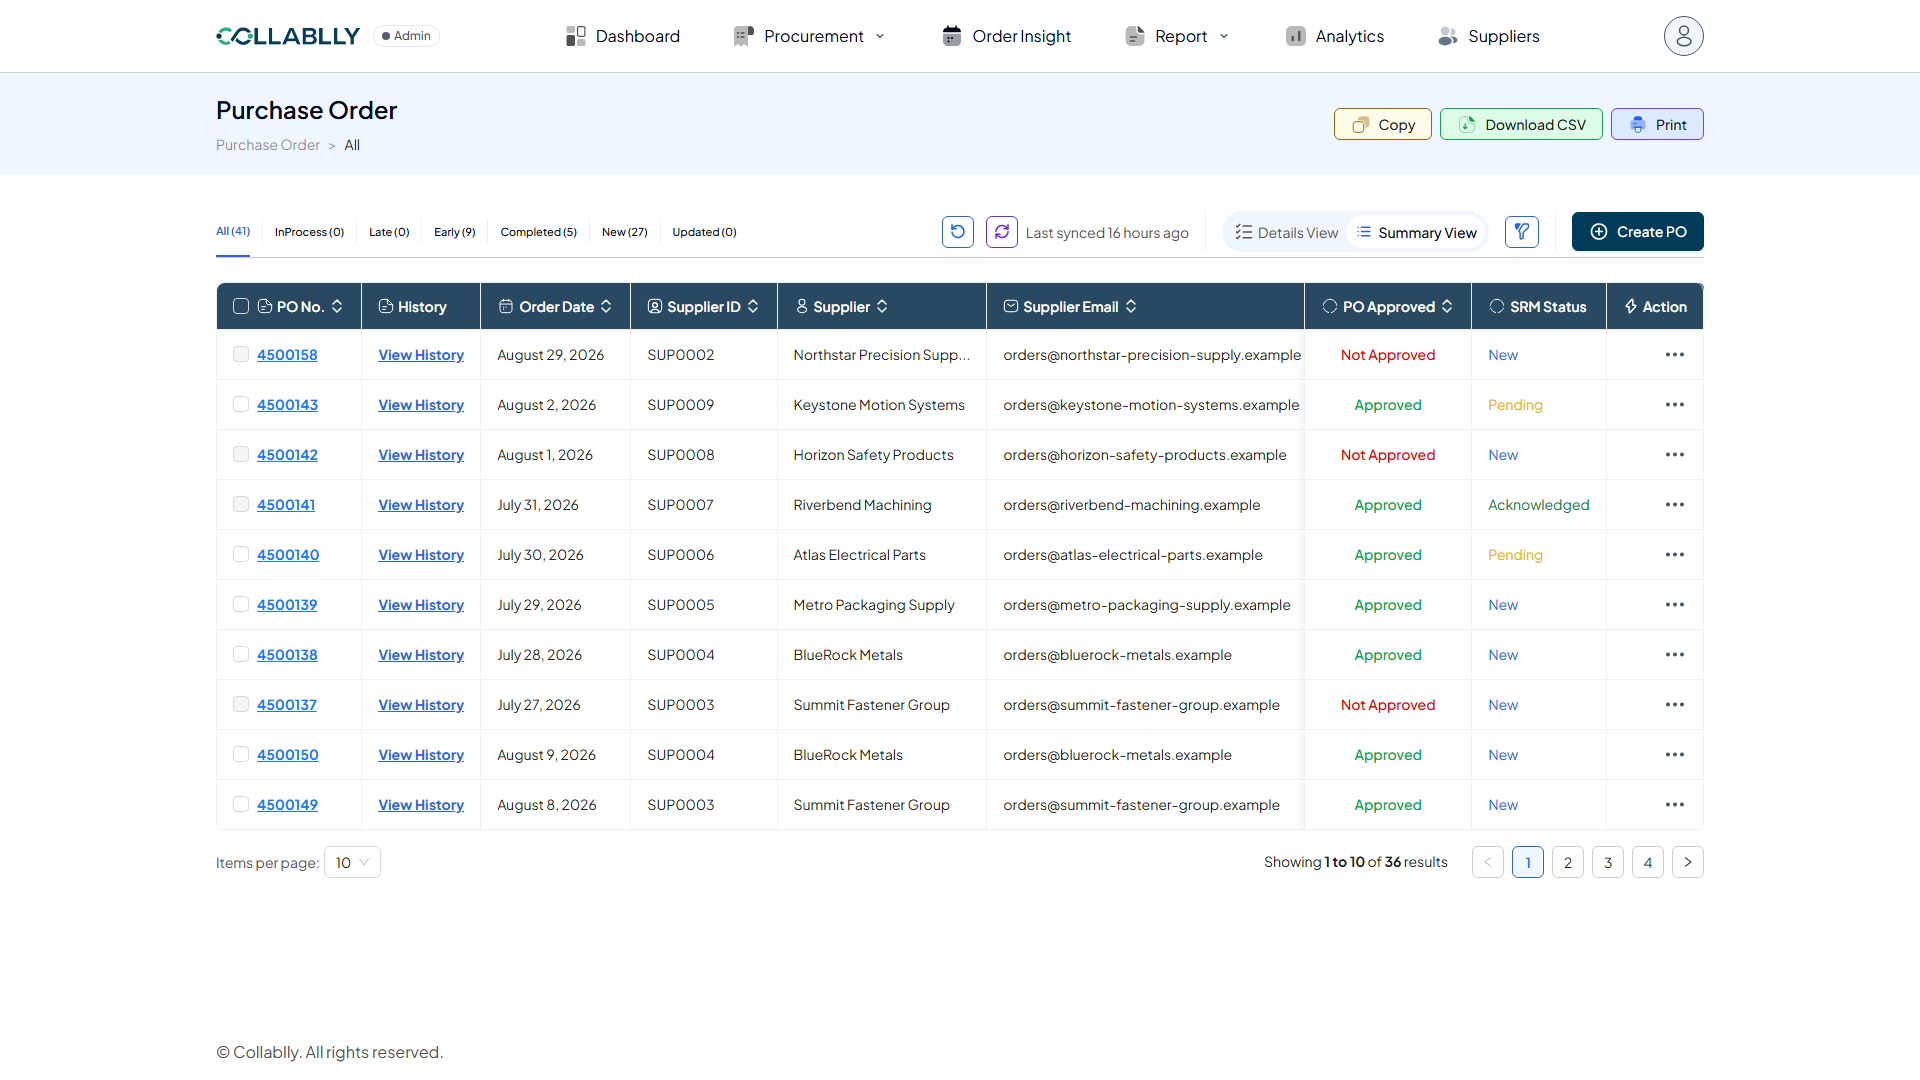
- Step 11 of 51
Sync with ERP
Pulls a fresh copy of every purchase order from the ERP system on demand. The Last synced timestamp shows how long ago that last happened.
- Step 12 of 51
Switch to Details View
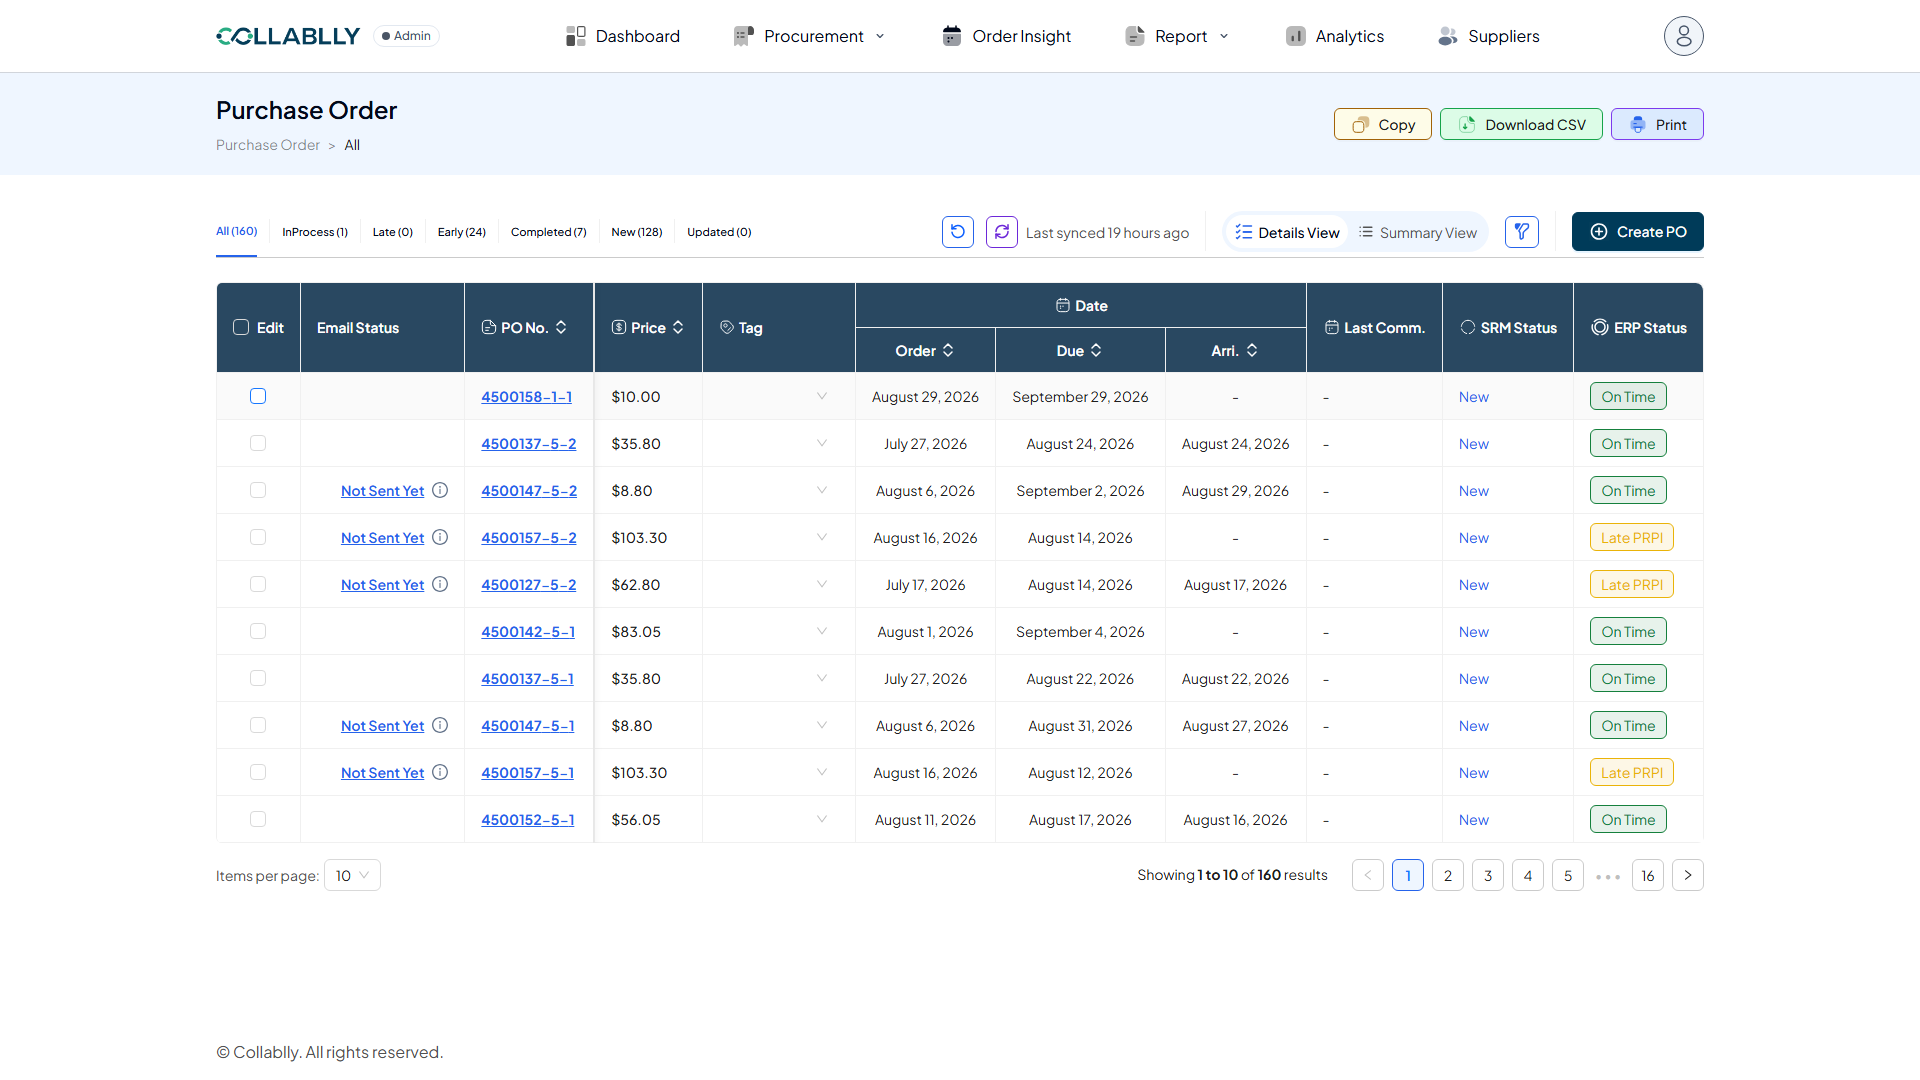
Details View breaks every PO out by line item instead of by header, useful when you need to see part-level approval and status. Click it to switch.
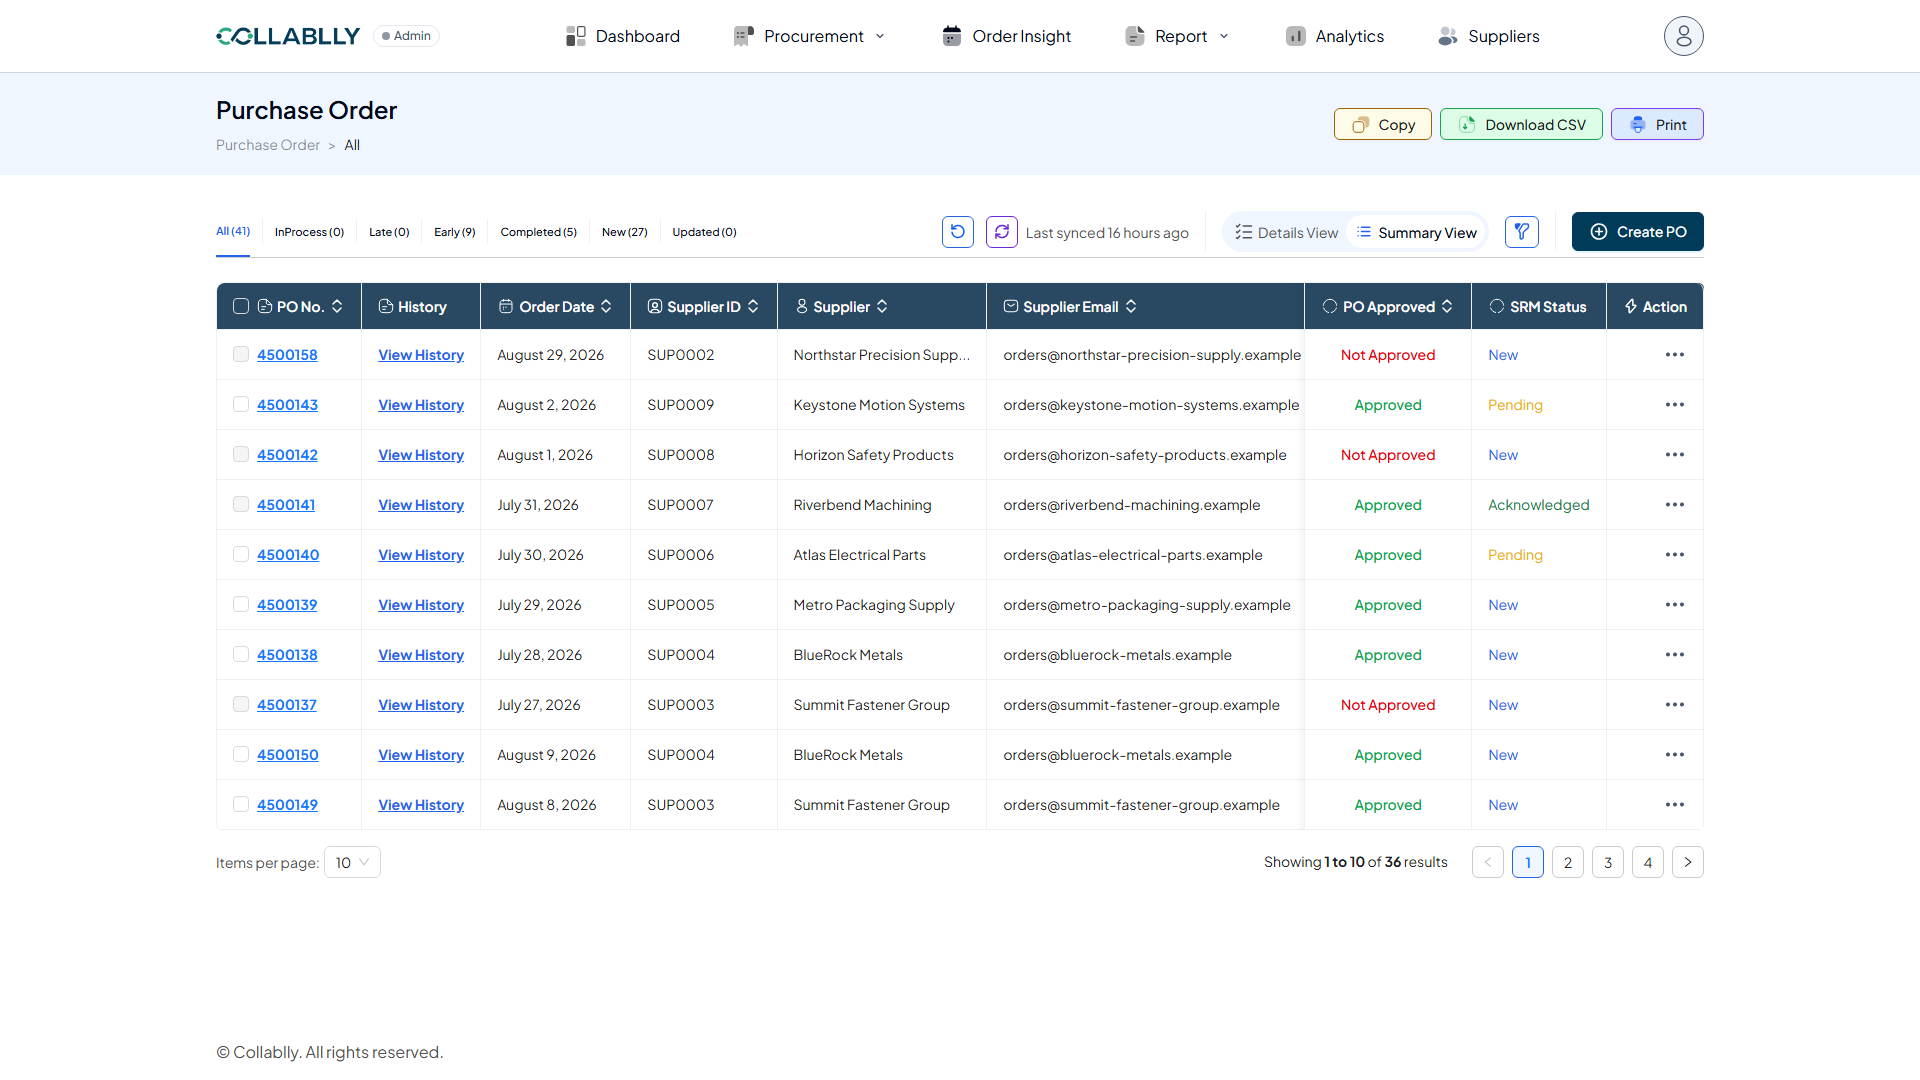
- Step 13 of 51
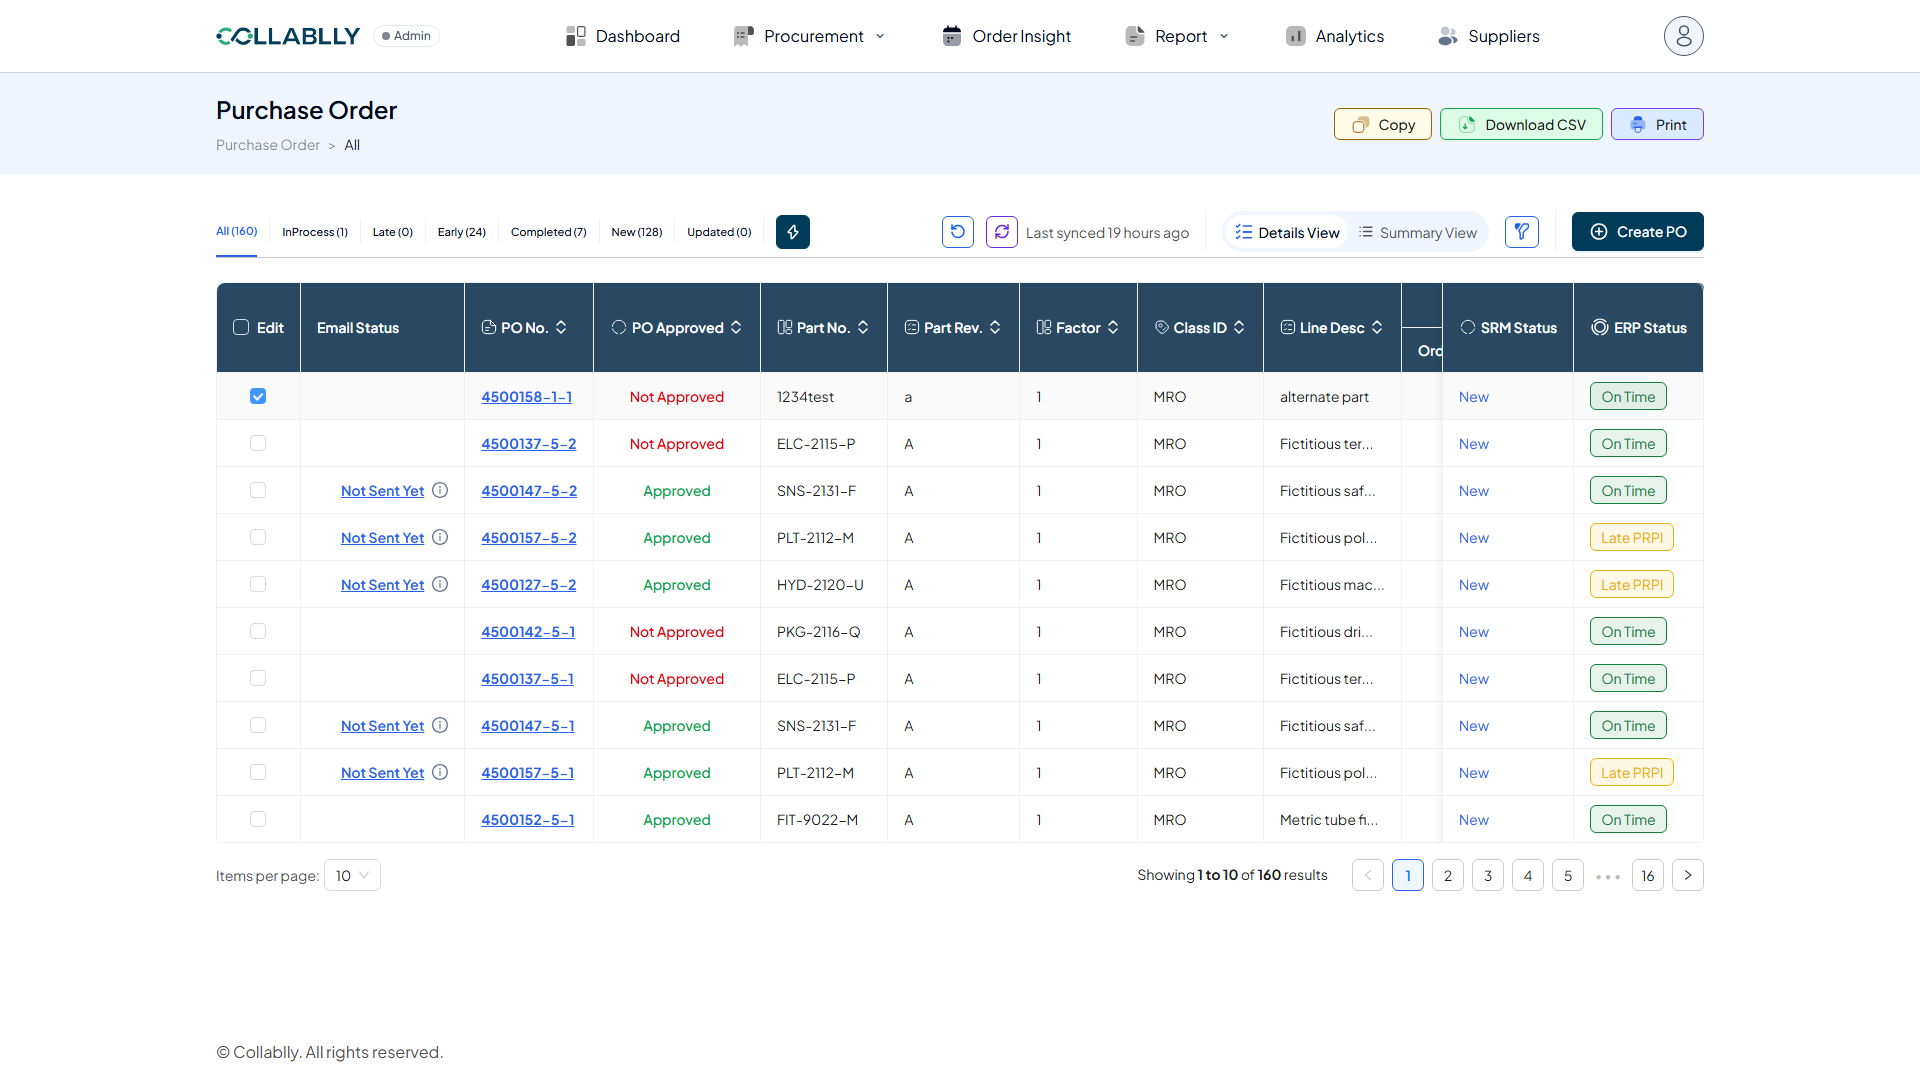
Edit a PO-line
Check the box beside one or more PO-lines to select them. This reveals an Edit action button in the toolbar, between the status filters and the blue Reload Data icon.
- Step 14 of 51
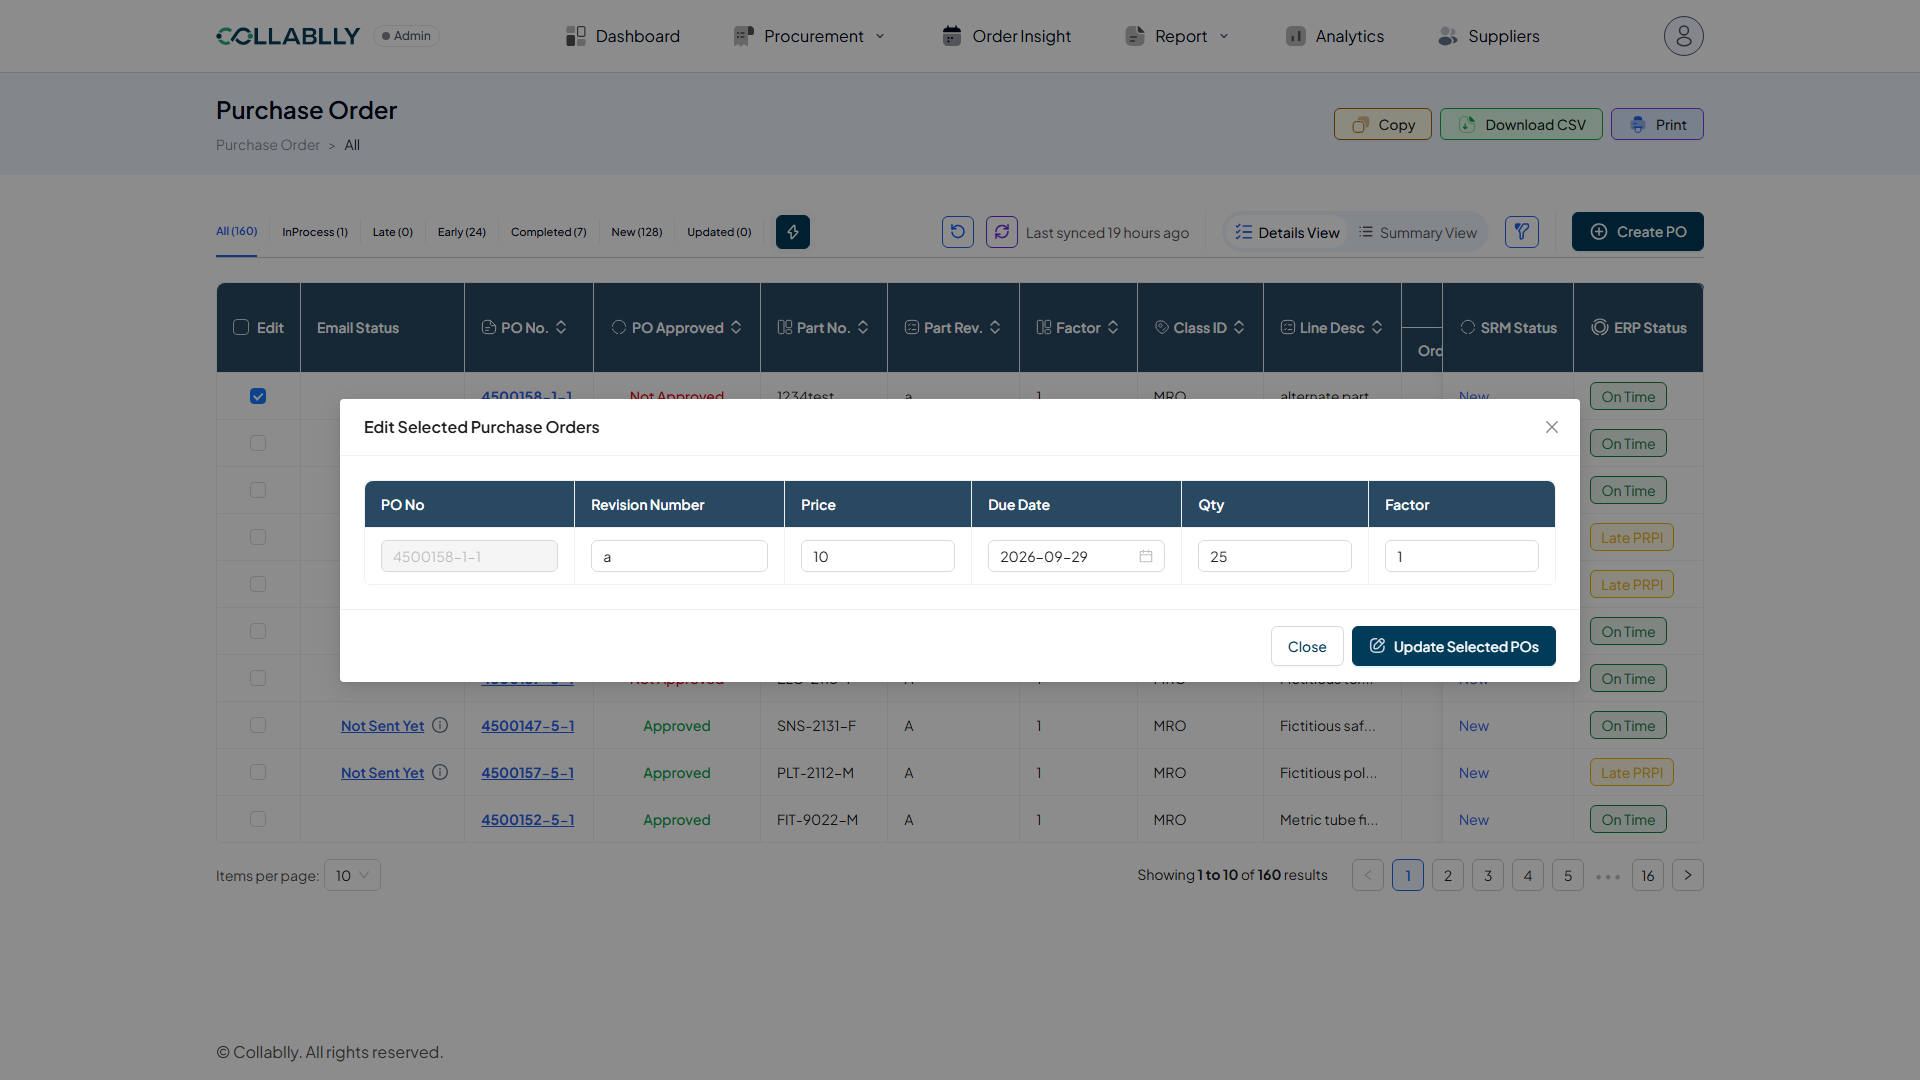
The Edit modal
Opens every editable field on the selected line(s): Revision Number, Price, Due Date, Qty, and Factor. Update and save without leaving the list.
- Step 15 of 51
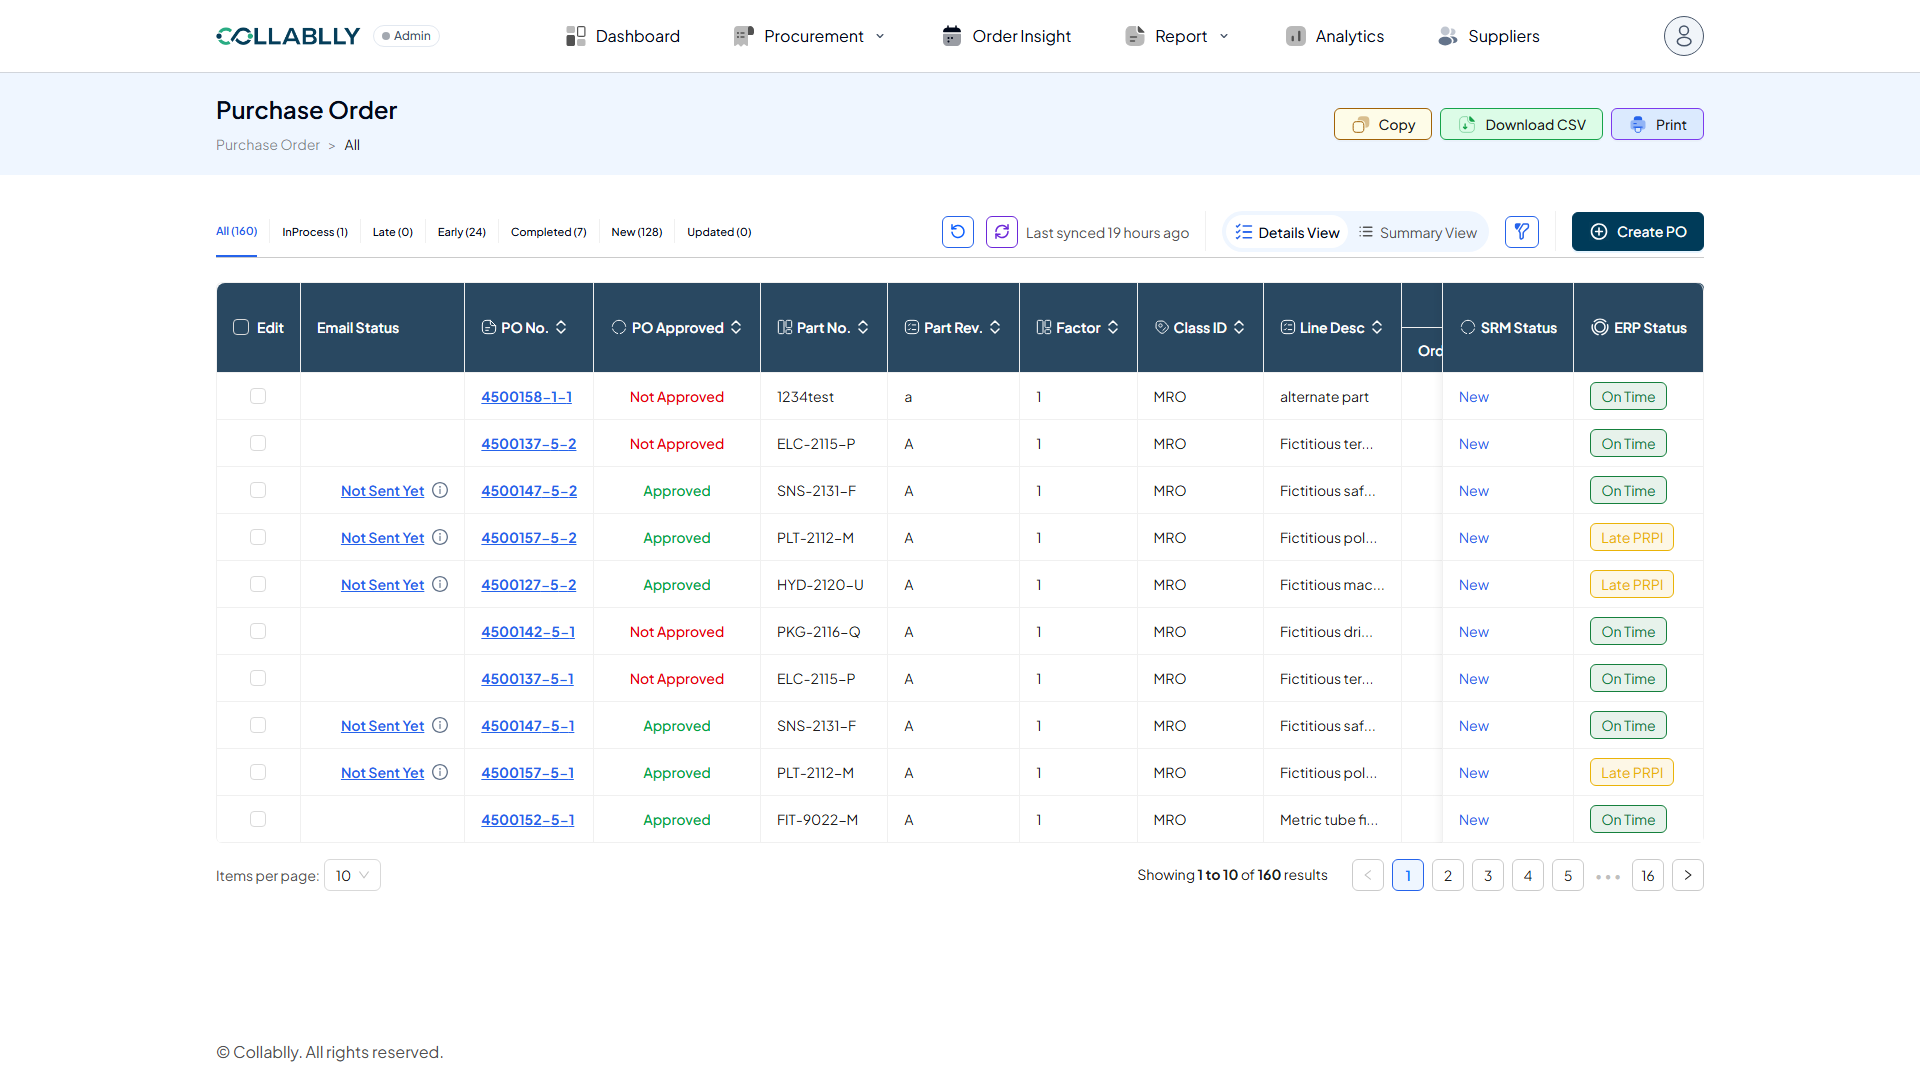
Column: Email Status
Tracks communication for this specific line. Not Sent Yet means nothing has gone out yet. Waiting for Response means it has been sent to the supplier. Needs Action means the supplier has replied and you need to Accept or suggest further changes. Resend means the communication cycle is complete and available to send again.
- Step 16 of 51
Column: PO No.
Shown as PO#-Line-Rel, for example 4500158-1-1. Click it to open that line’s communication data.
- Step 17 of 51
Column: PO Approved
The PO’s approval status in the ERP system.
- Step 18 of 51
Column: Part No.
The part number on this line.
- Step 19 of 51
Column: Part Rev.
The part’s revision value.
- Step 20 of 51
Column: Factor
The job number: which job or application this part is ordered for.
- Step 21 of 51
Column: Class ID
The part’s class ID in the ERP.
- Step 22 of 51
Column: Line Desc
The line’s description.
- Step 23 of 51
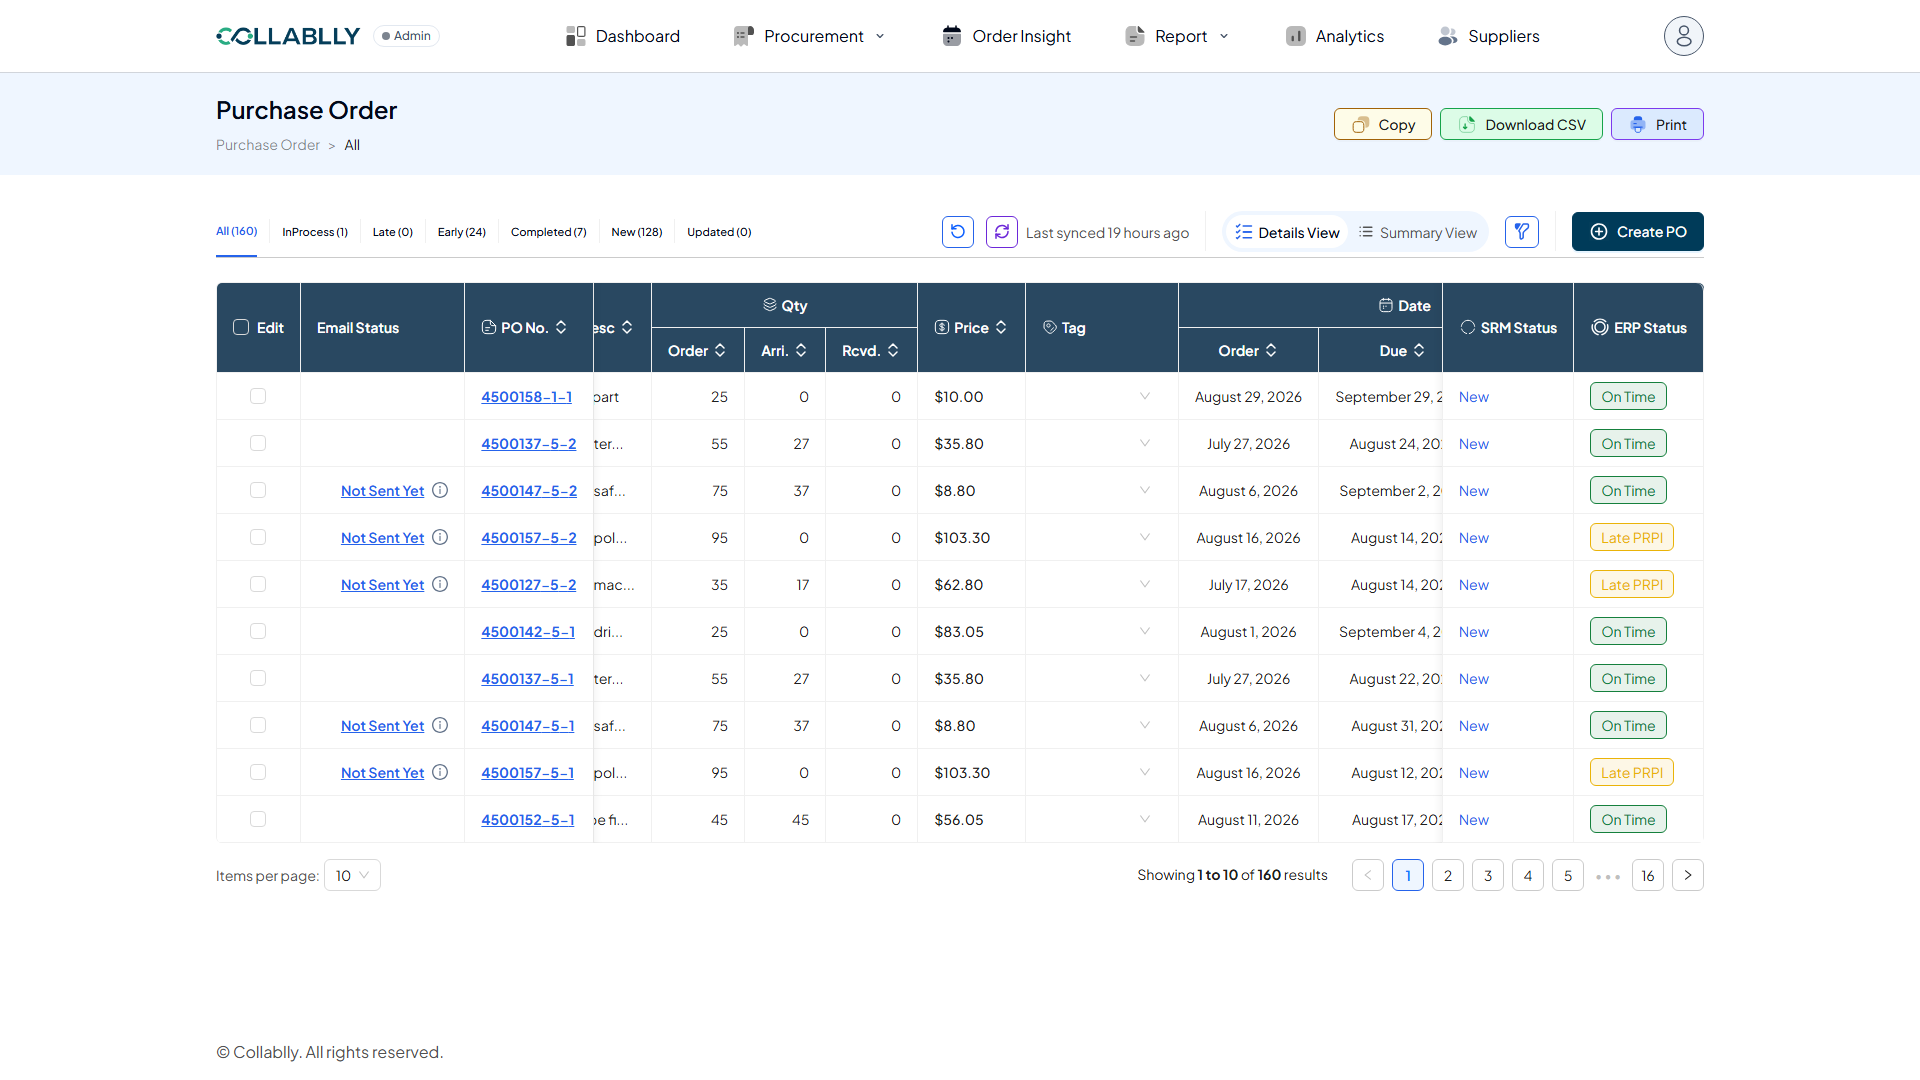
Column: Qty
Three related quantities for this line: Order (quantity ordered), Arri. (quantity arrived), and Rcvd. (quantity received).
- Step 24 of 51
Column: Price
The unit cost for this line.
- Step 25 of 51
Column: Tag
Any tag created and assigned to this line. Blank if none.
- Step 26 of 51
Column: Date
Three related dates for this line: Order (order date), Due (due date), and Arri. (arrival date).
- Step 27 of 51
Column: Last Comm.
The date of the most recent communication on this line.
- Step 28 of 51
Column: SRM Status
Mirrors the same status shown at the PO-head level in Summary View, scoped to this line.
- Step 29 of 51
Column: ERP Status
Delivery status against the due date. On Time: on schedule. PRPI: partially received, pending inspection. Late: the due date has passed with nothing delivered yet. Late PRPI: late and partially received, pending inspection. Late PI: late and pending inspection.
- Step 30 of 51
Open the filter panel
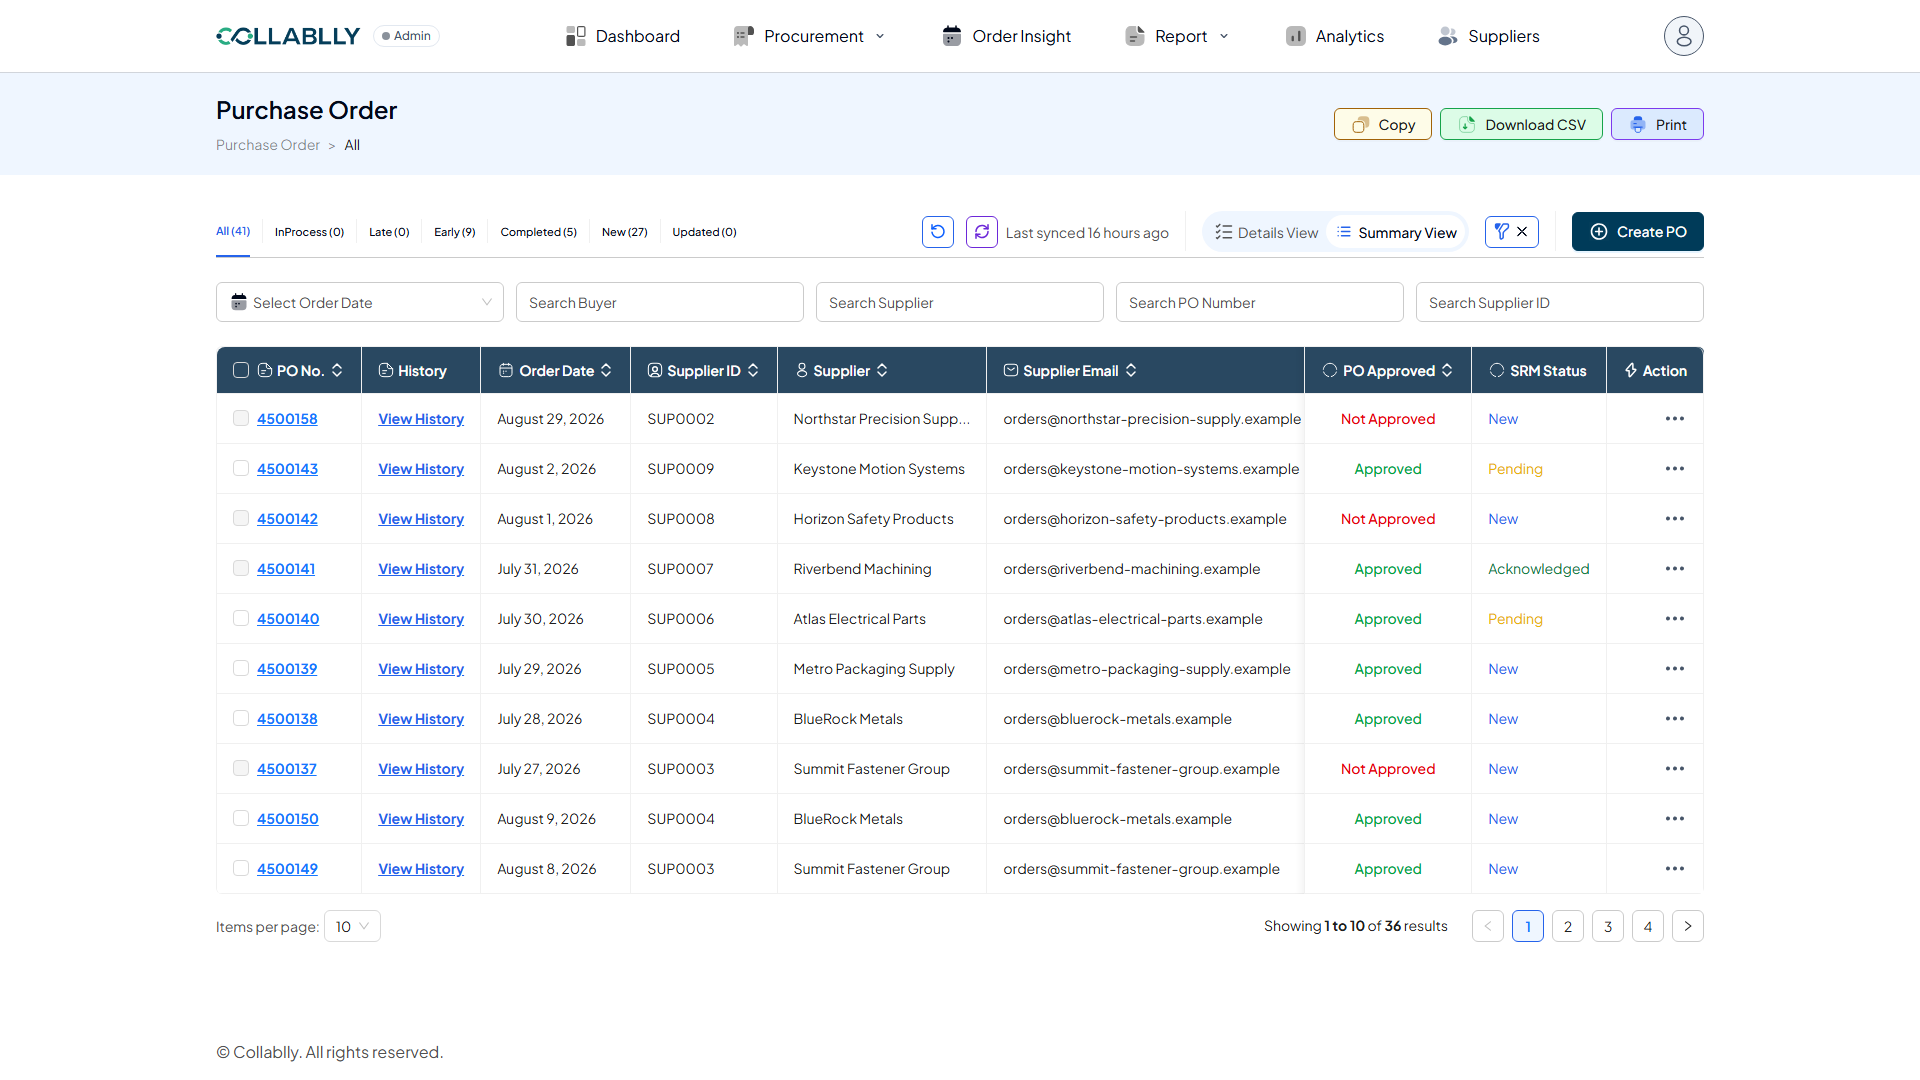
Click the filter icon to reveal a row of search fields above the table.
- Step 31 of 51
Use the filter panel
Narrow the list by Order Date, Buyer, Supplier, PO Number, or Supplier ID, alone or combined.
- Step 32 of 51
Copy
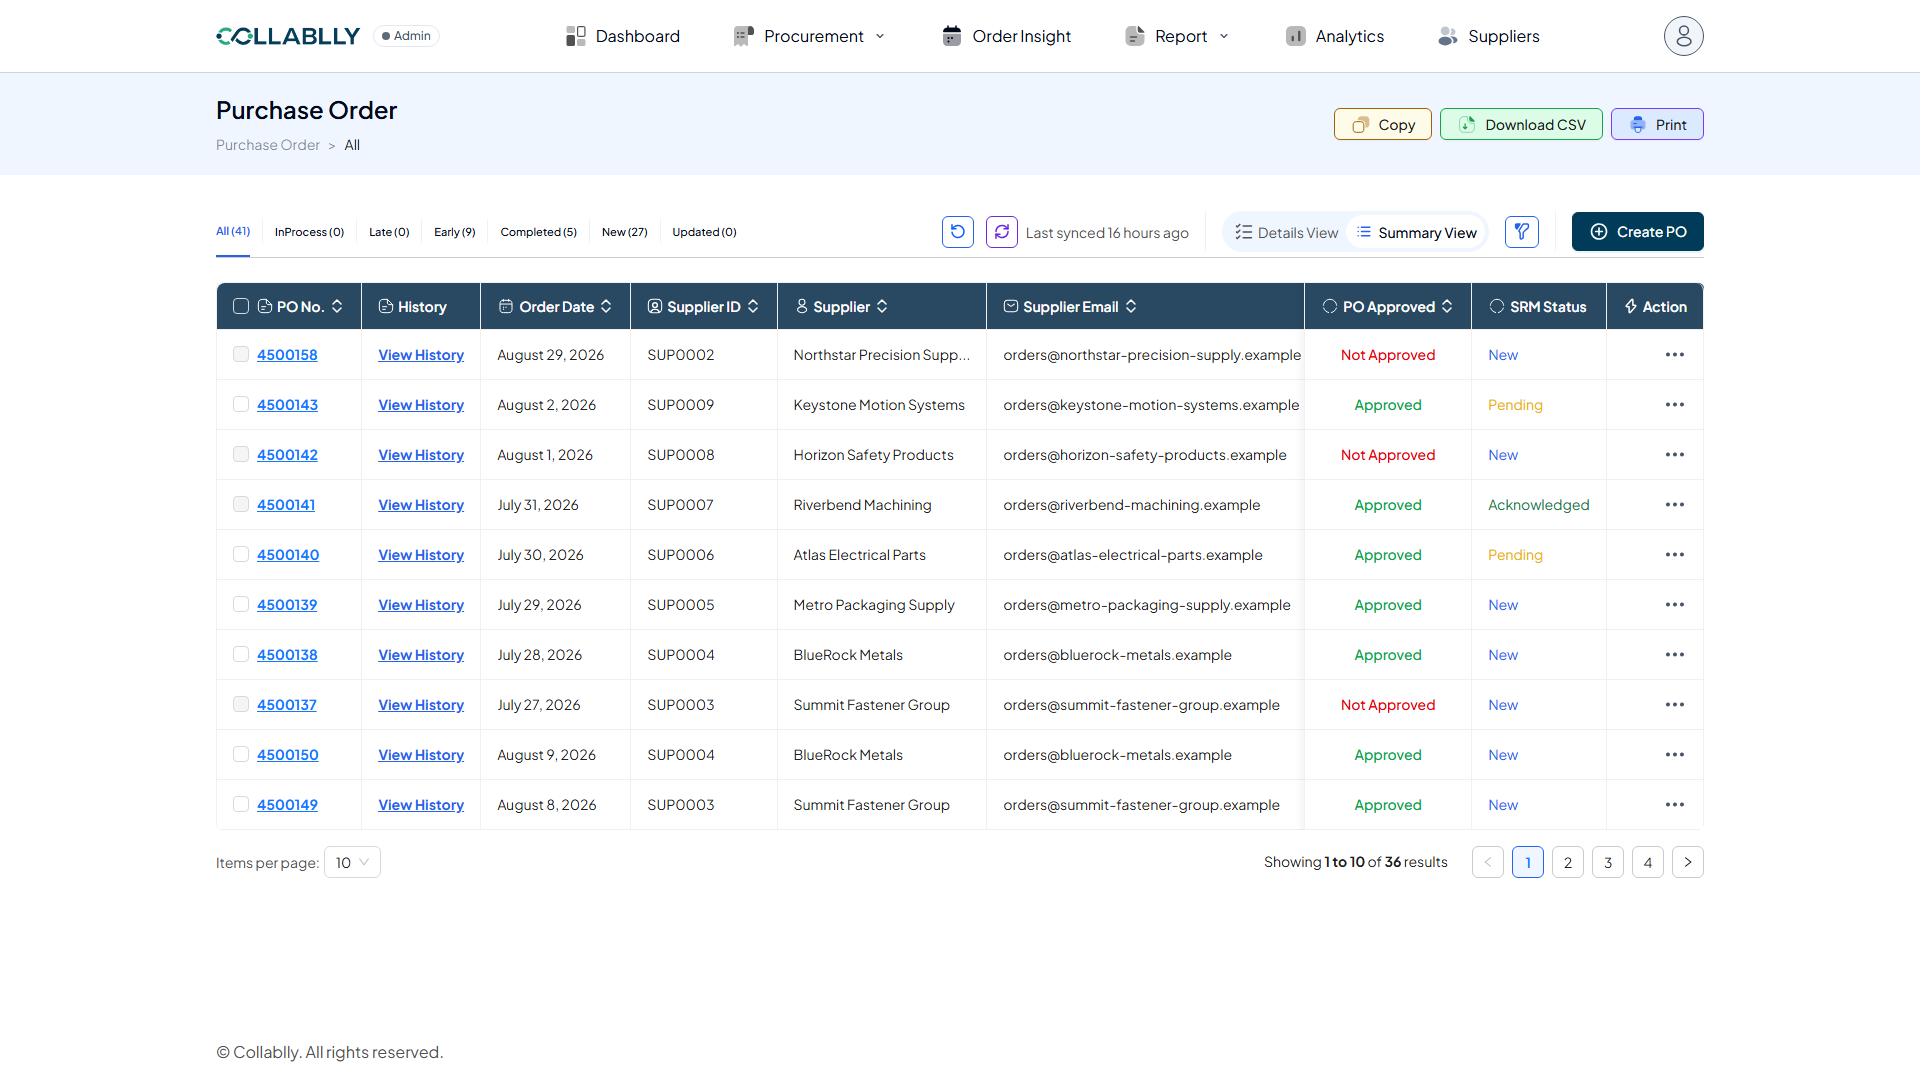
Copies the current table to your clipboard, ready to paste into a spreadsheet or email.
- Step 33 of 51
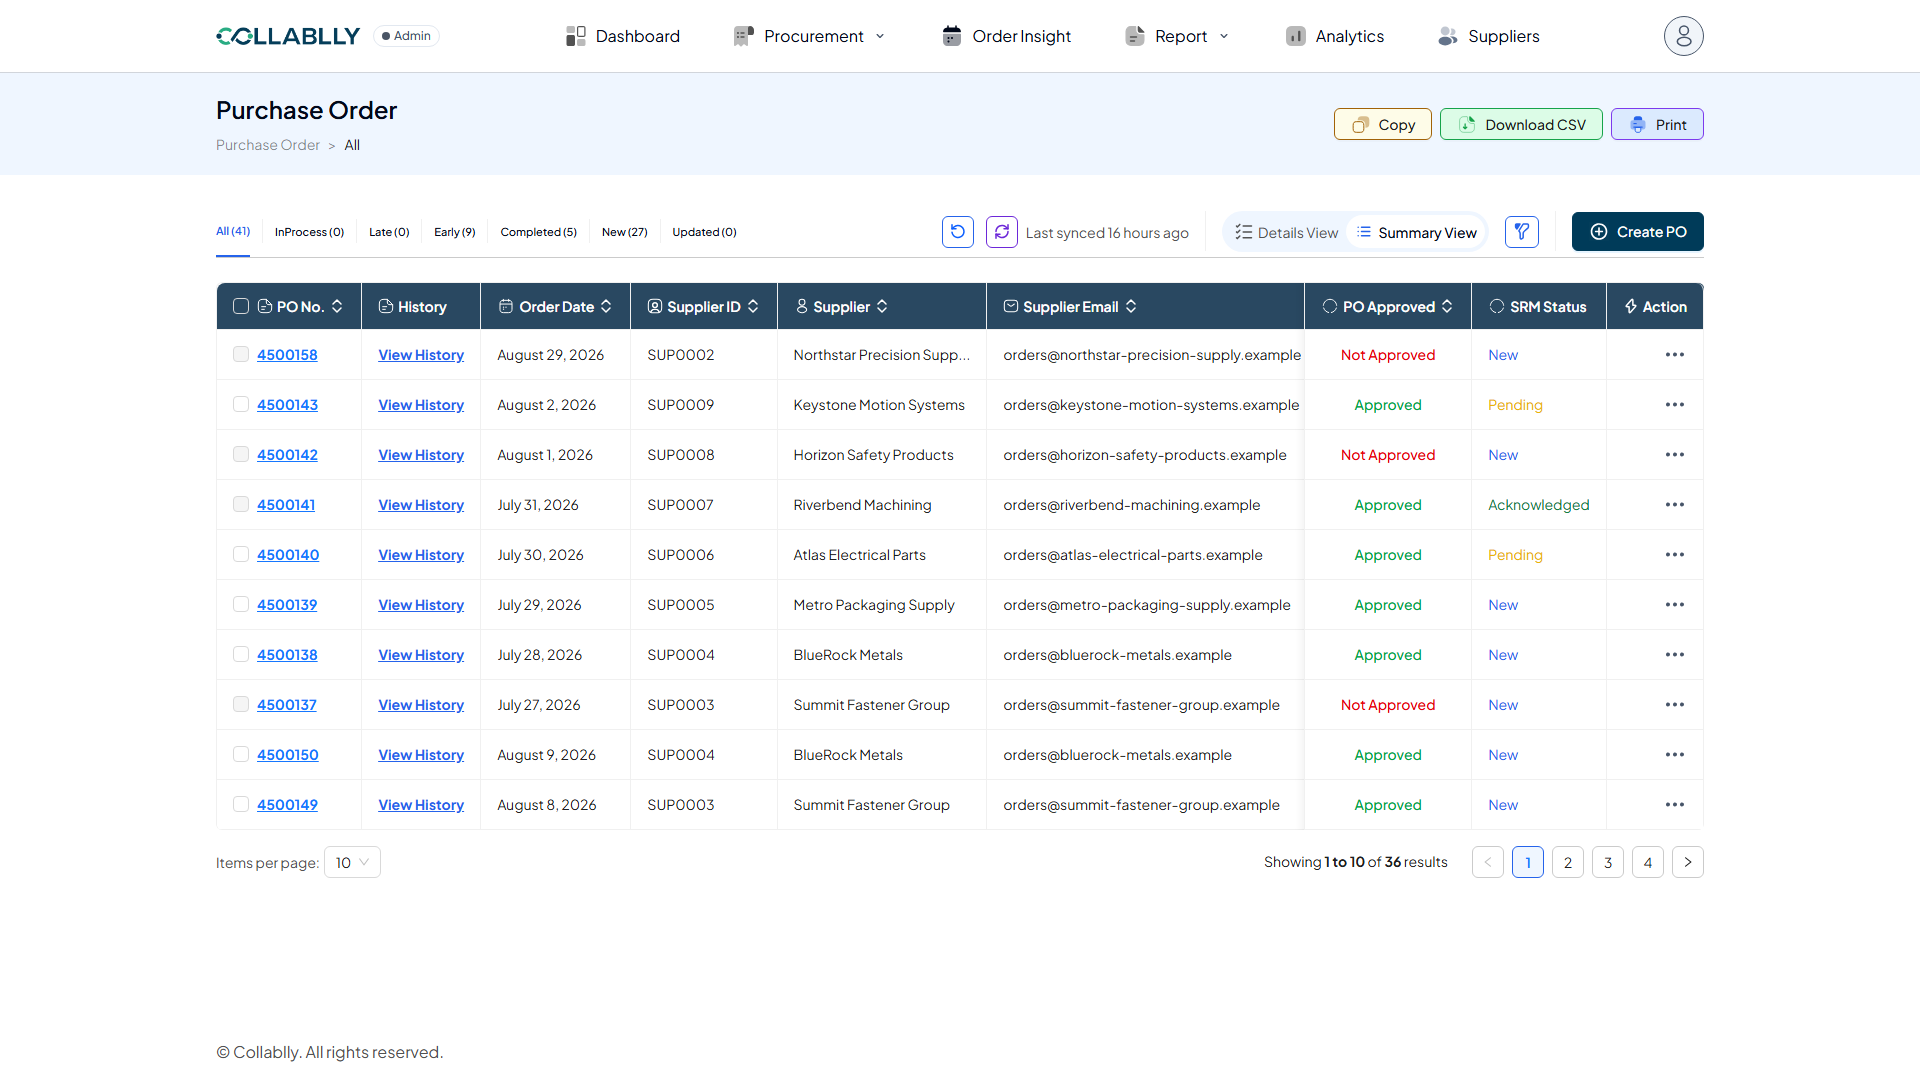
Download CSV
Exports the current view, respecting any filters and the active status tab, as a CSV file.
- Step 34 of 51
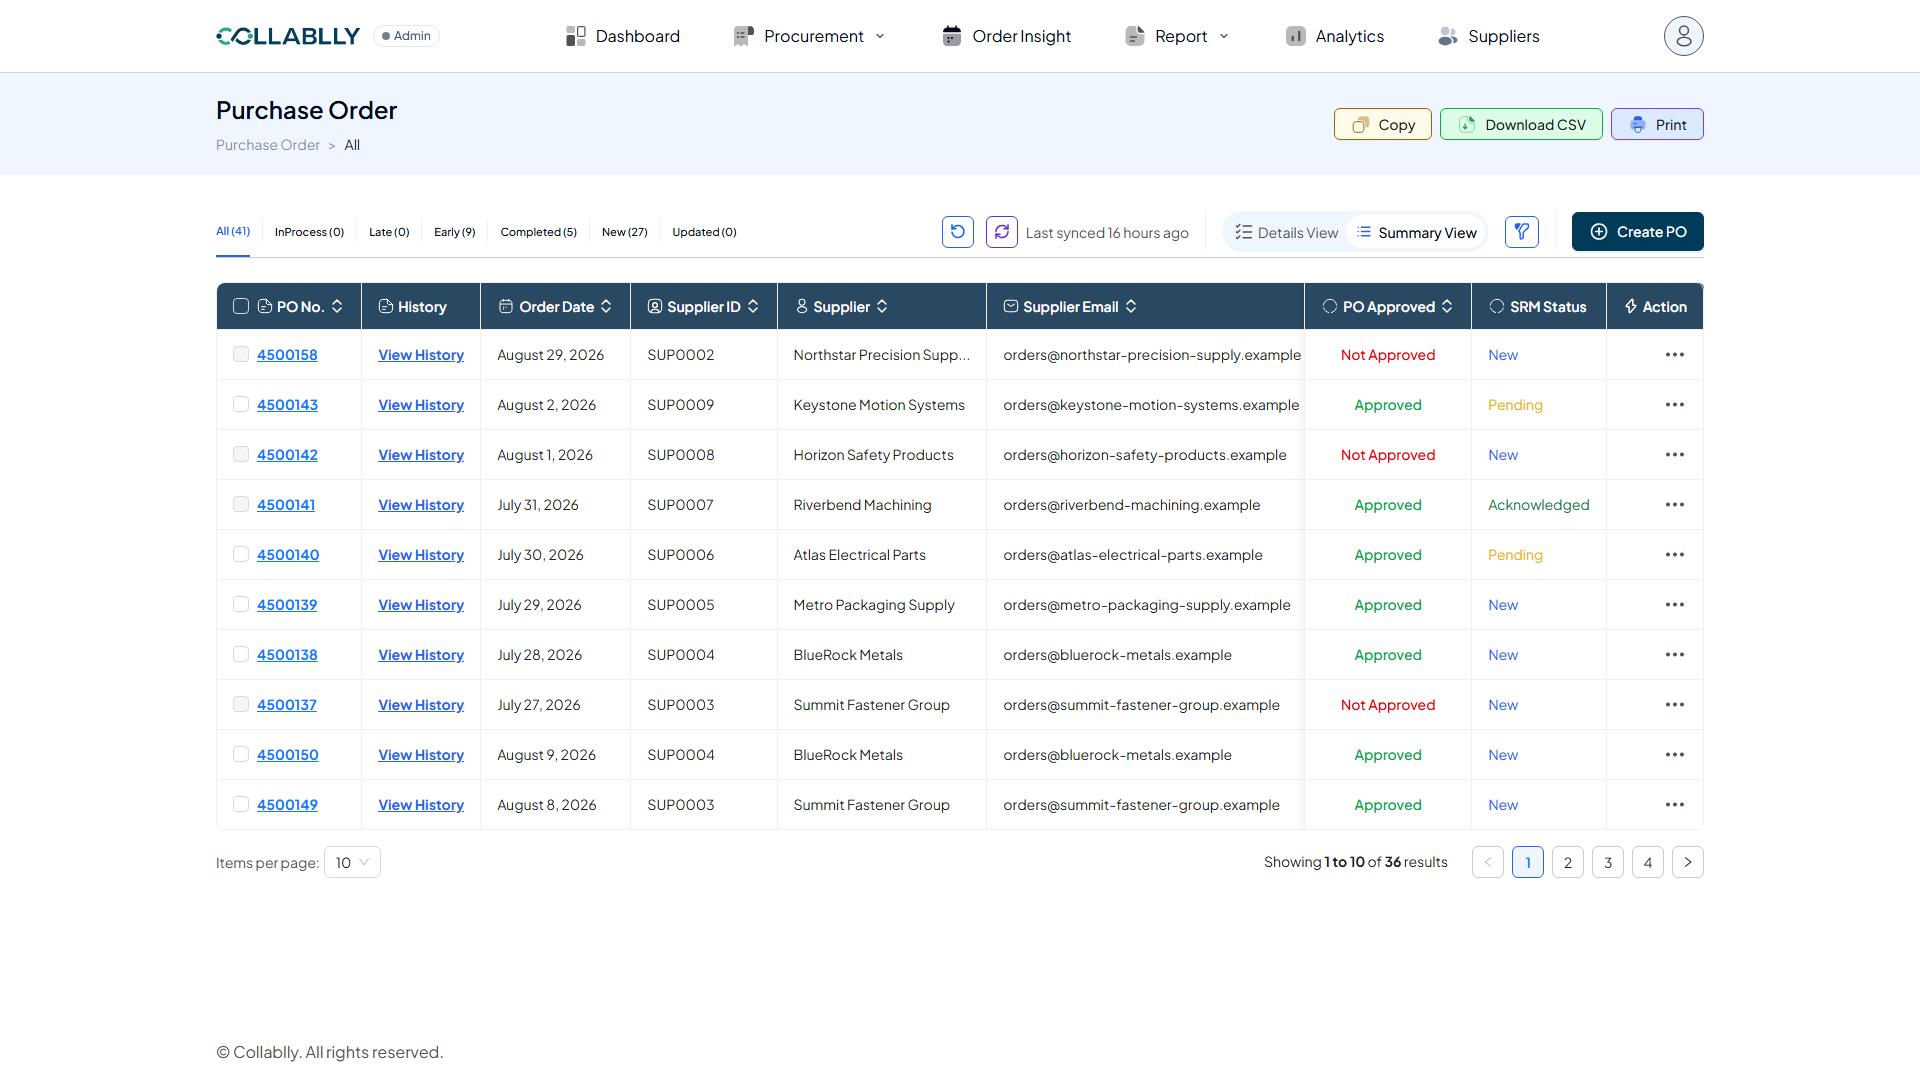
Print
Opens a print-friendly version of the current table.
- Step 35 of 51
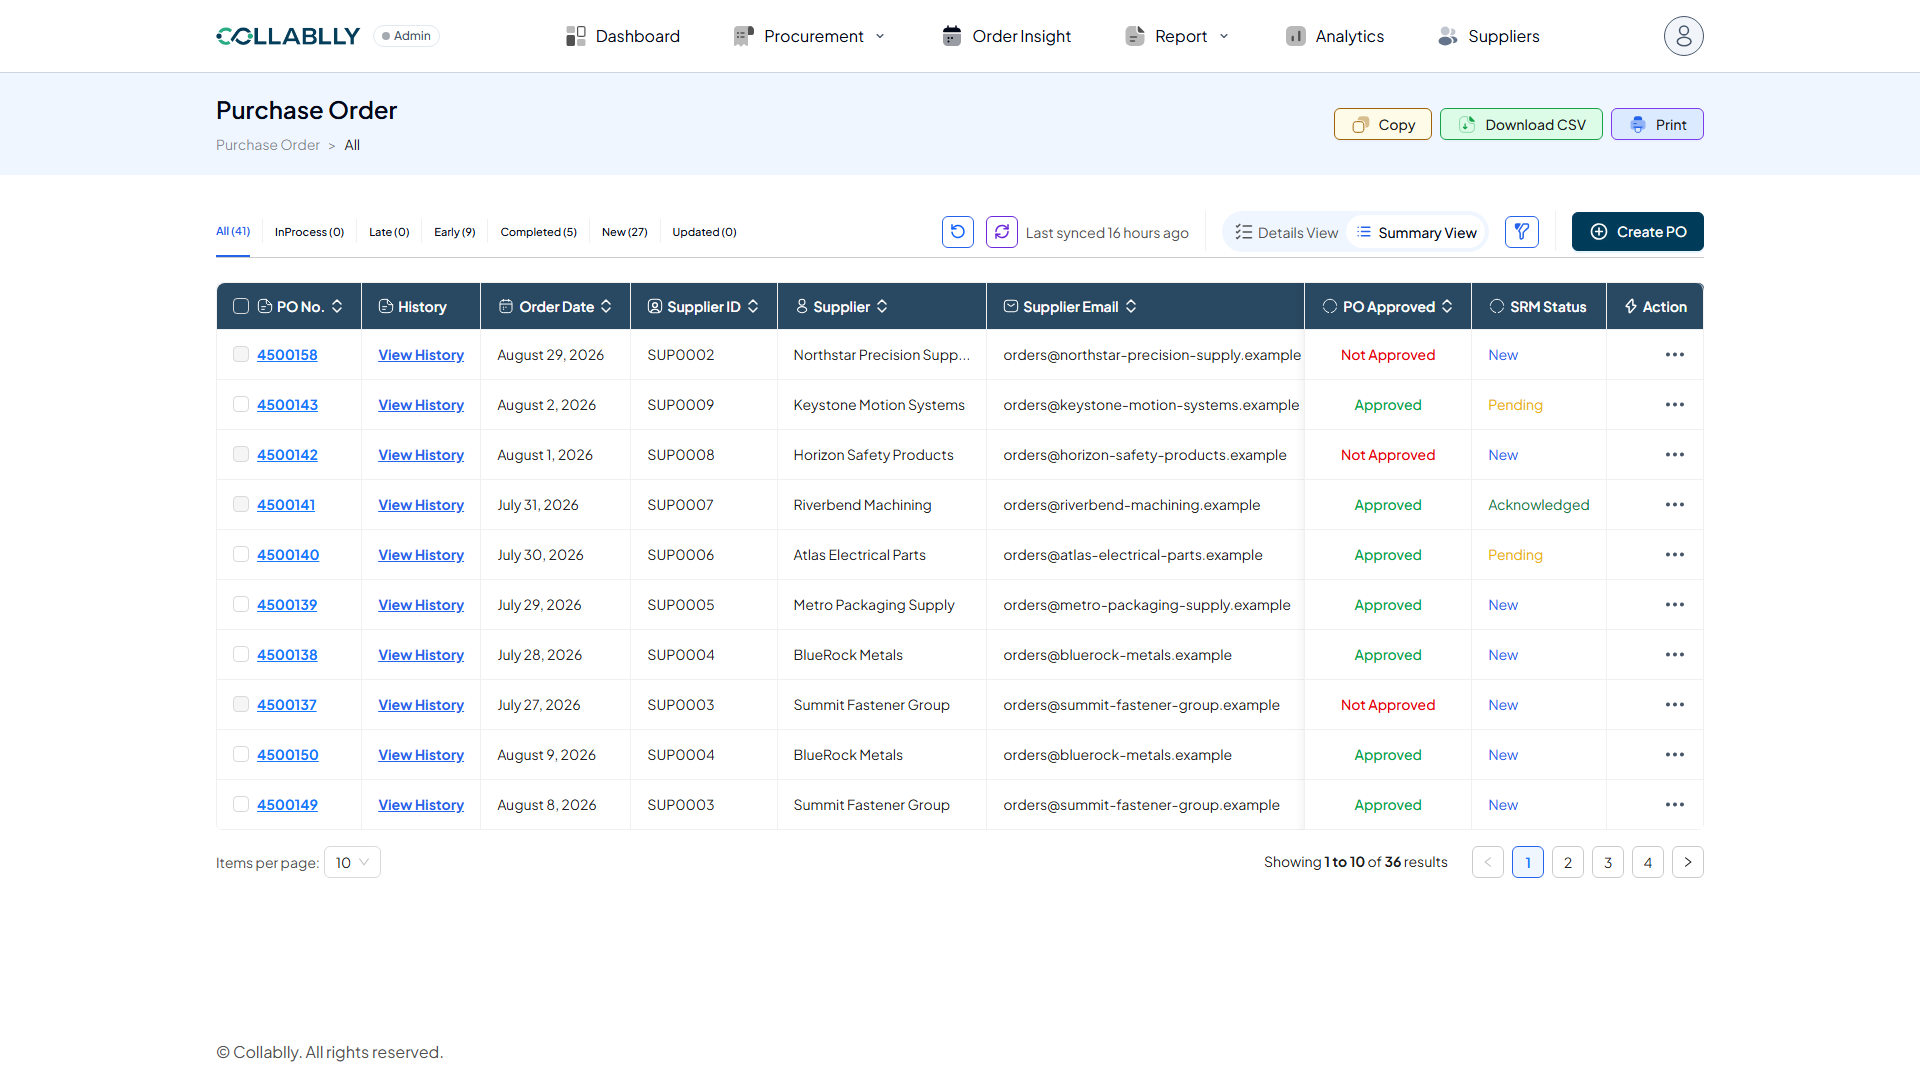
Create PO
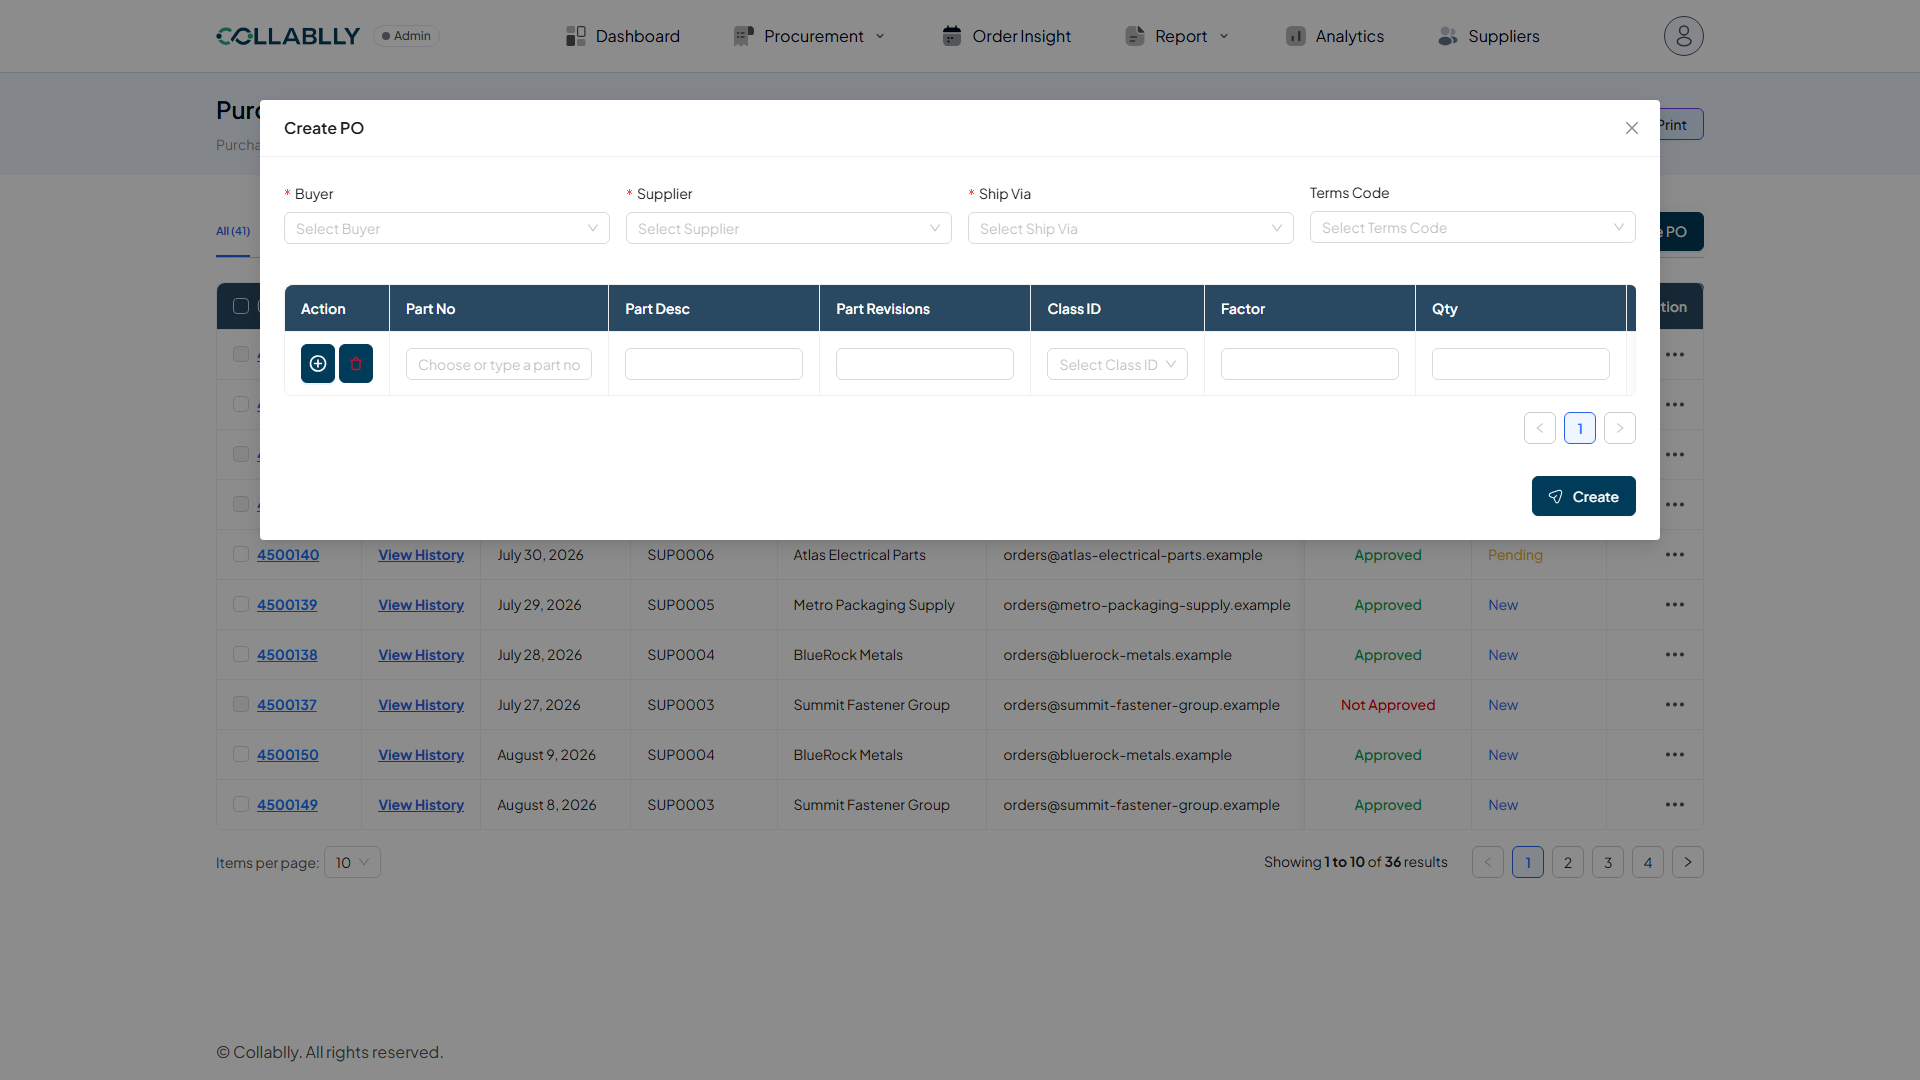
Opens a form to build a new PO by hand: Buyer, Supplier, Ship Via, Terms Code, and a line-item table for parts and quantities. We will walk through creating one in its own dedicated guide.
- Step 36 of 51
A closer look
The Create PO form: header fields at top, an editable line-item table below for every part on the order.
- Step 37 of 51
Column: PO No.
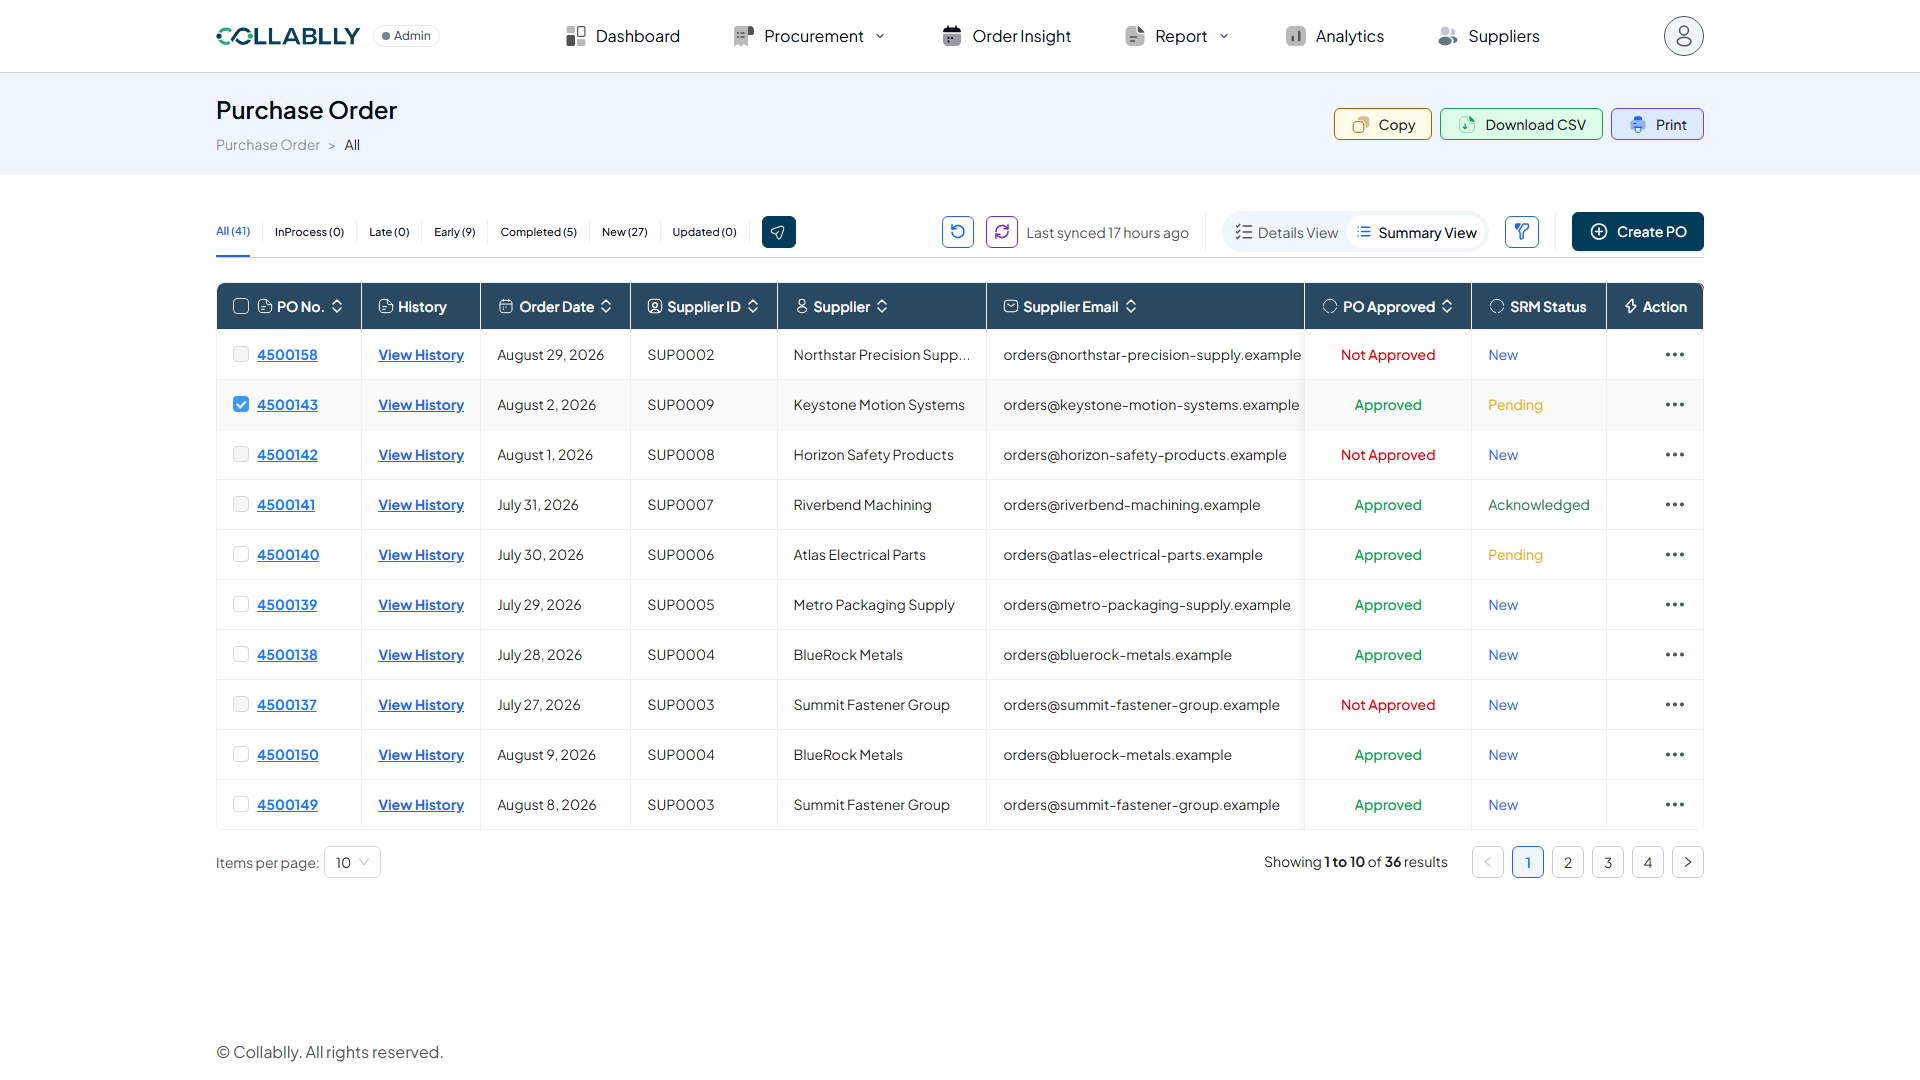
The purchase order number. Click it to open that PO’s full detail page. Check the box beside one or more rows to select them, then use the Send button that appears to send the initial communication.
- Step 38 of 51
Send the initial communication
Selecting one or more rows reveals a Send button in the toolbar. It emails the supplier the PO as a PDF attachment, similar to placing the order with them, and the supplier can accept or reject it from their end.
- Step 39 of 51
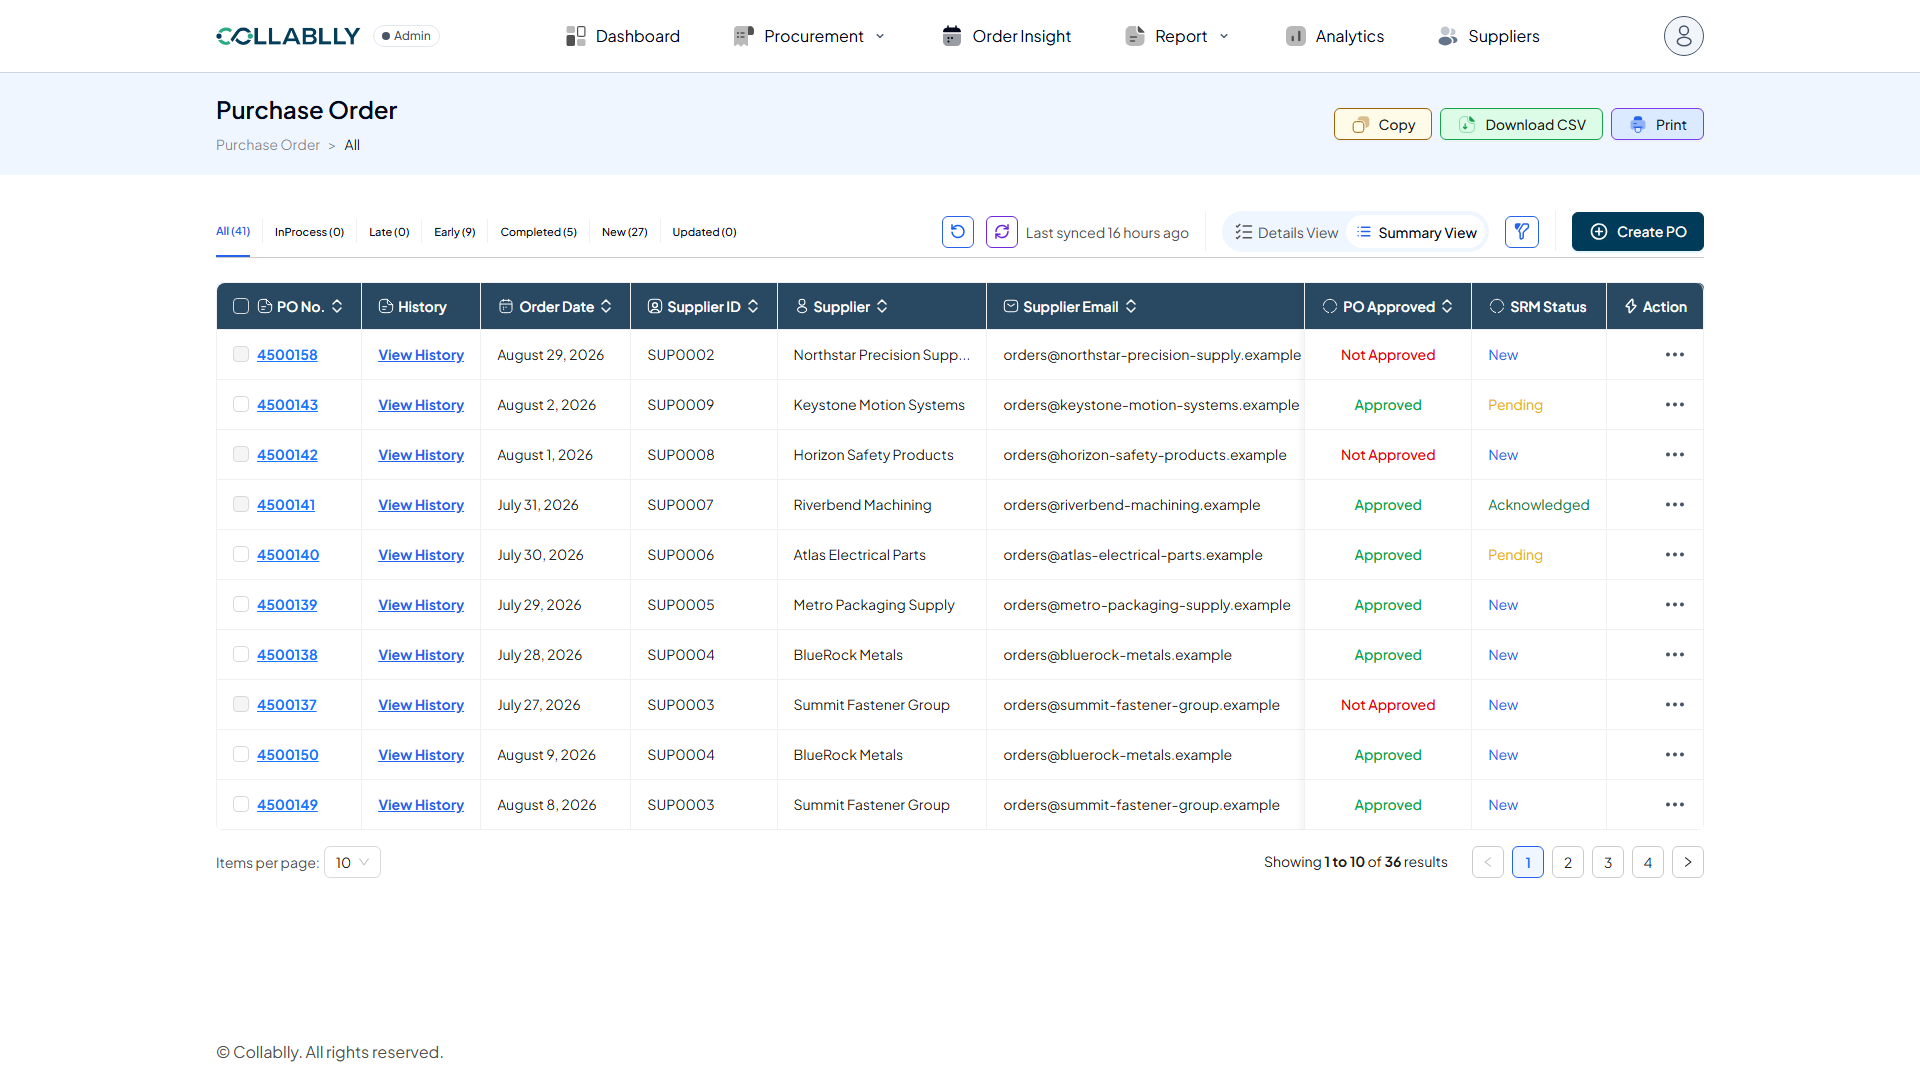
Column: History
Opens the communication log for this PO: every message sent or received, when, and its status.
- Step 40 of 51
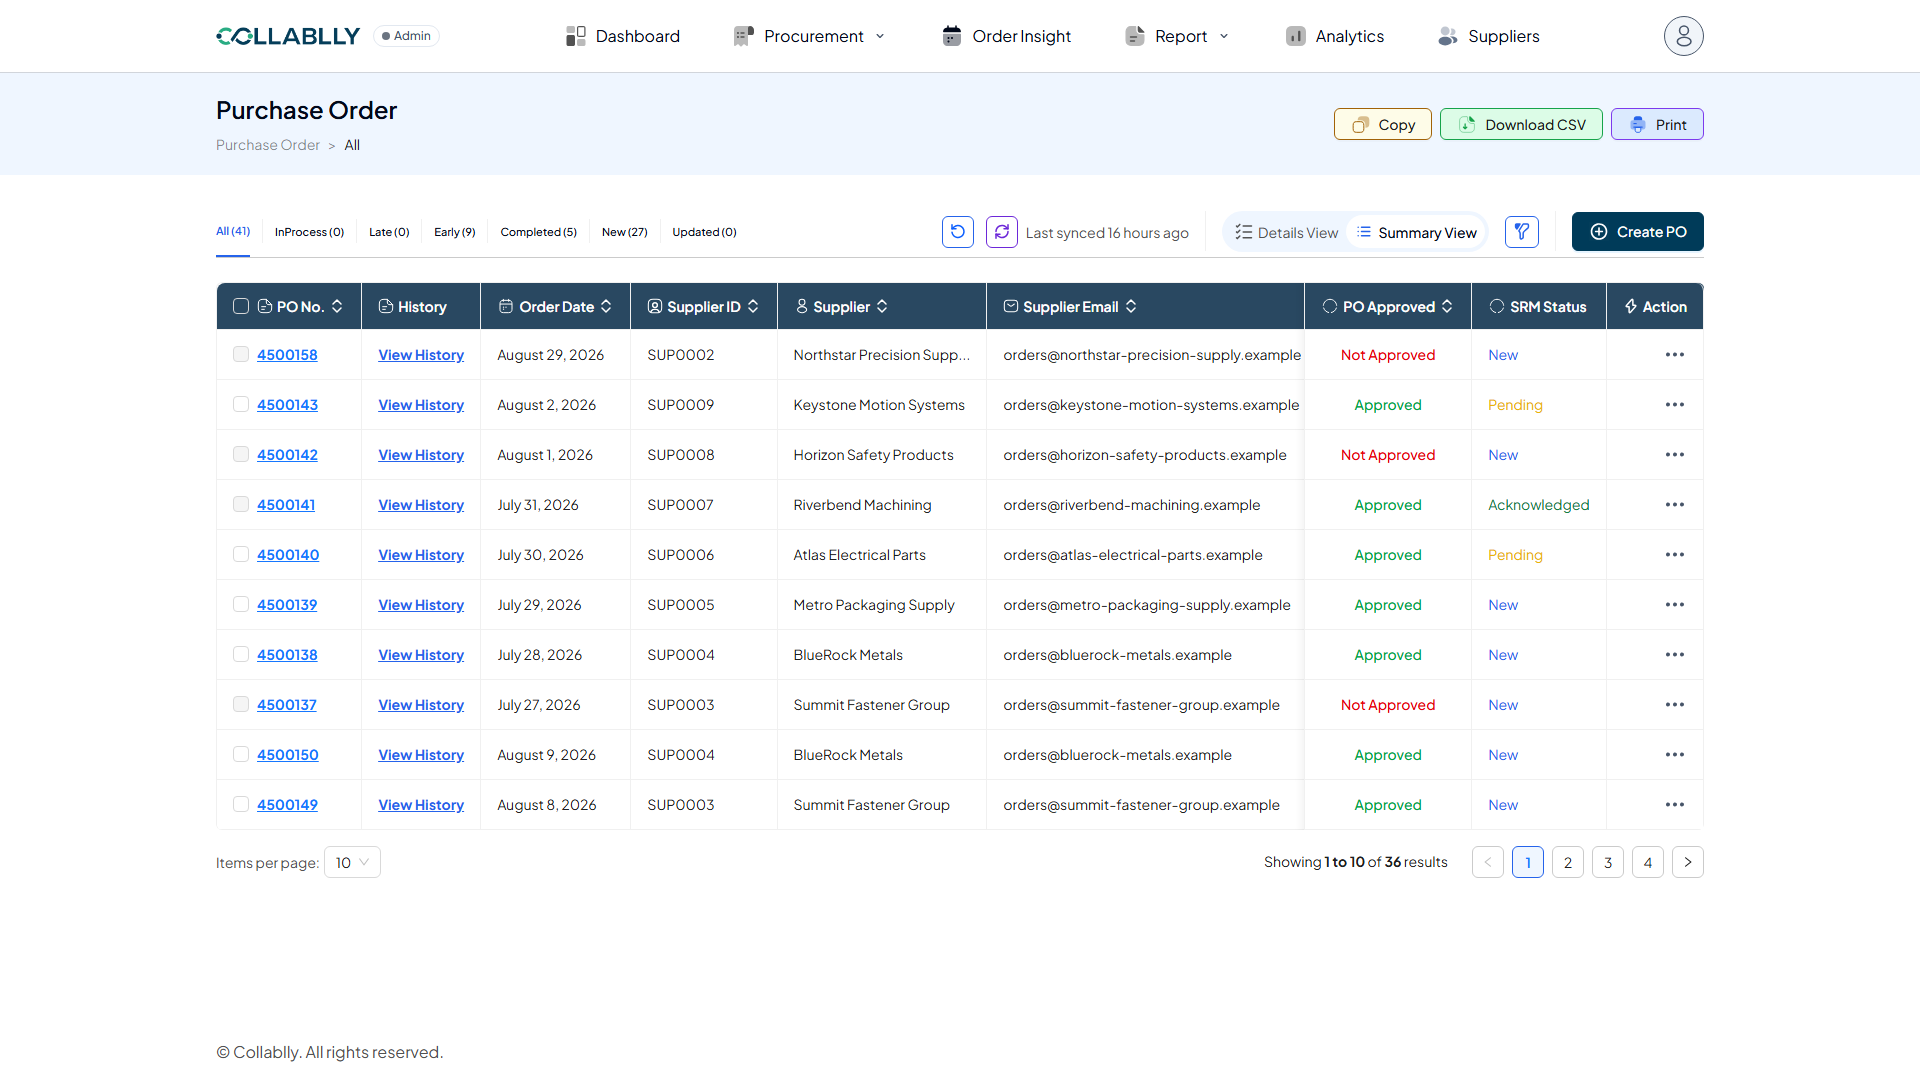
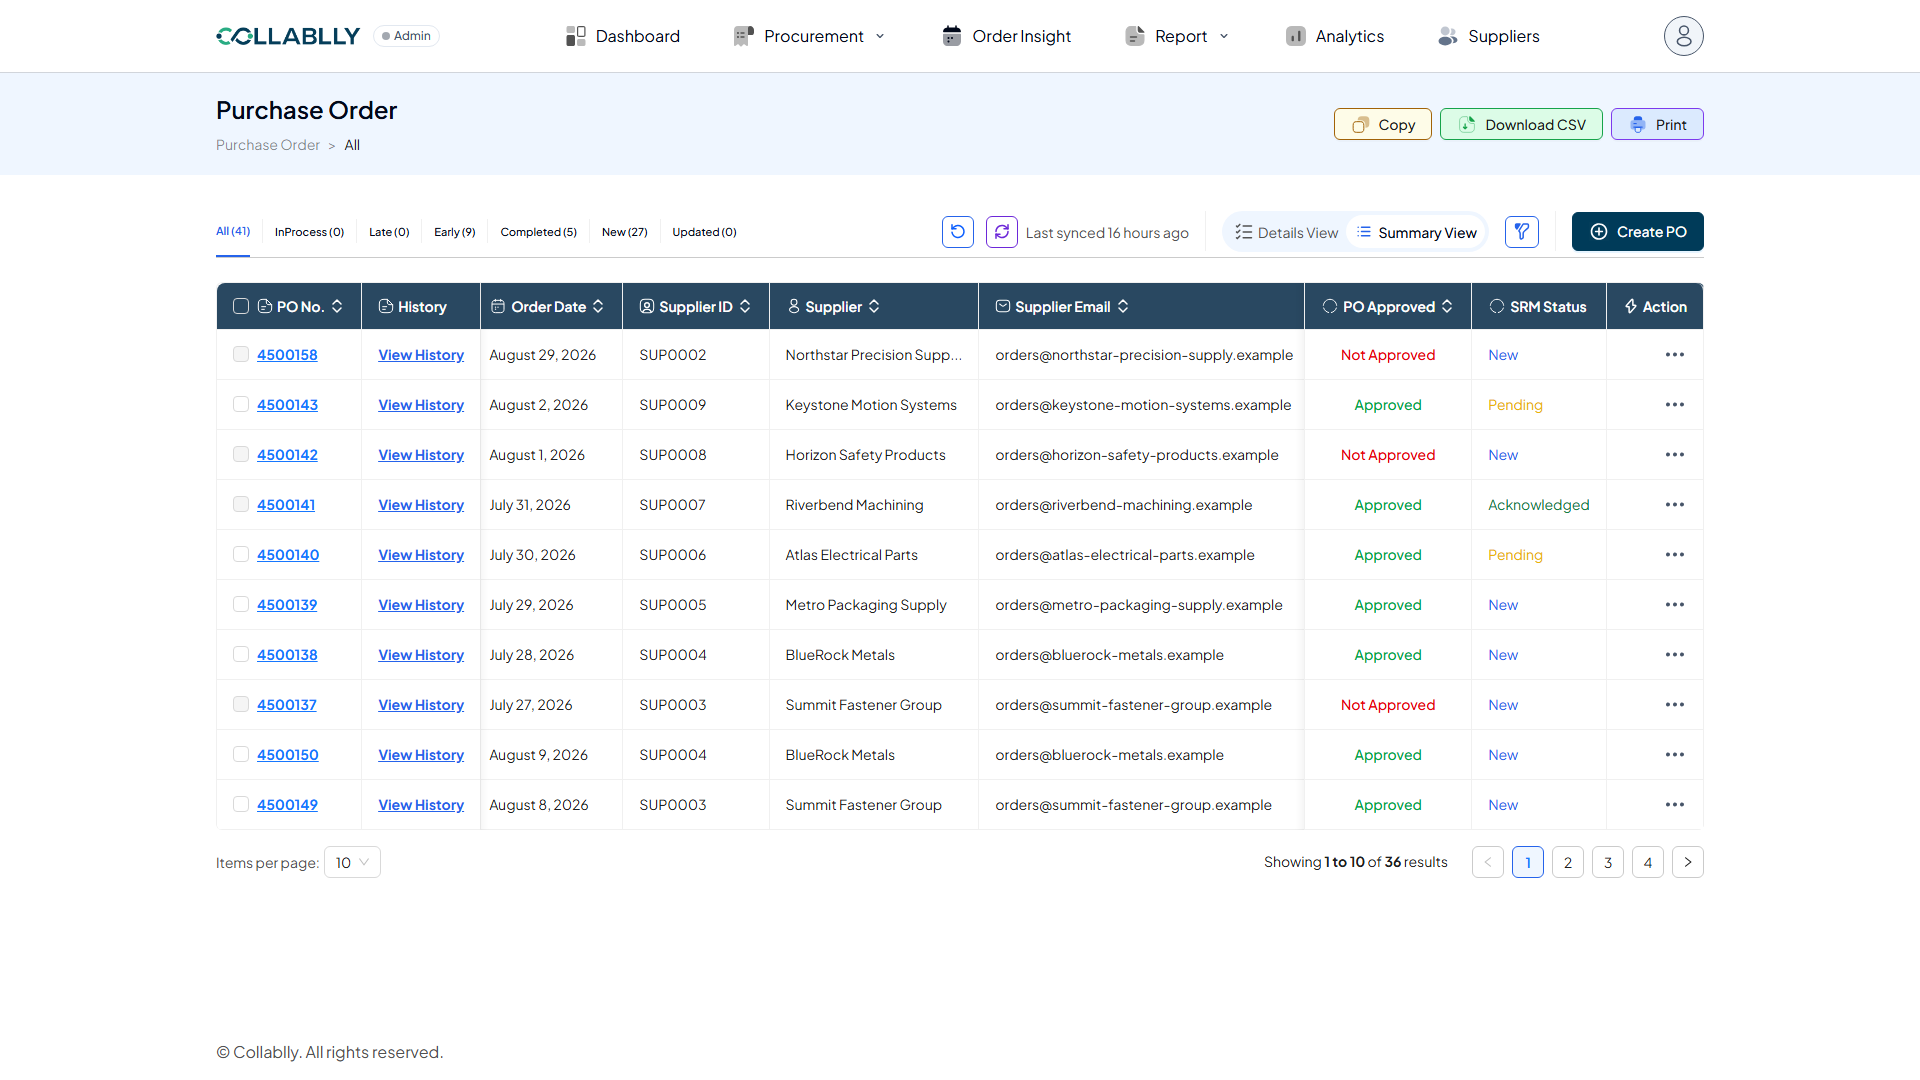
Column: Order Date
The date this PO was placed.
- Step 41 of 51
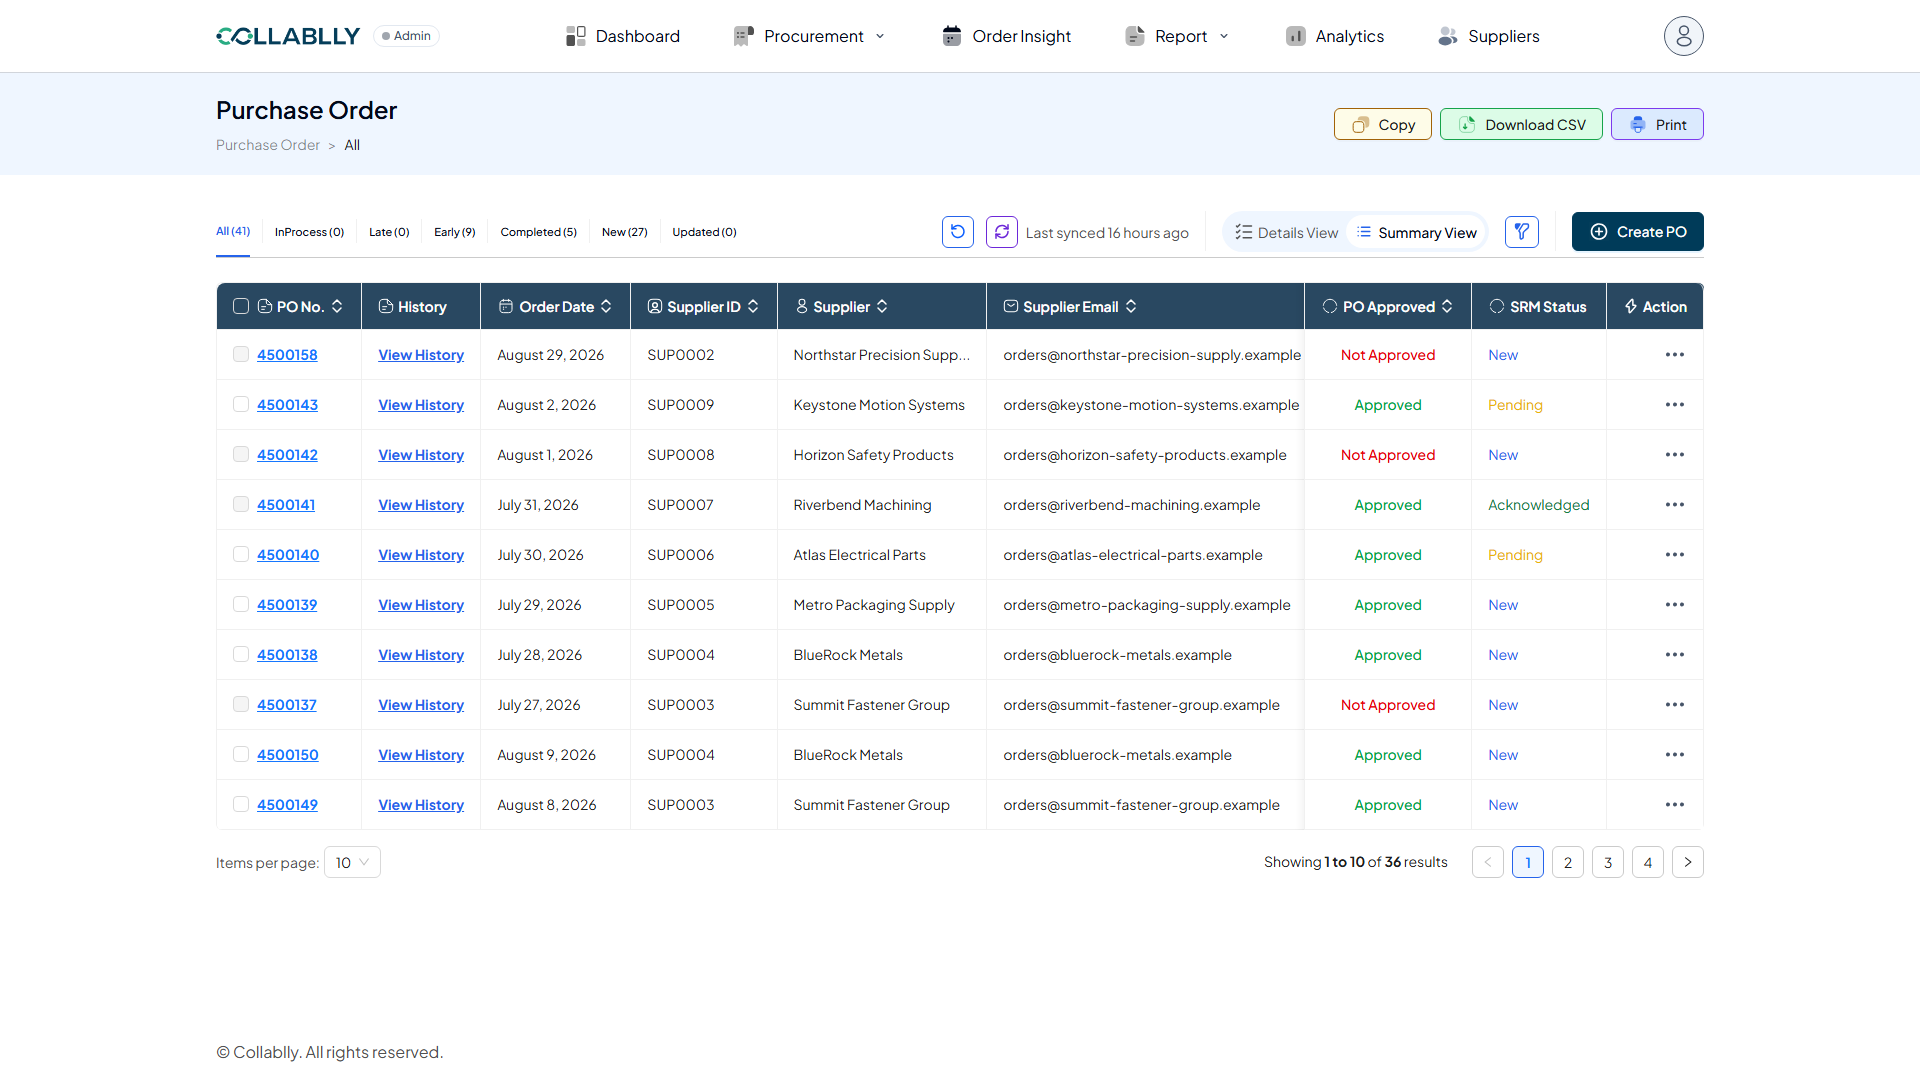
Column: Supplier ID
The supplier’s internal ID in this tenant.
- Step 42 of 51
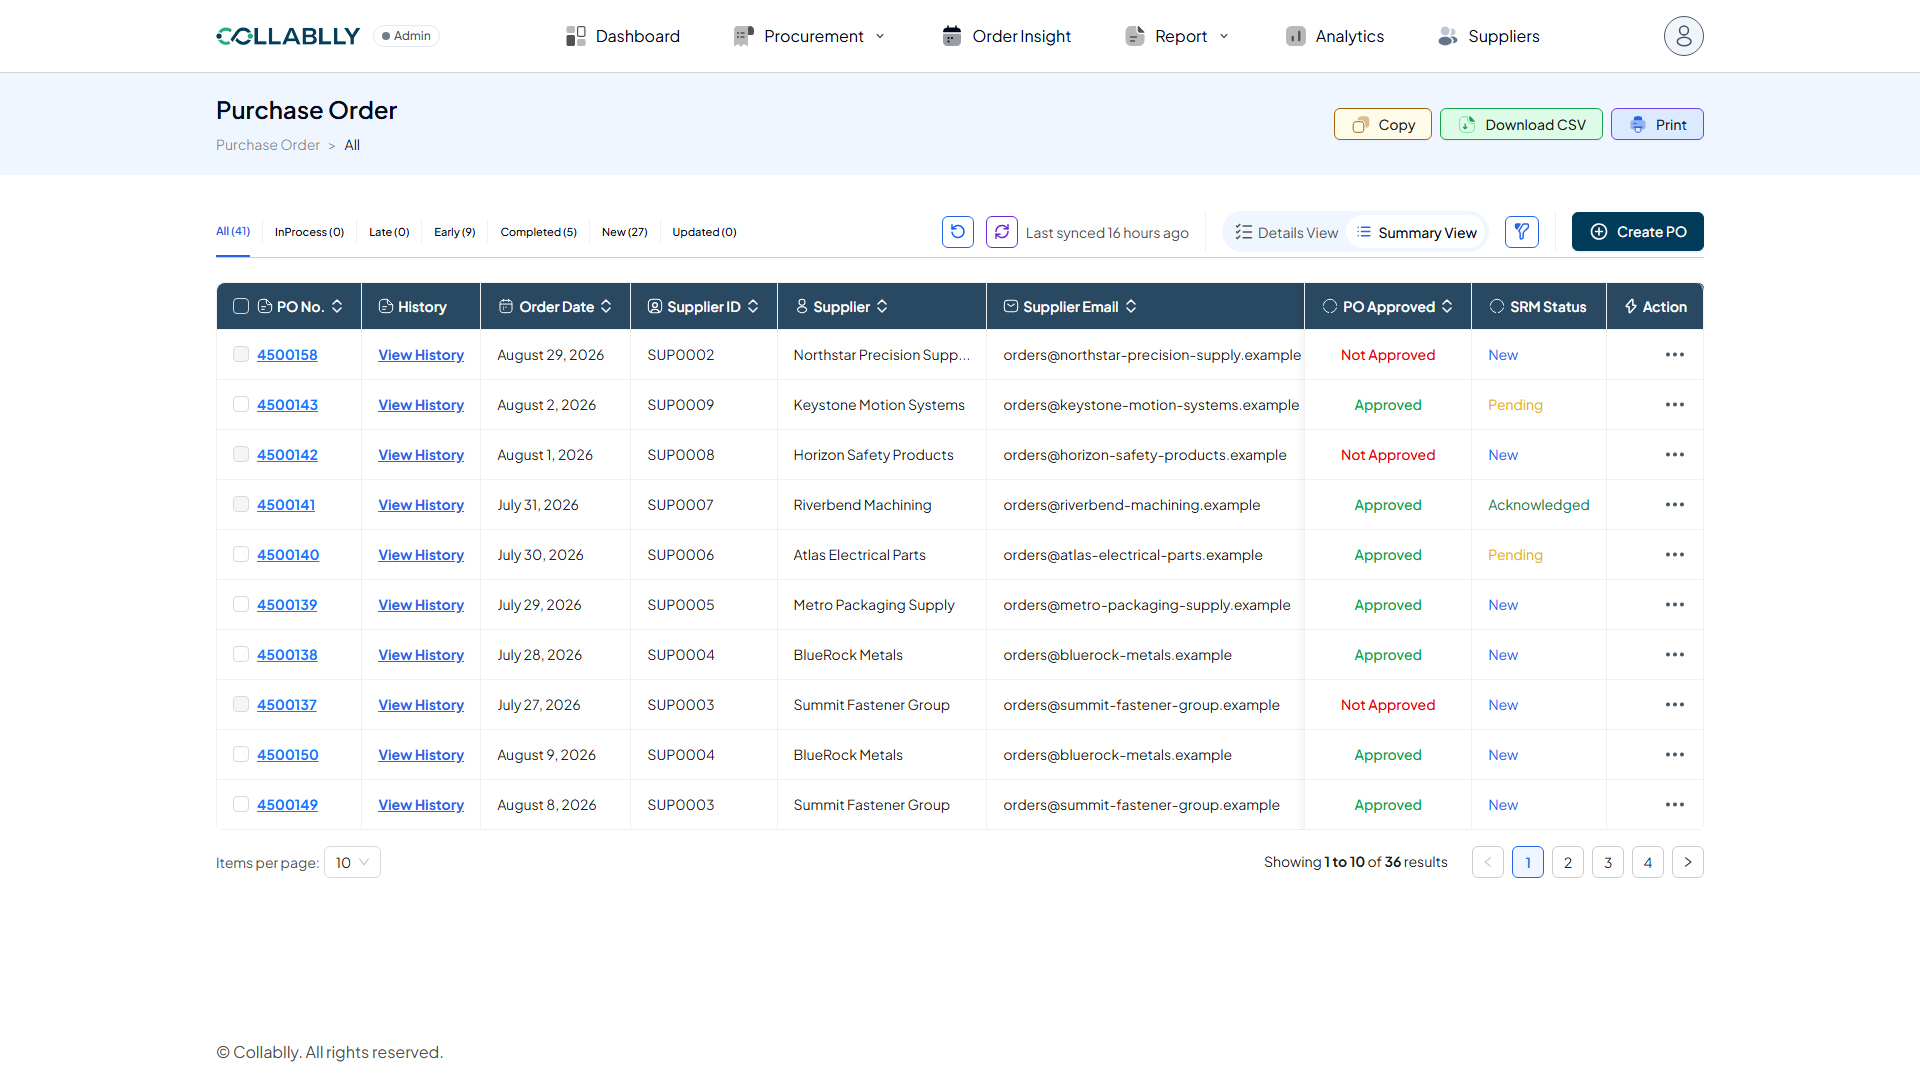
Column: Supplier
The supplier’s company name.
- Step 43 of 51
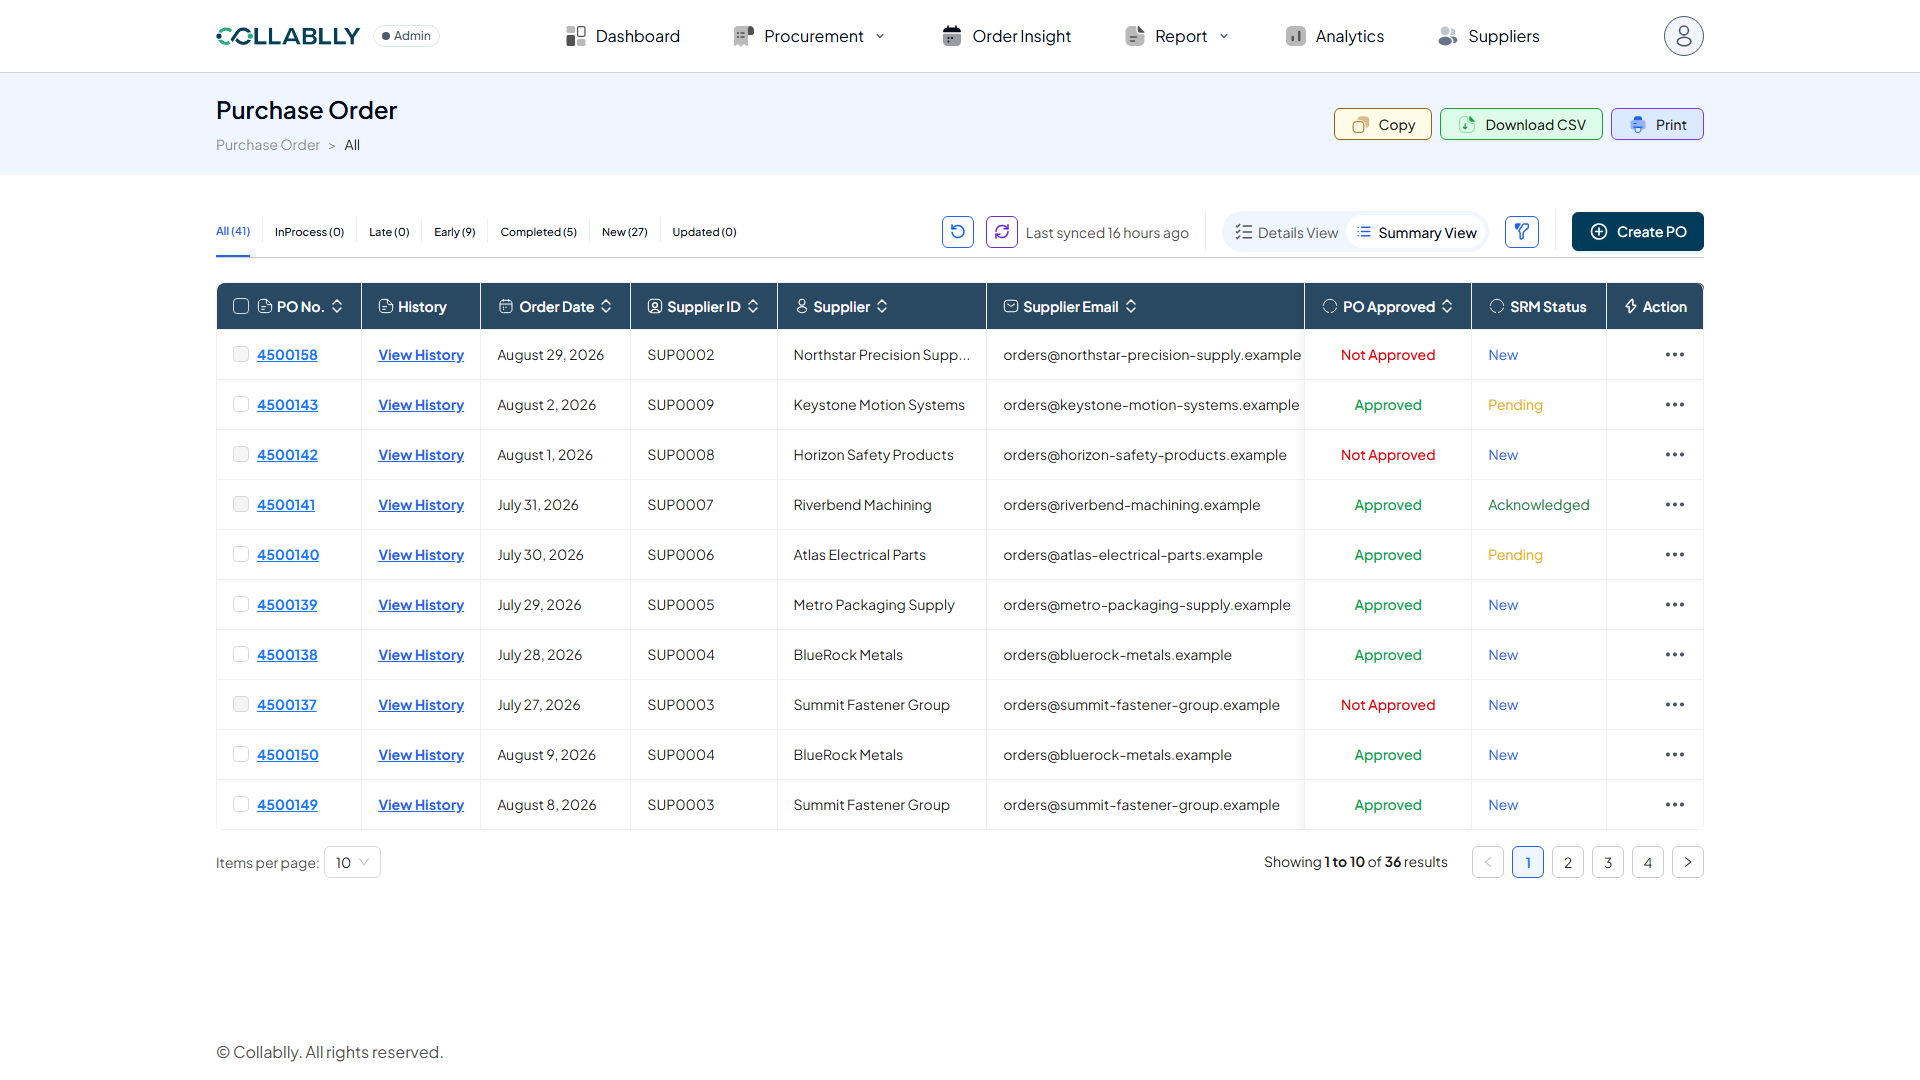
Column: Supplier Email
The email address this PO’s notifications are sent to.
- Step 44 of 51
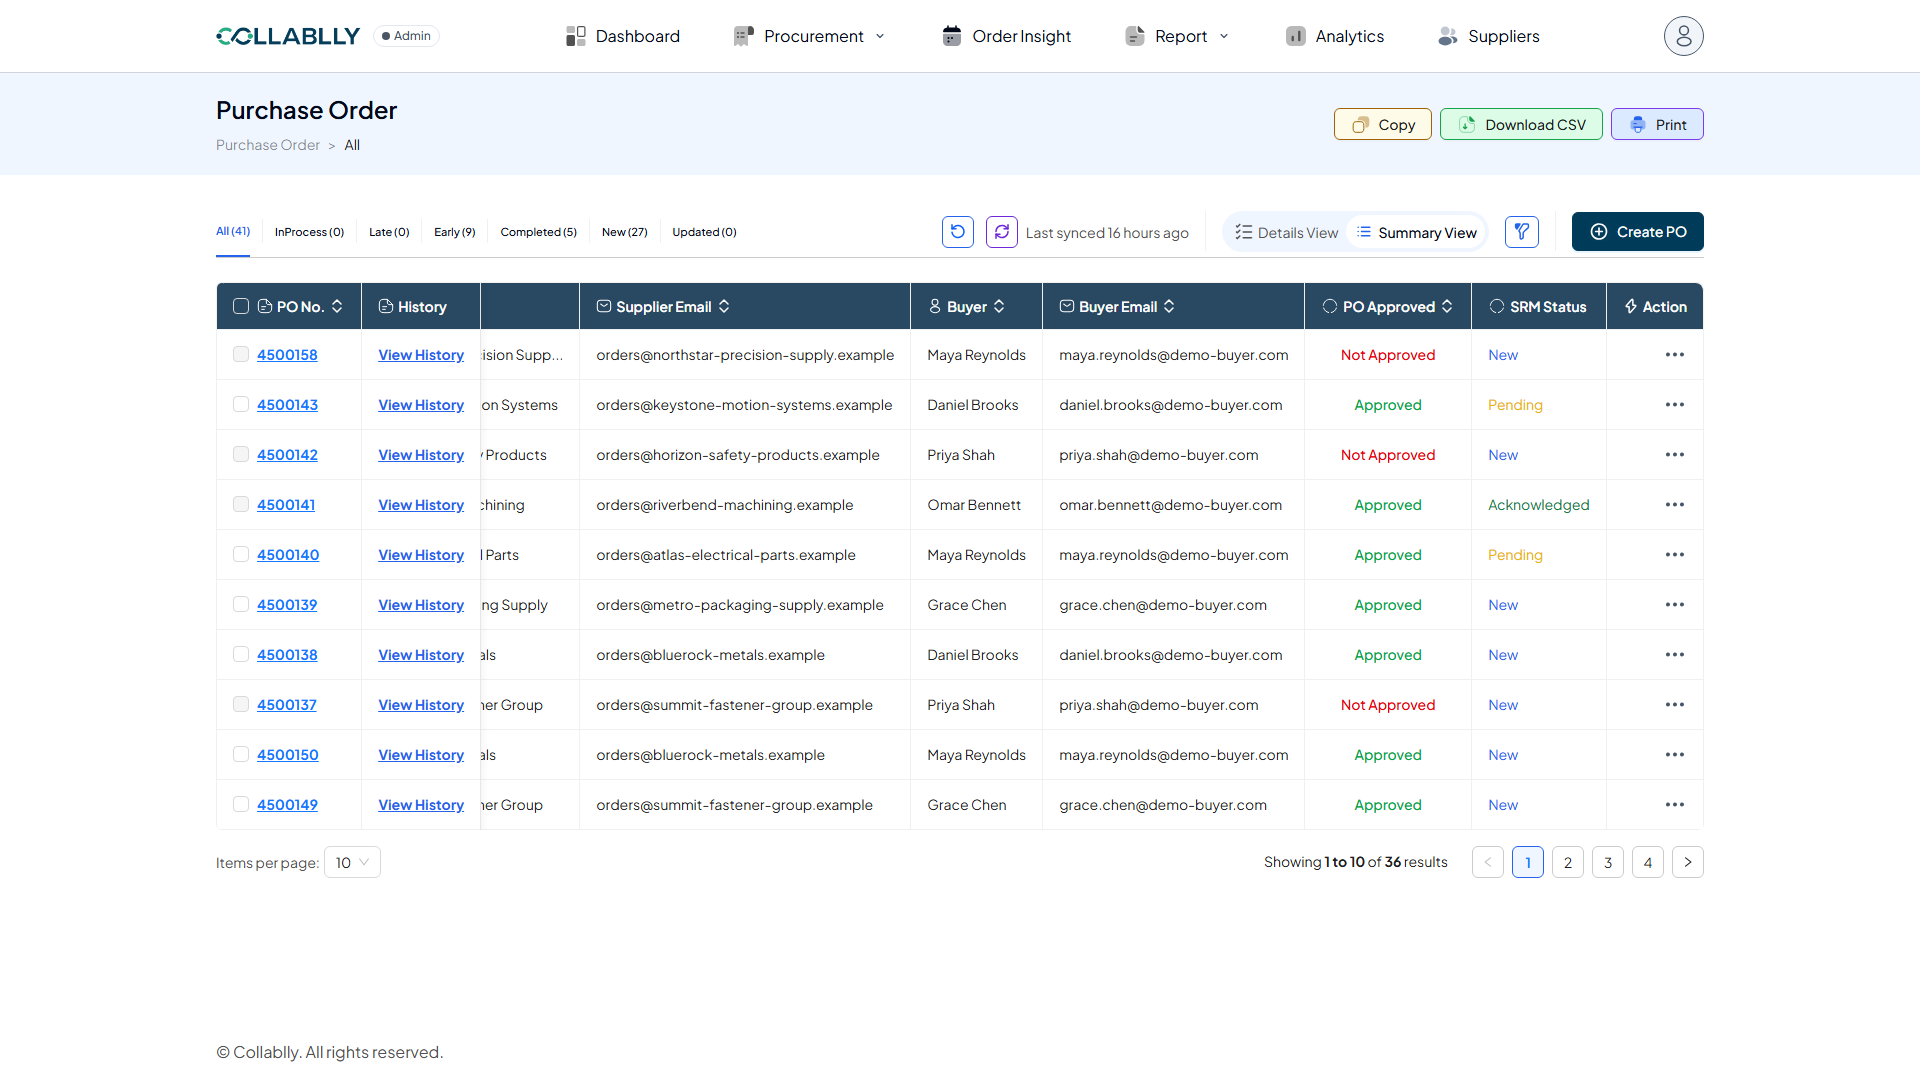
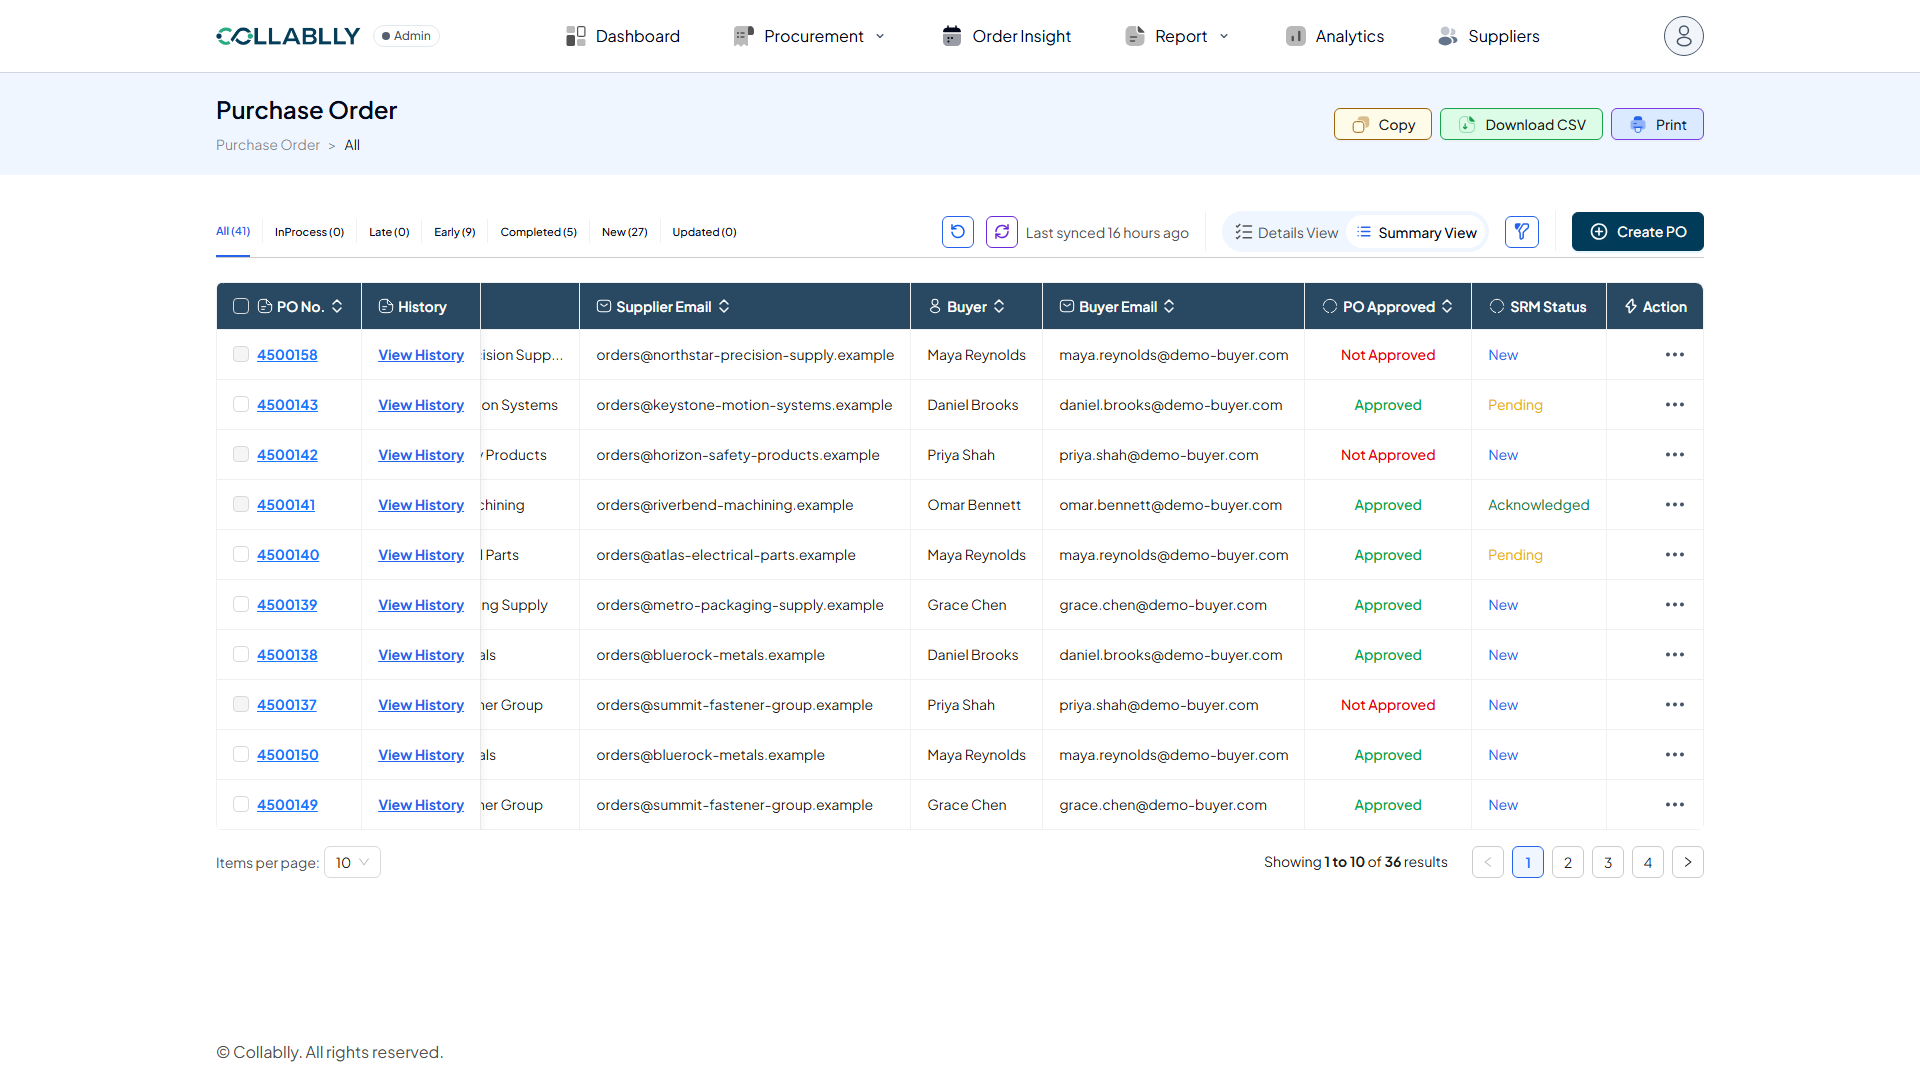
Column: Buyer
The buyer responsible for this PO internally. PO Approved, SRM Status, and Action stay pinned on the right, so scroll the table right to bring Buyer into view past Supplier Email.
- Step 45 of 51
Column: Buyer Email
The buyer’s contact email on this PO, right next to Buyer once you scroll the table over.
- Step 46 of 51
Column: PO Approved
Whether this PO has been approved in the ERP system: Approved or Not Approved.
- Step 47 of 51
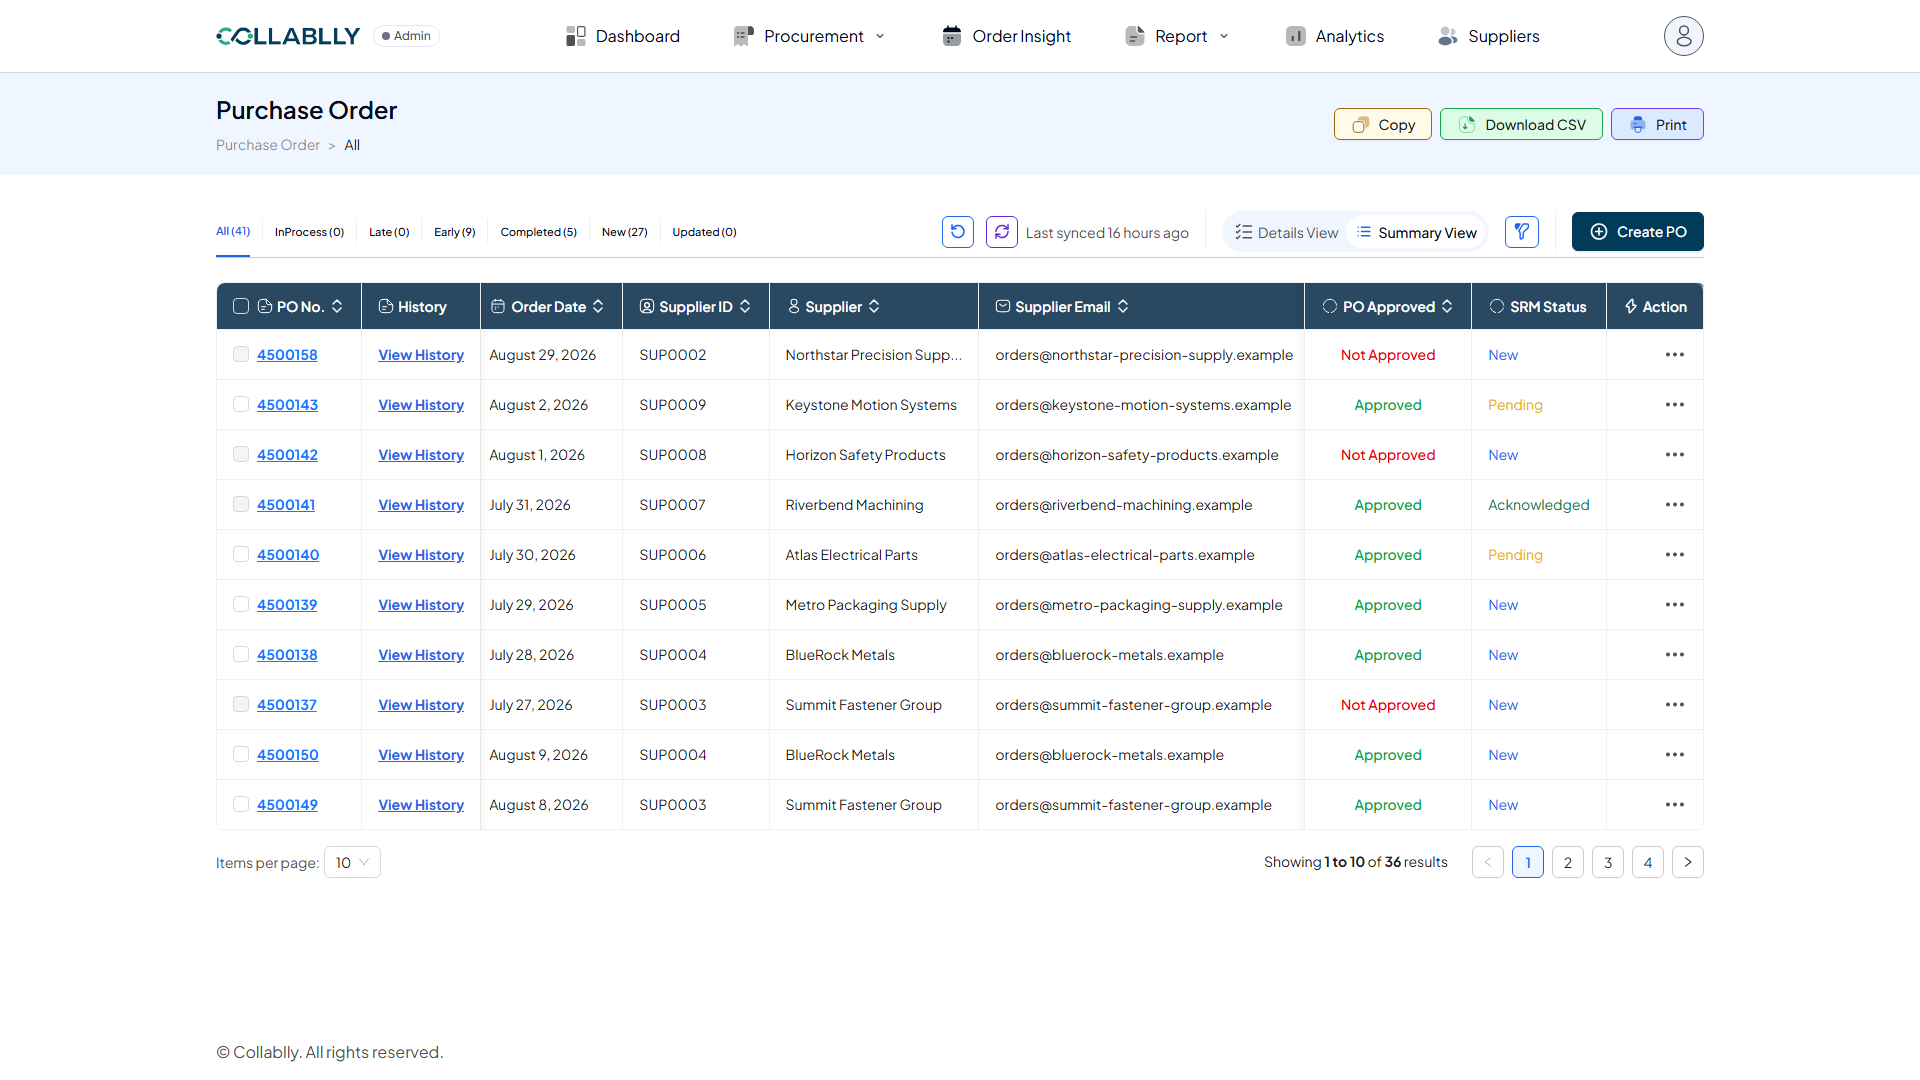
Column: SRM Status
The status of this PO’s communication with the supplier through Collablly SRM: New, Pending, Acknowledged, and so on.
- Step 48 of 51
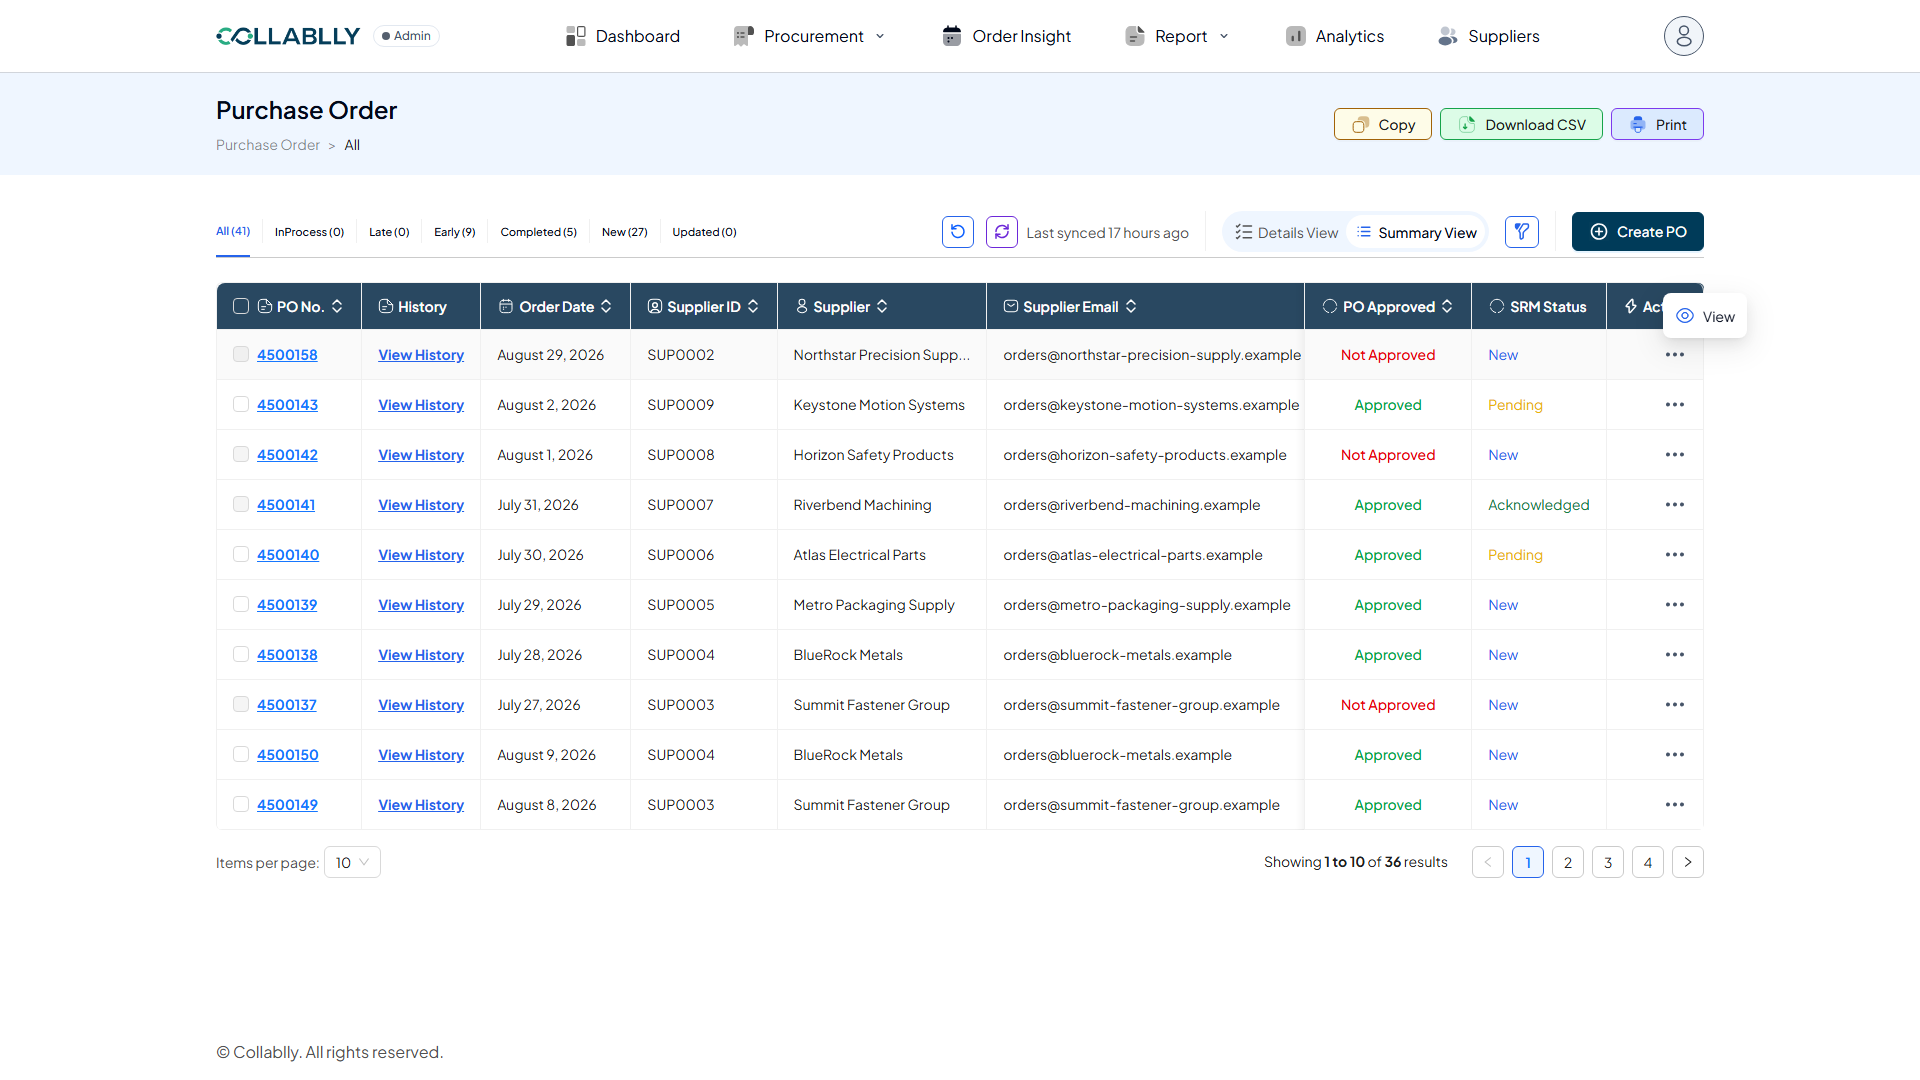
Action menu: New
When SRM Status is New, the only option is View, which opens the PO’s full detail page.
- Step 49 of 51
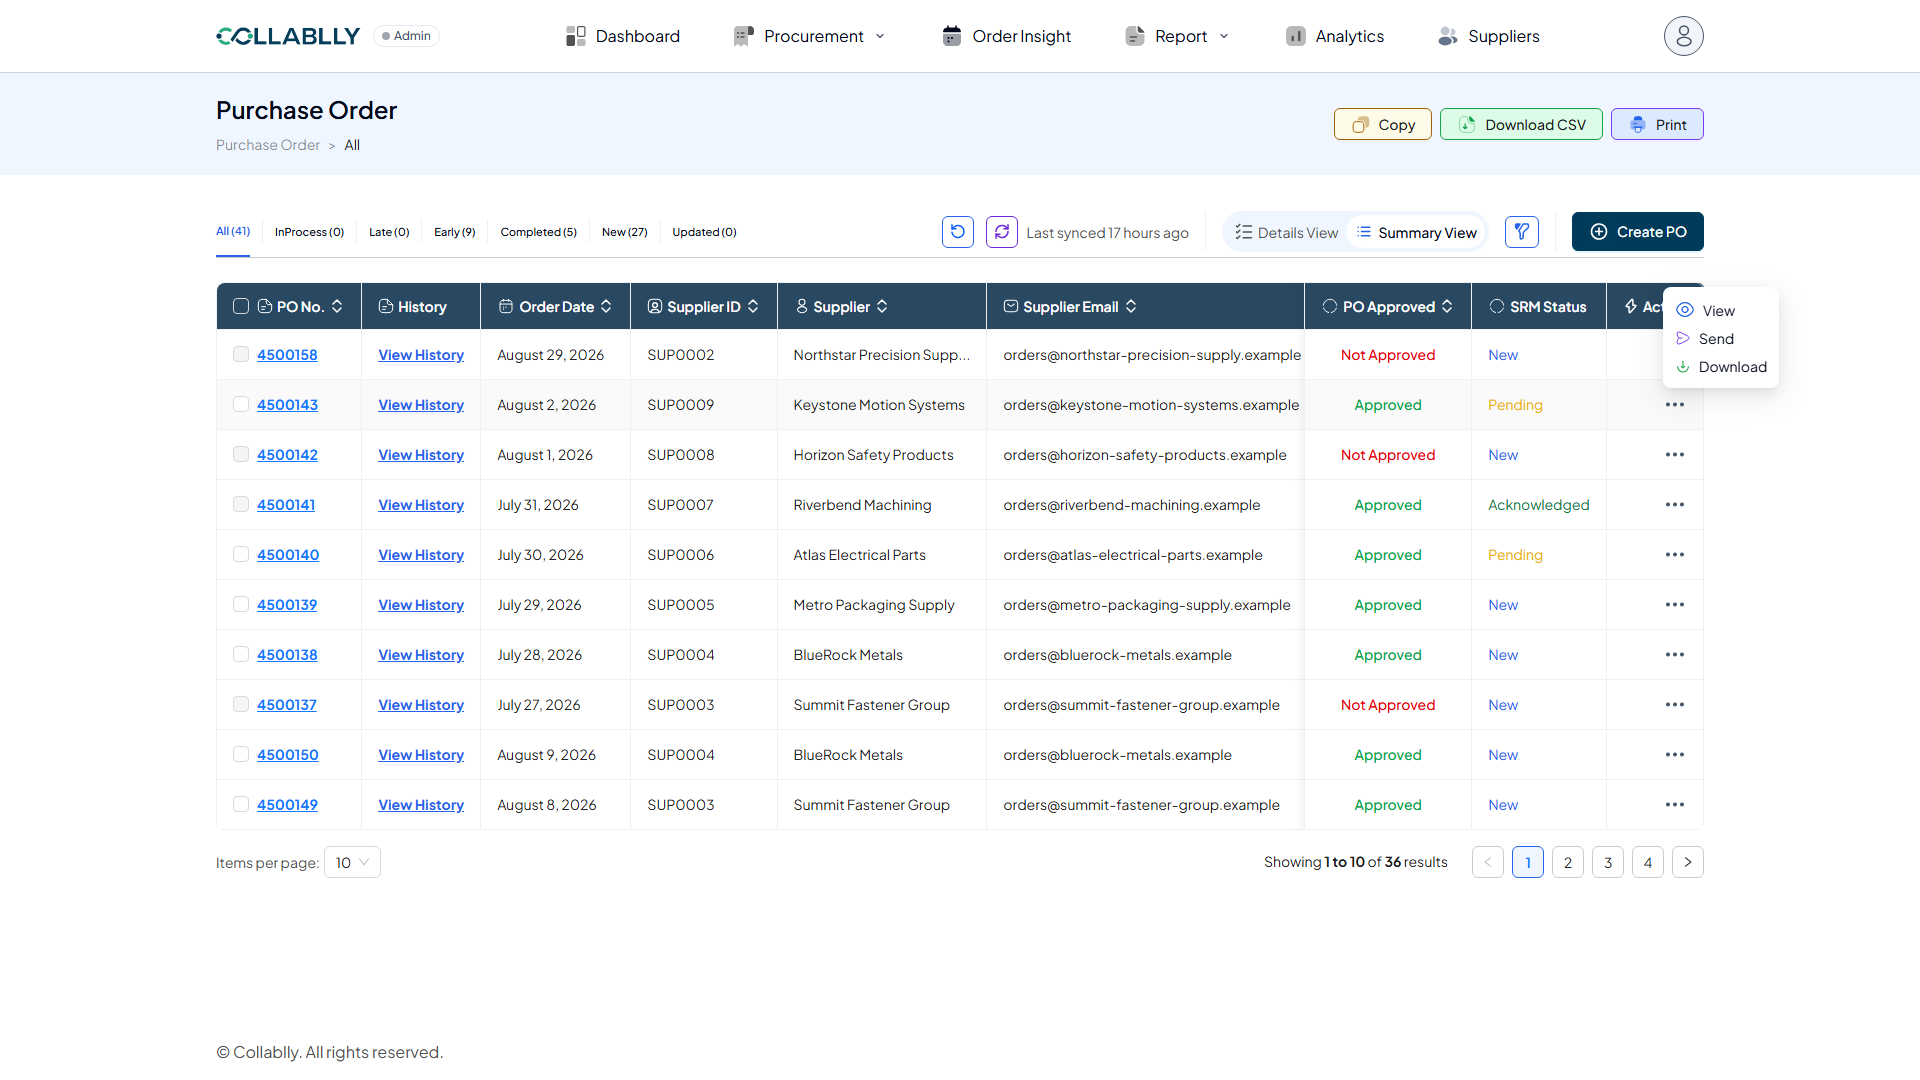
Action menu: Pending
Once a PO moves to Pending, the menu adds Send, to resend the initial communication, and Download, to save the PO as a PDF.
- Step 50 of 51
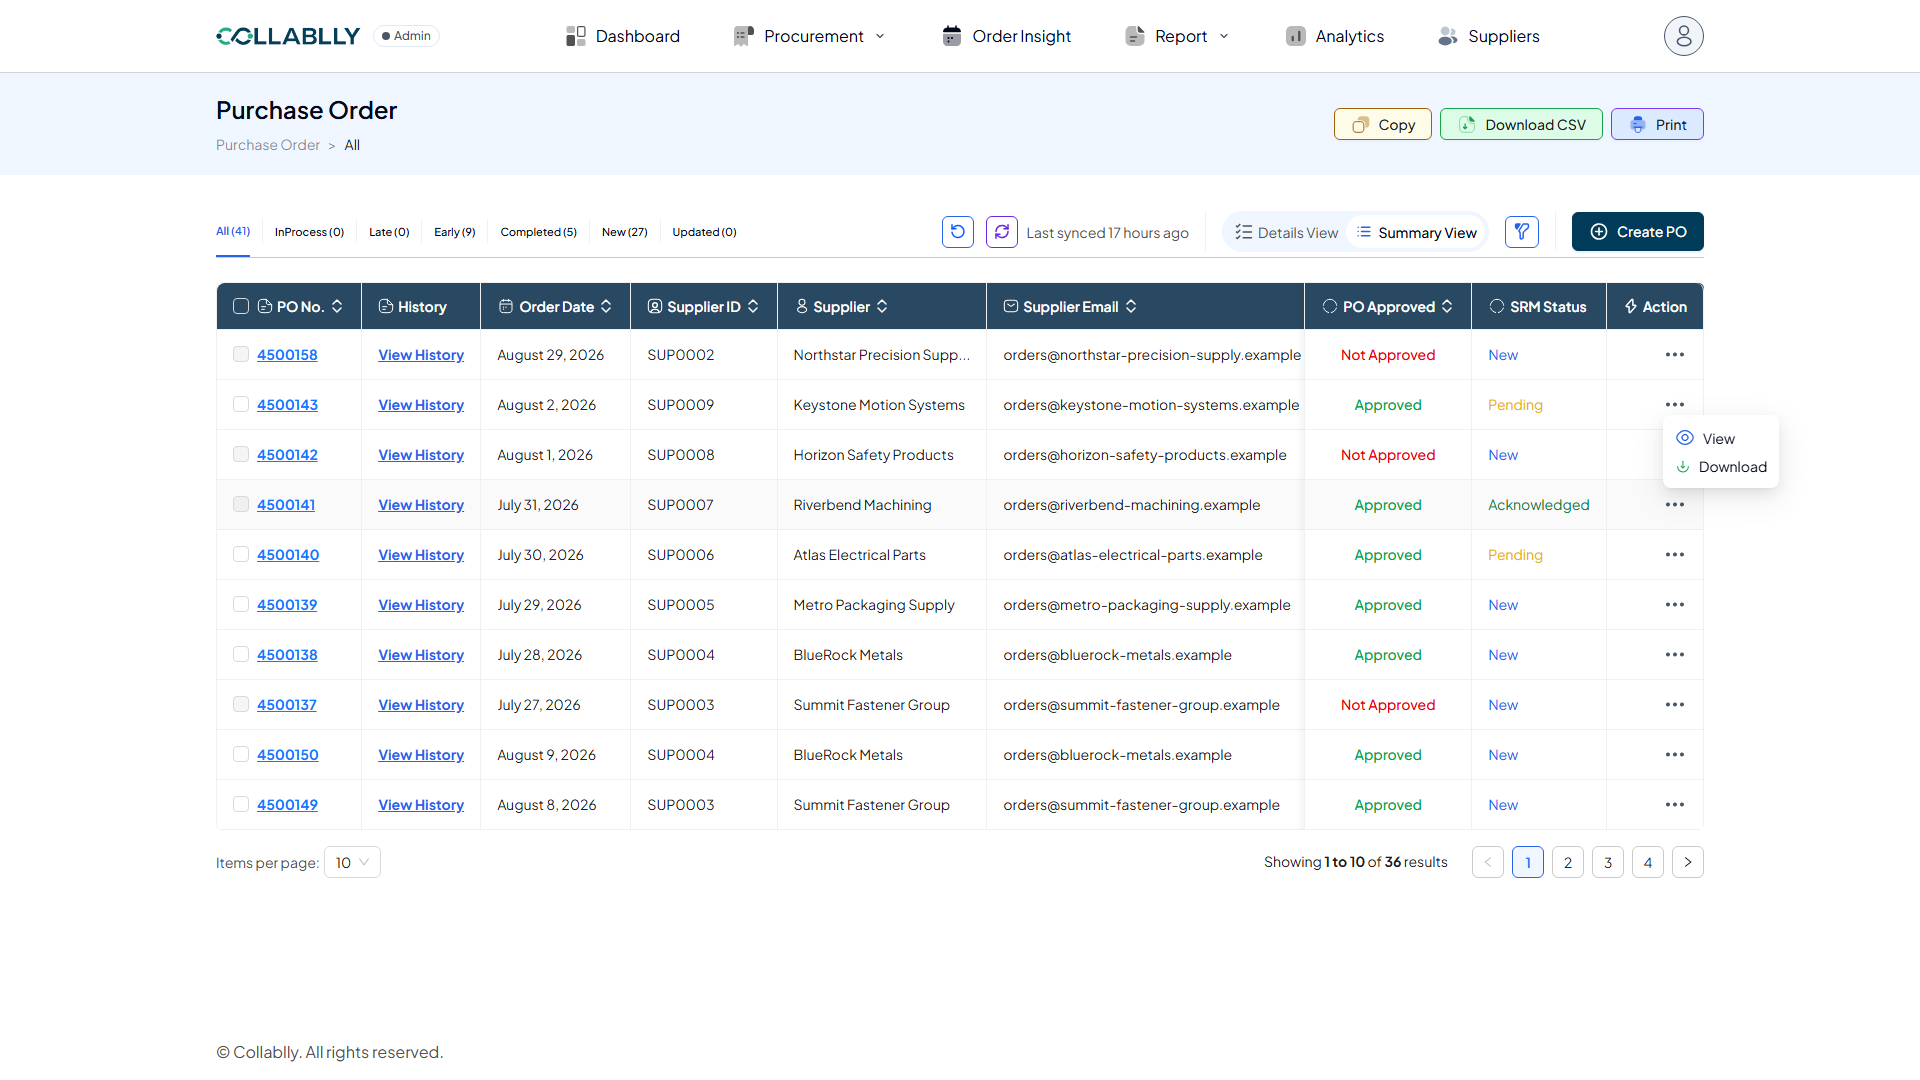
Action menu: Acknowledged
Once the supplier acknowledges the PO, the menu narrows to View and Download; Send drops off since the initial communication already went through.
- Step 51 of 51
Items per page and pagination
Change how many rows show at once with Items per page, then move between pages at the bottom right.