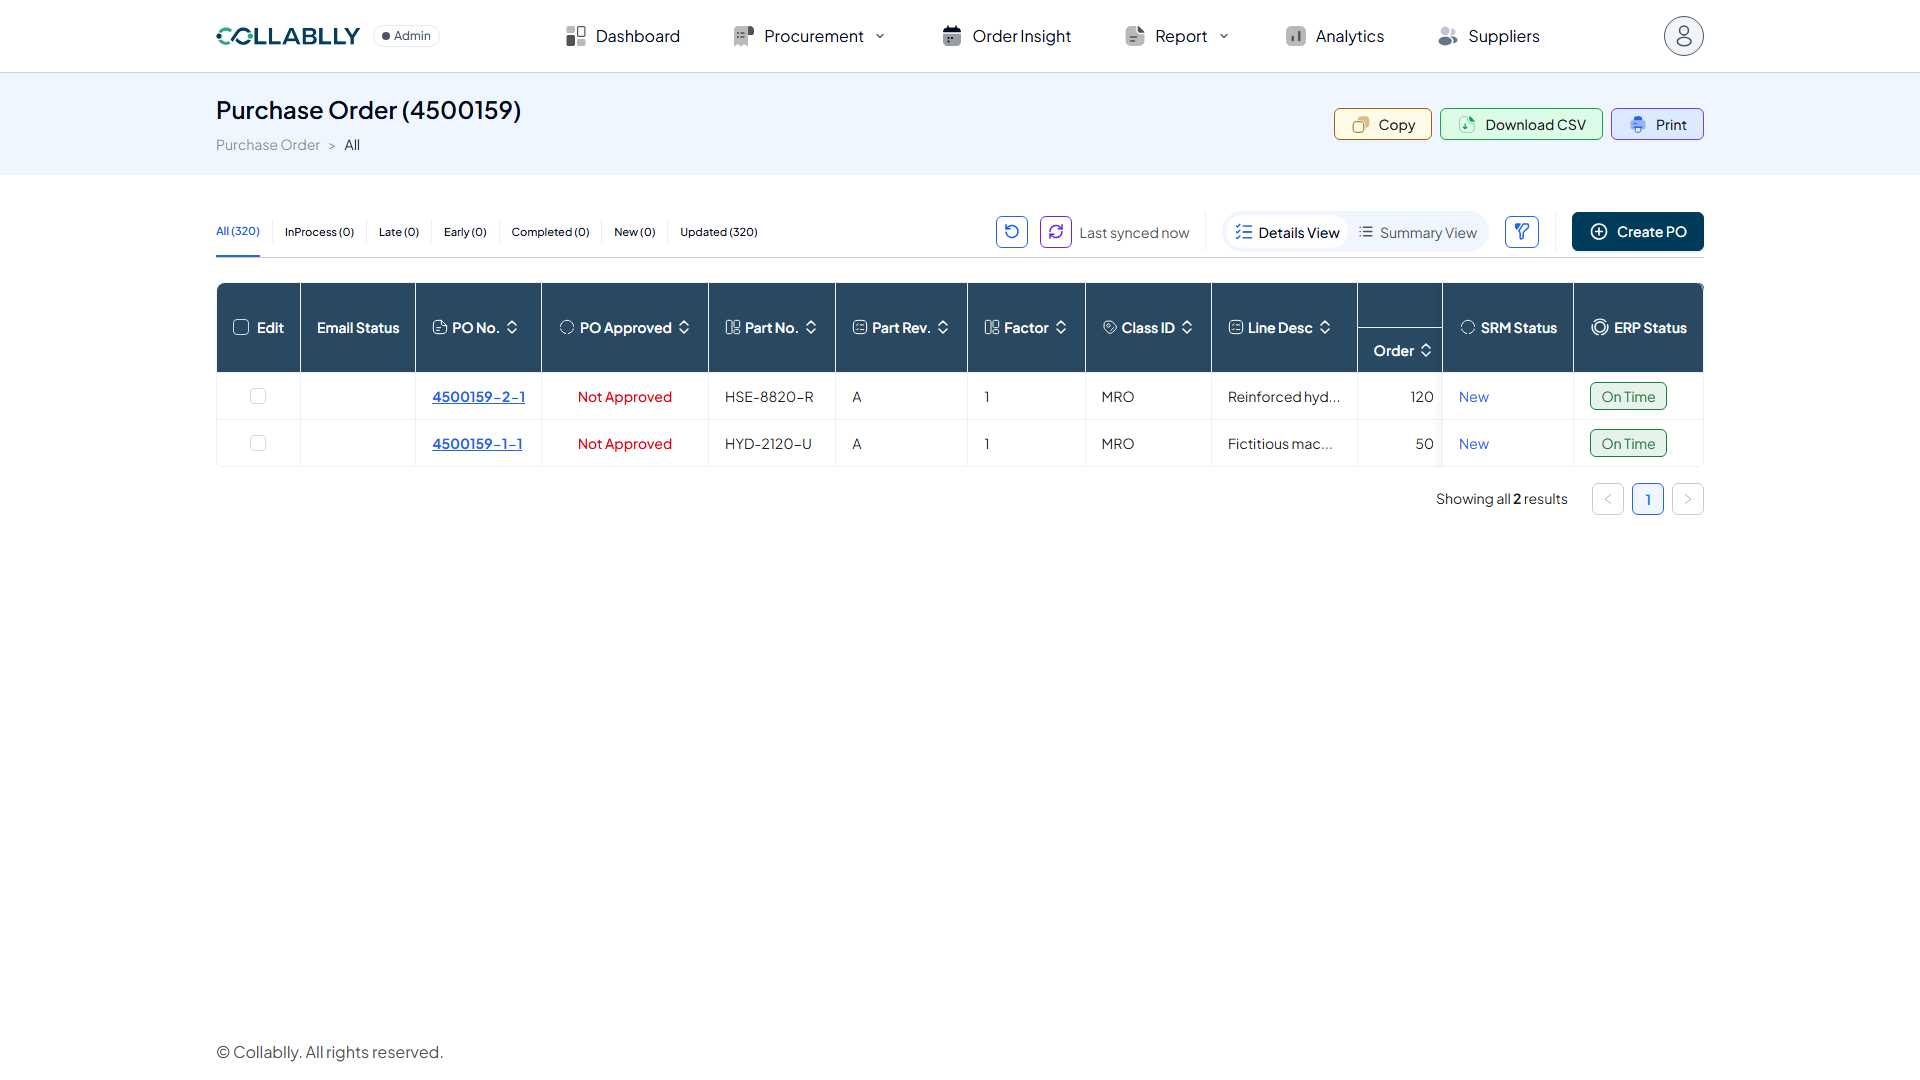
- Step 1 of 10
Open Create PO
From Purchase Order, click Create PO. A blank header (Buyer, Supplier, Ship Via, Terms Code) sits above a line-item table that starts with one empty row.
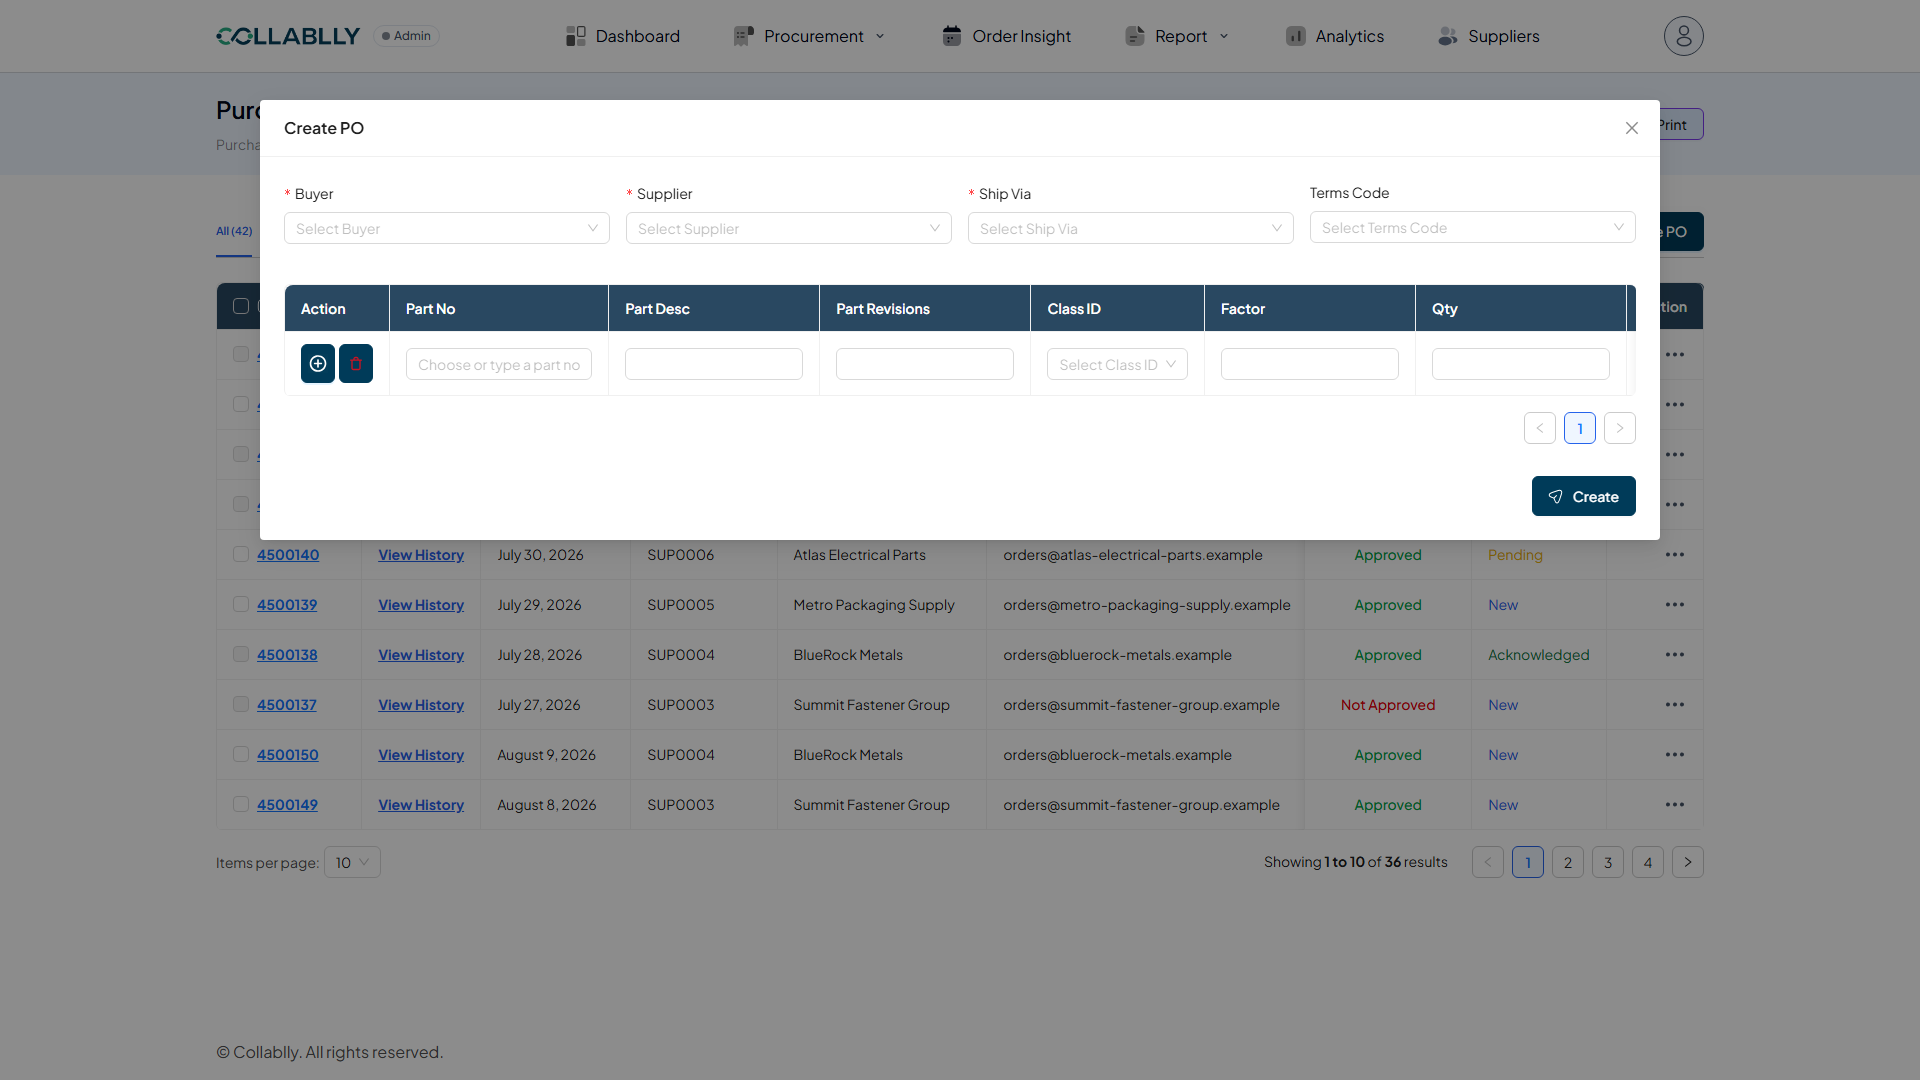
- Step 2 of 10
Buyer, Supplier, and Ship Via
Buyer and Supplier are required; pick both from your existing records, the same contacts used everywhere else in SRM. Ship Via fills in on its own the moment you pick a Supplier, here UGND, that supplier's default shipping method. Terms Code is optional.
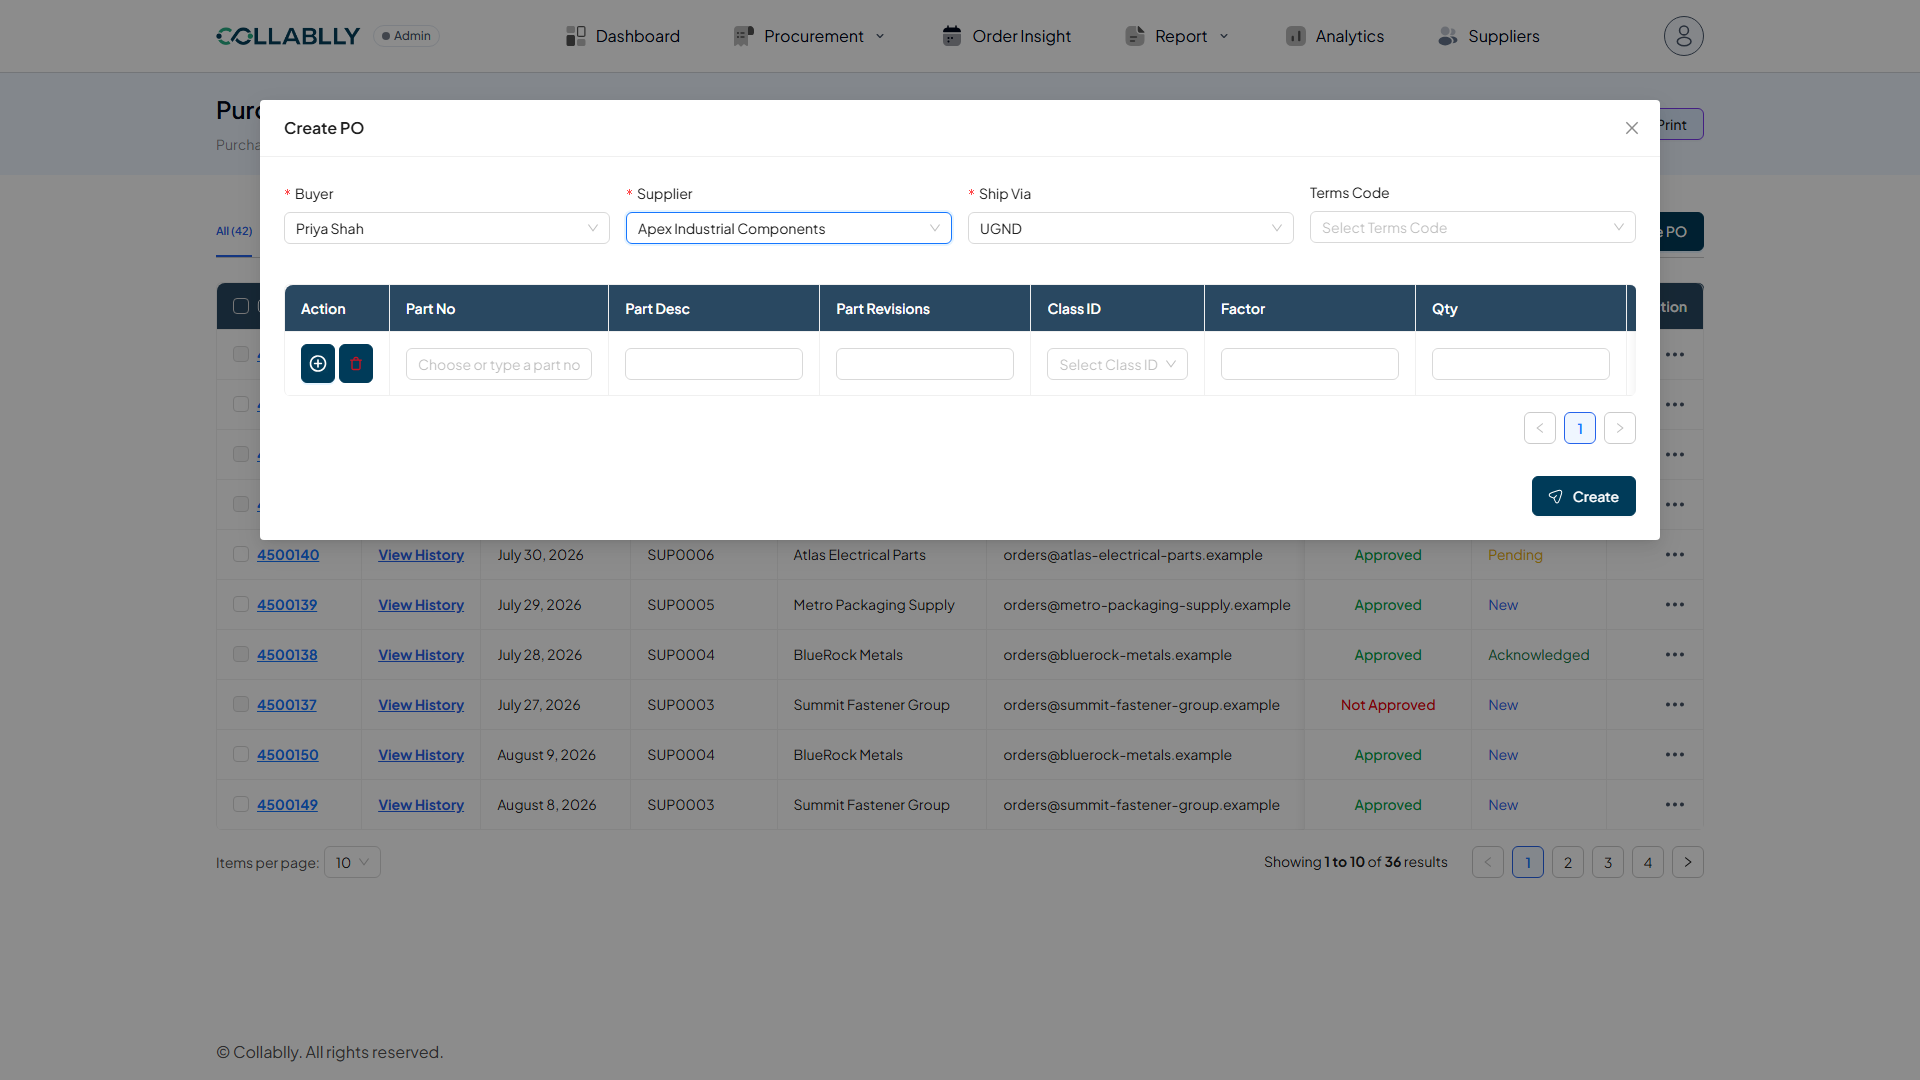
- Step 3 of 10
Search for a part
Type into Part No and pick from the matches. Part Desc and Class ID fill in automatically from that part's record, one less thing to type or get wrong.
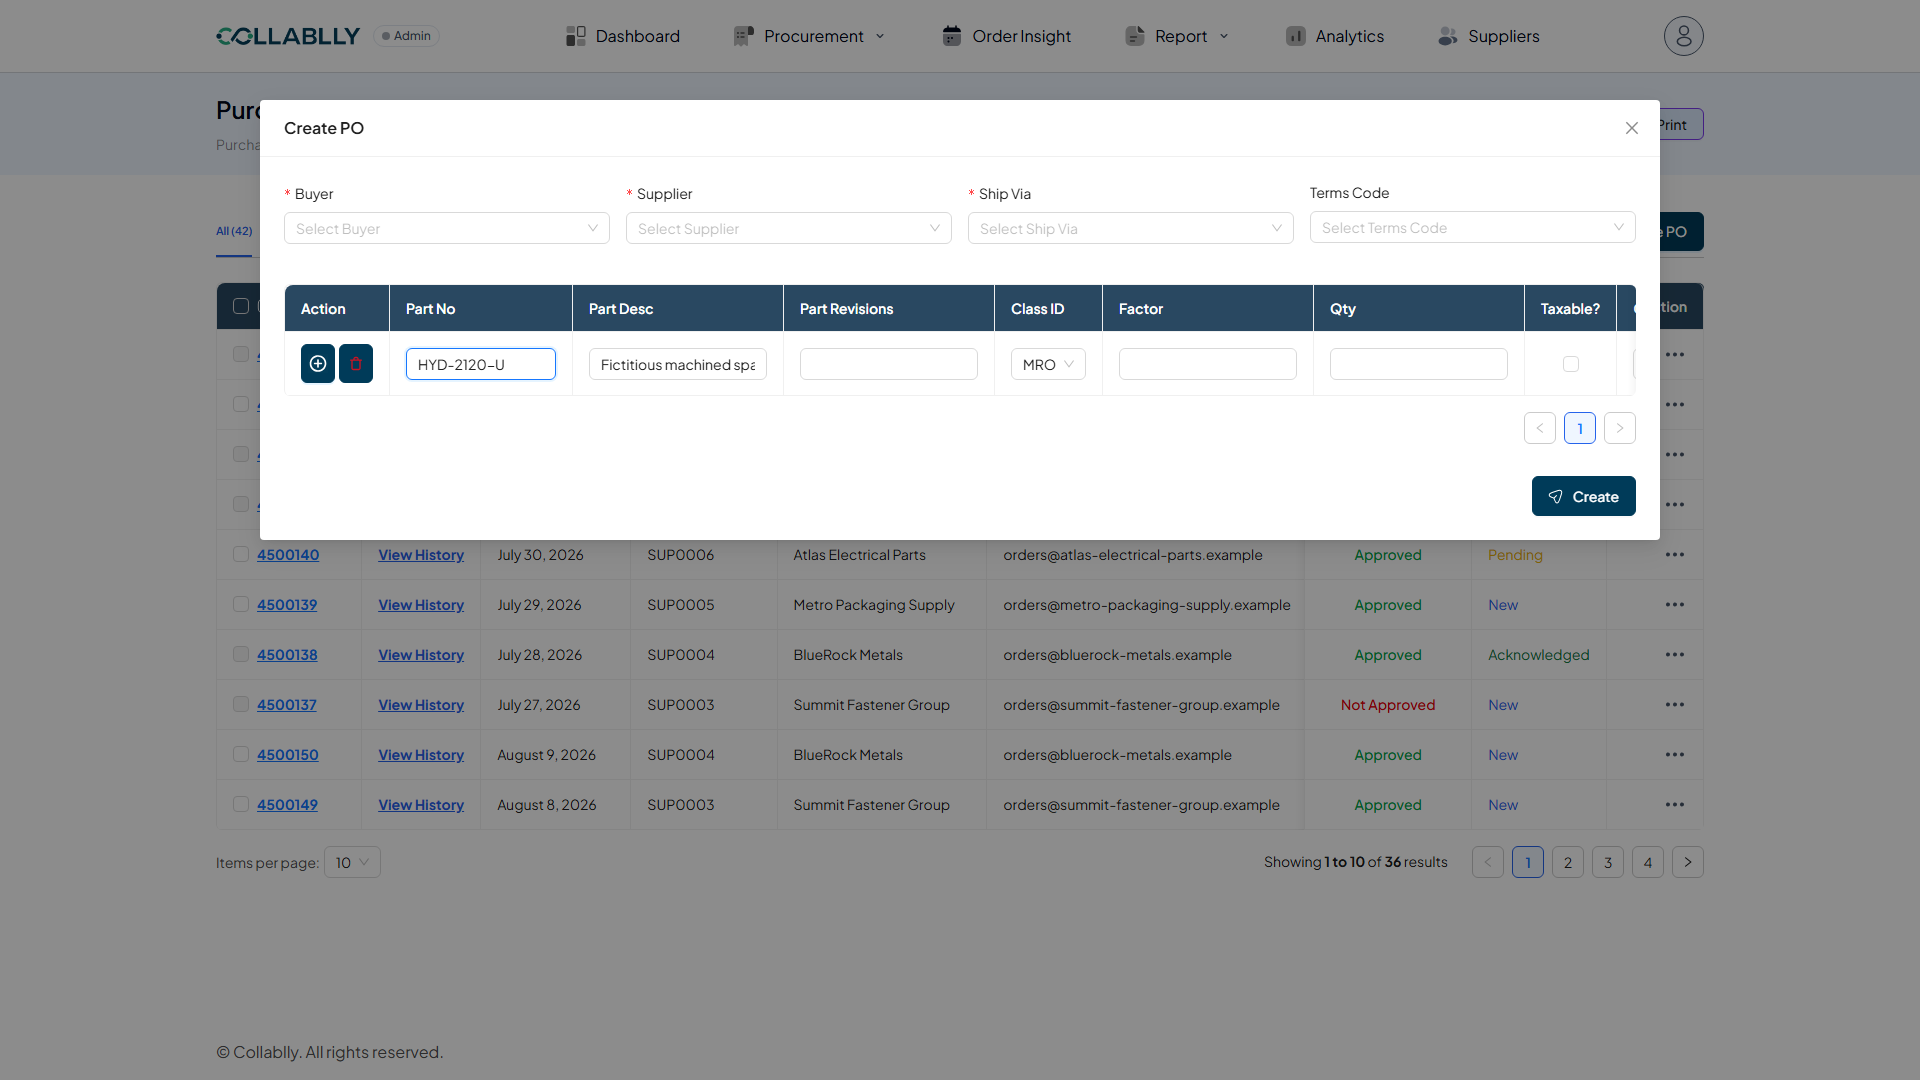
- Step 4 of 10
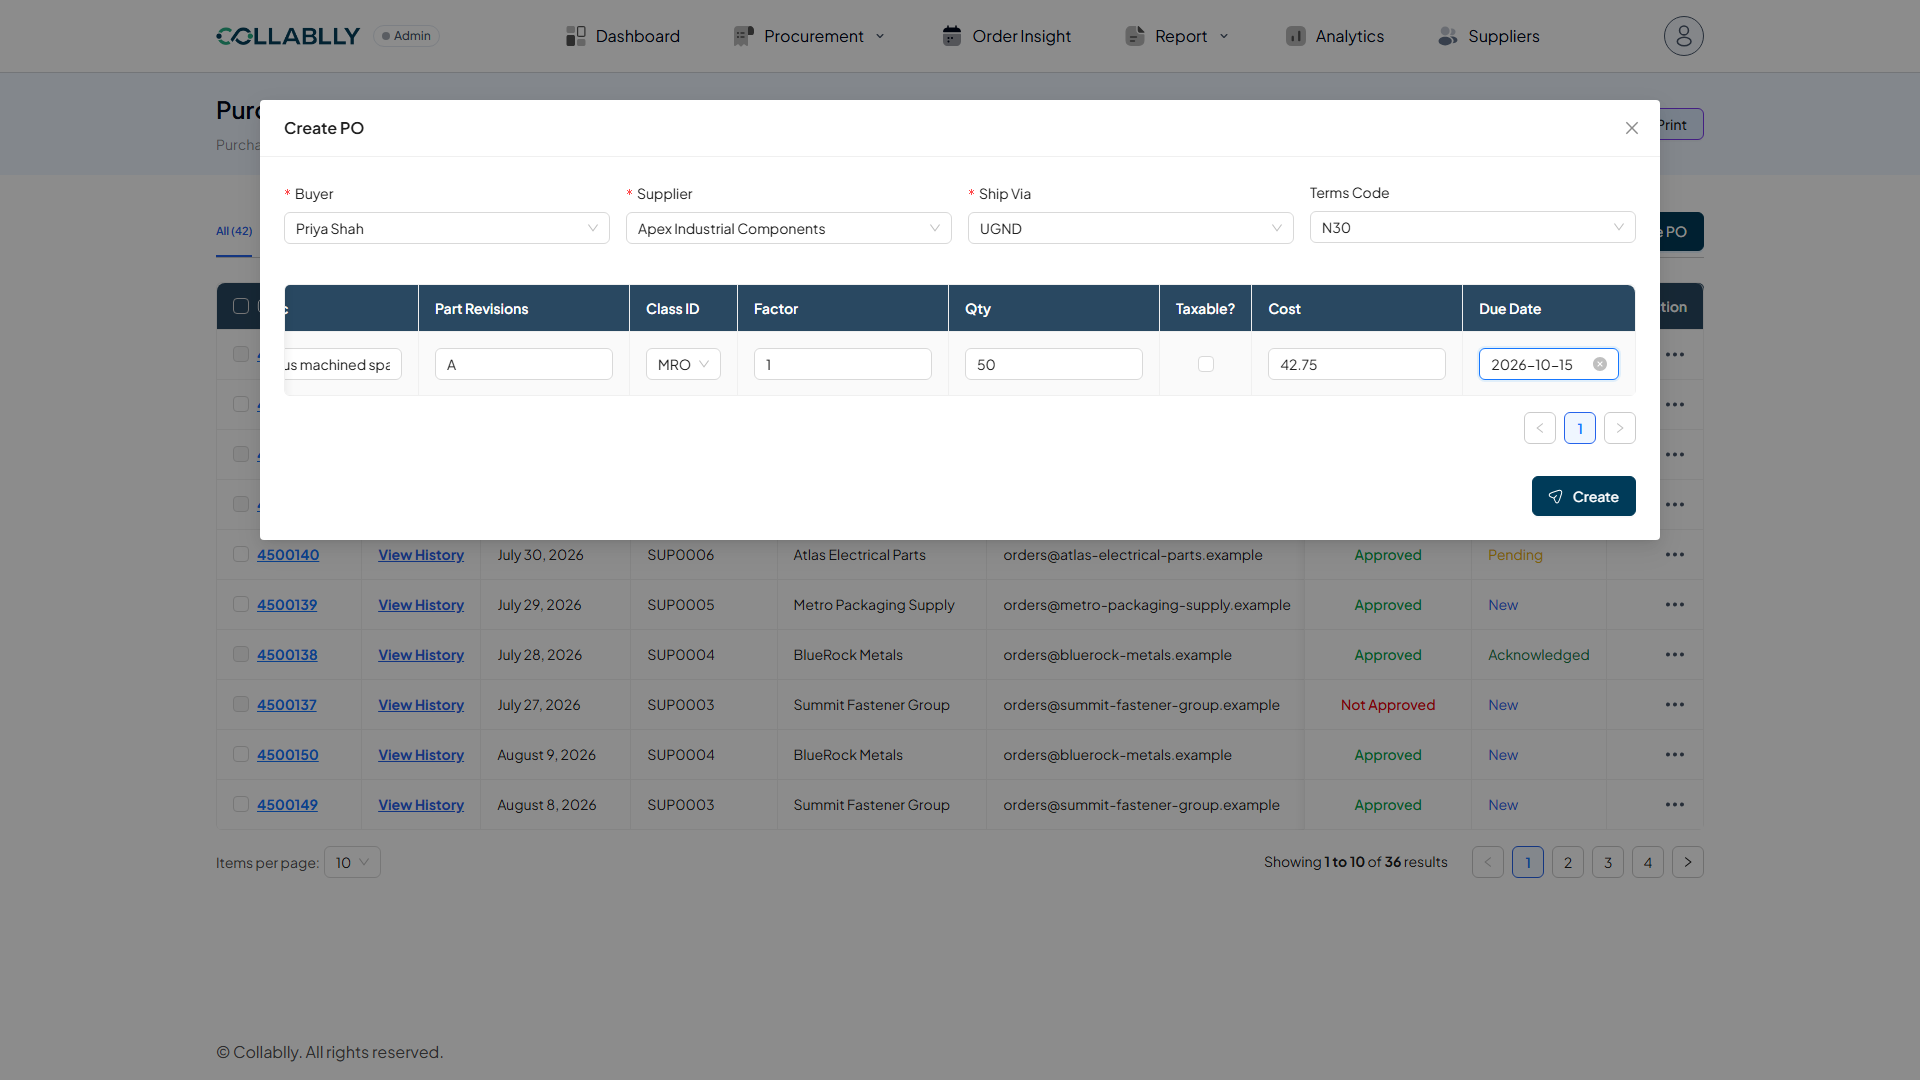
Finish the line's numbers
Part Revisions, Factor, Qty, Cost, and Due Date are yours to fill in. Taxable? is an optional checkbox alongside them.
- Step 5 of 10
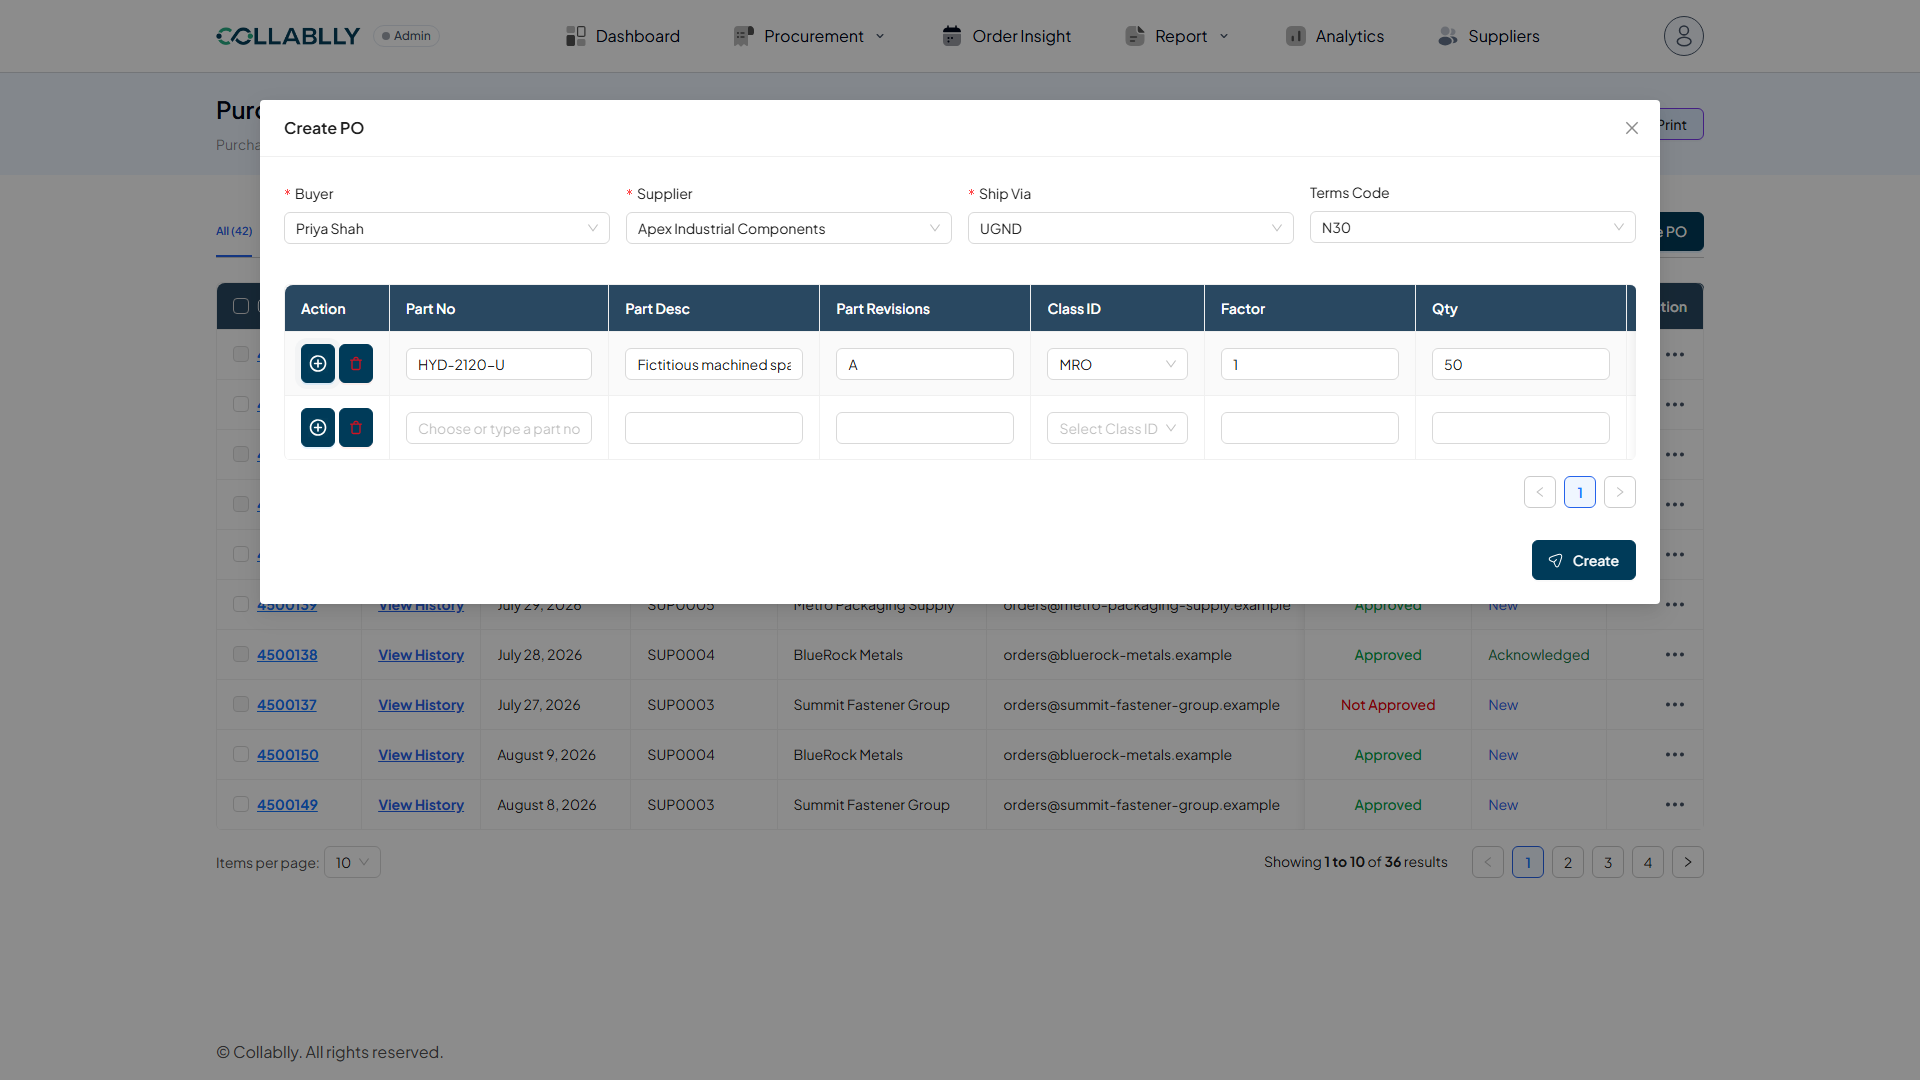
Add a second line
The + icon in a row's Action column adds another empty row right below it, for a second part on the same PO. Every row gets its own + and trash-can icon.
- Step 6 of 10
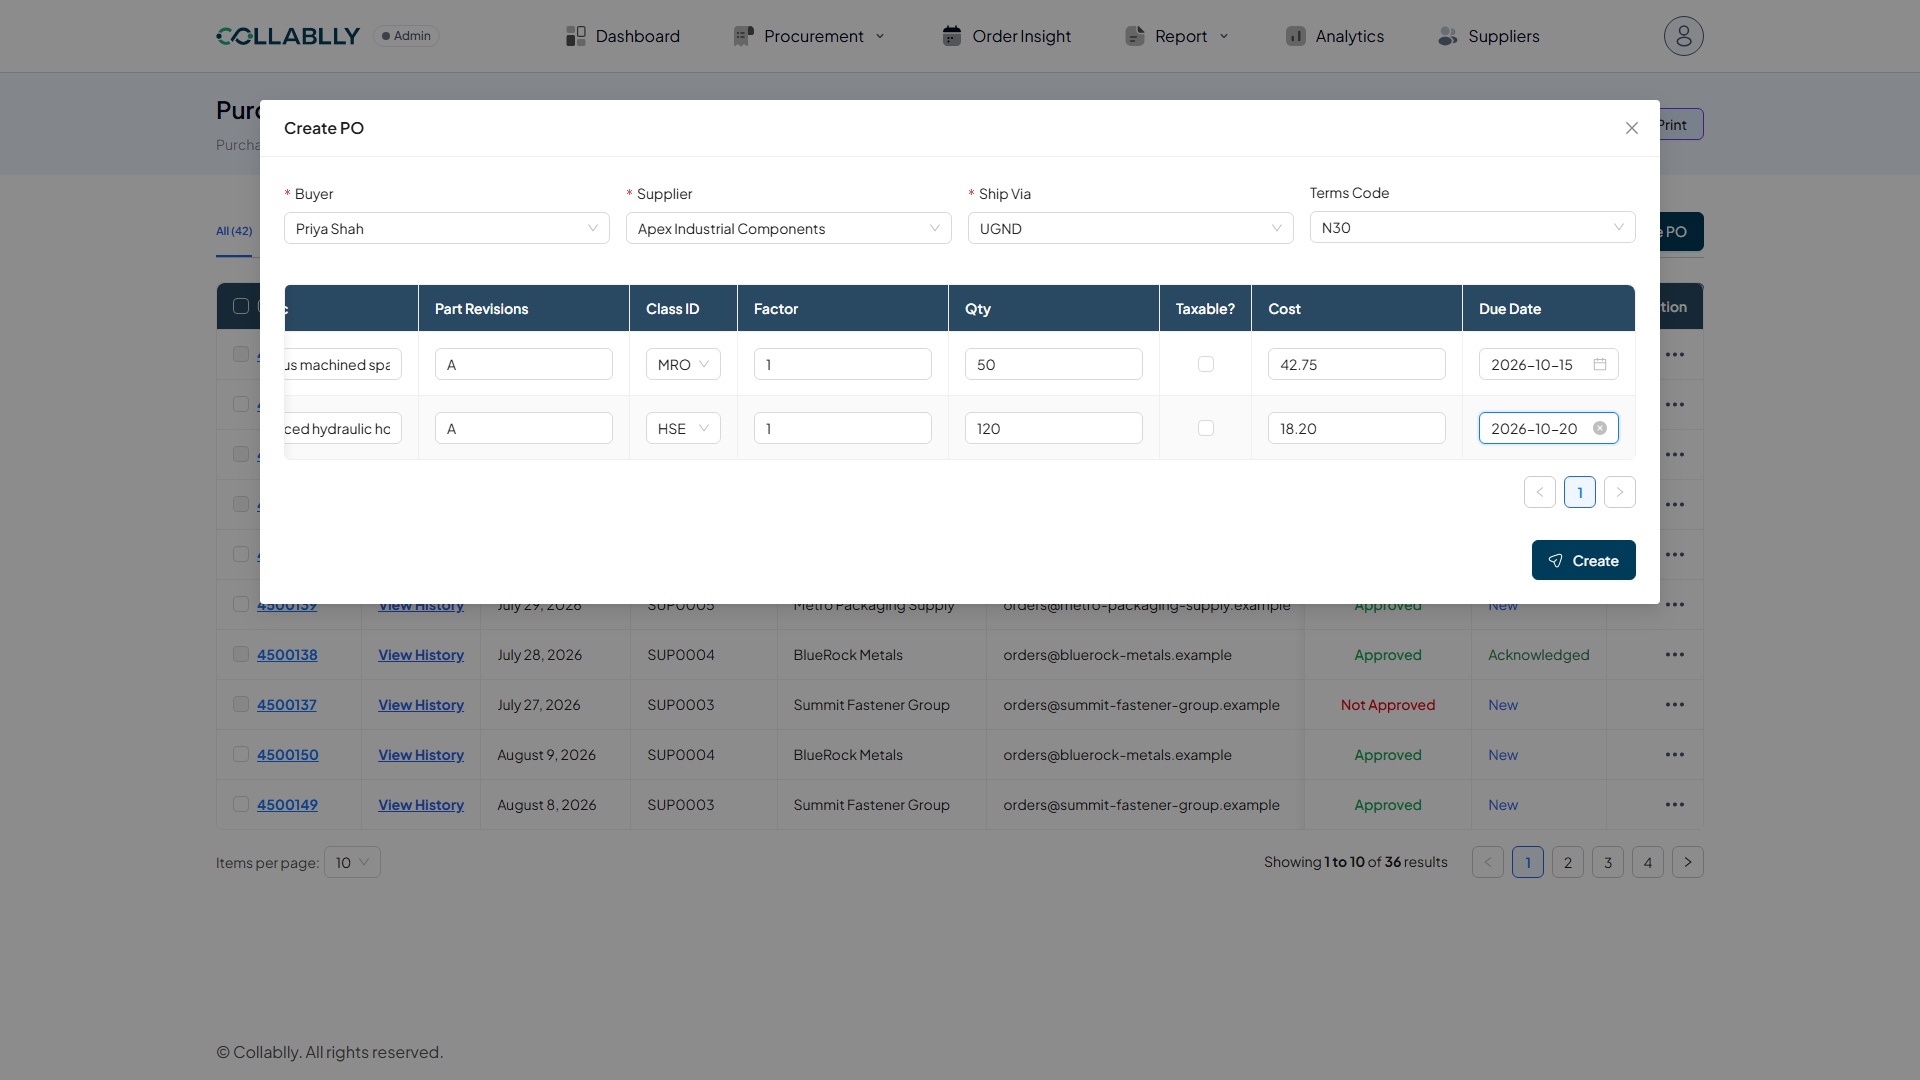
Fill in the second line
Same steps as the first: search for a part (its Desc and Class ID auto-fill too, HSE here instead of MRO), then set Revisions, Factor, Qty, Cost, and Due Date. Nothing about the two lines needs to match, different parts, quantities, costs, and dates are completely normal on one PO.
- Step 7 of 10
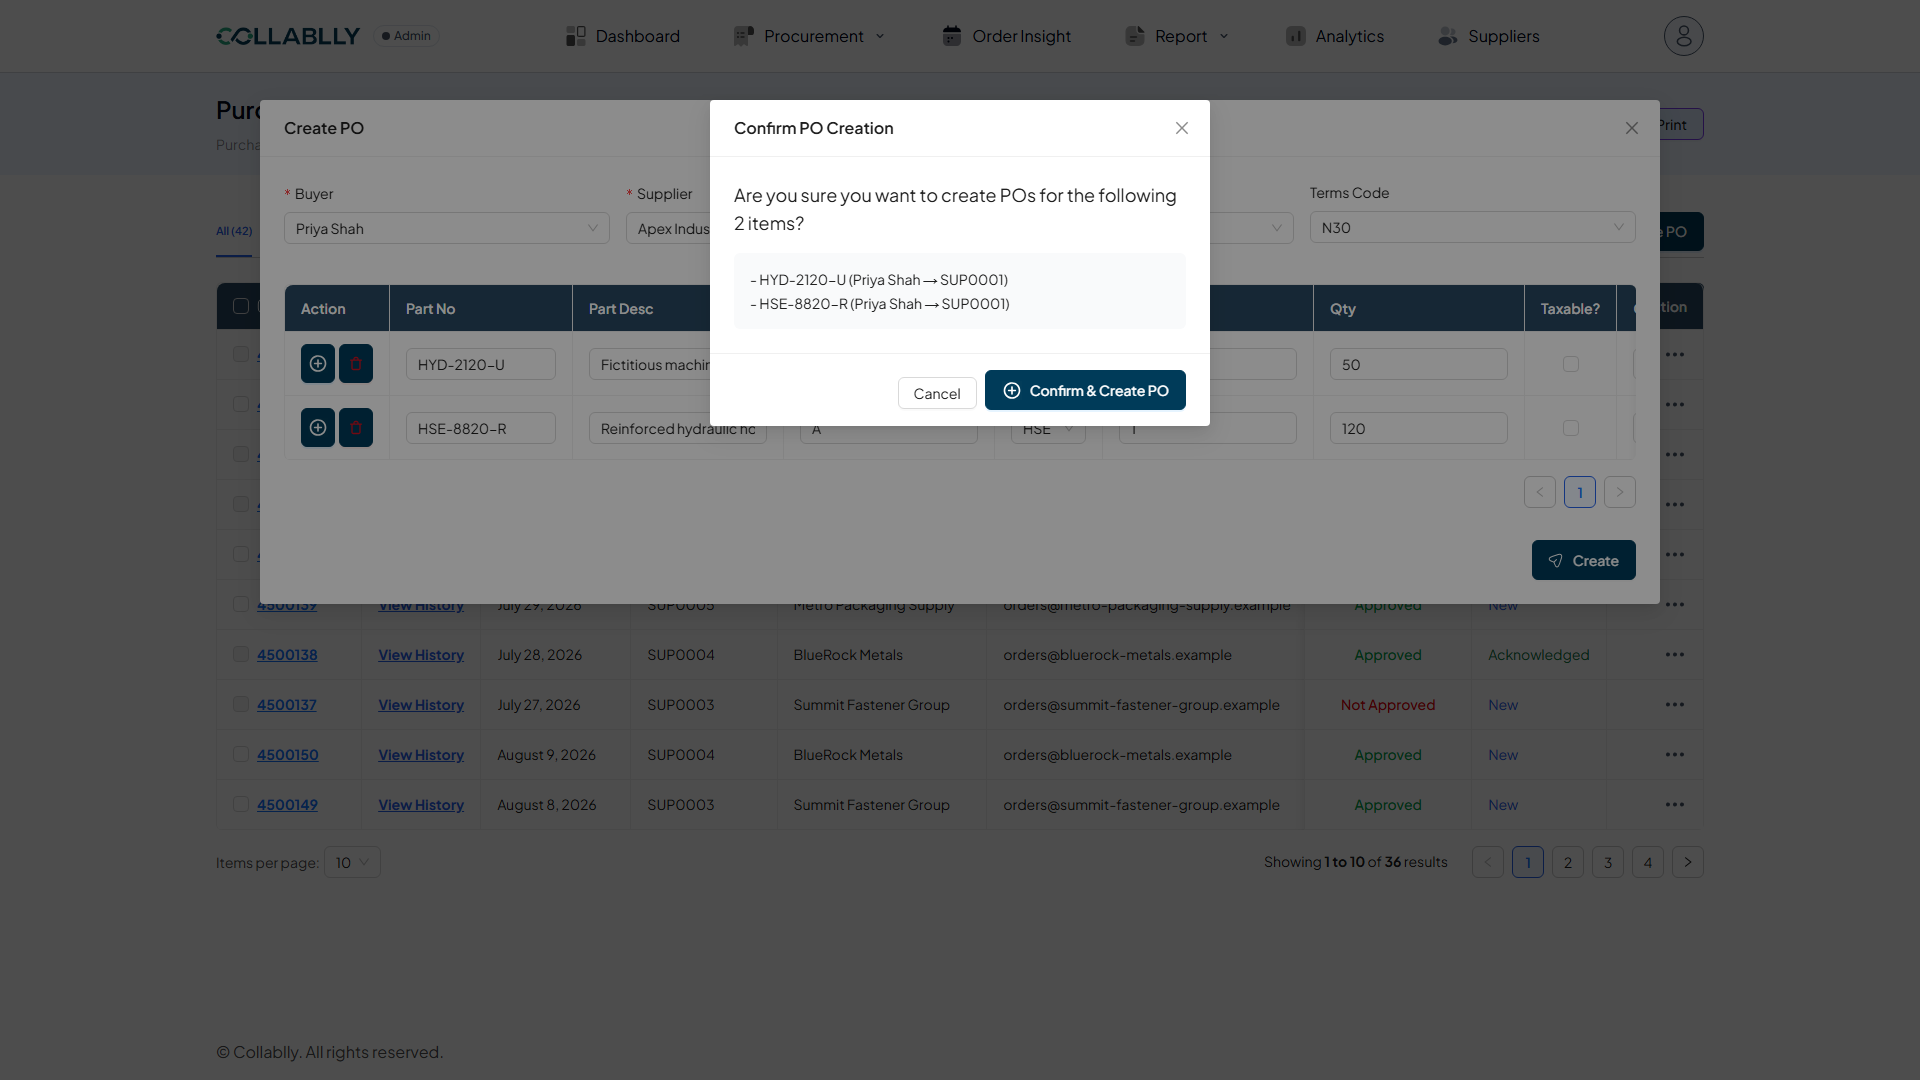
Review before it's final
Create opens Confirm PO Creation: a plain-language summary of exactly what's about to be created, each part number and which supplier it's going to. Confirm & Create PO to proceed, or Cancel to go back and fix something.
- Step 8 of 10
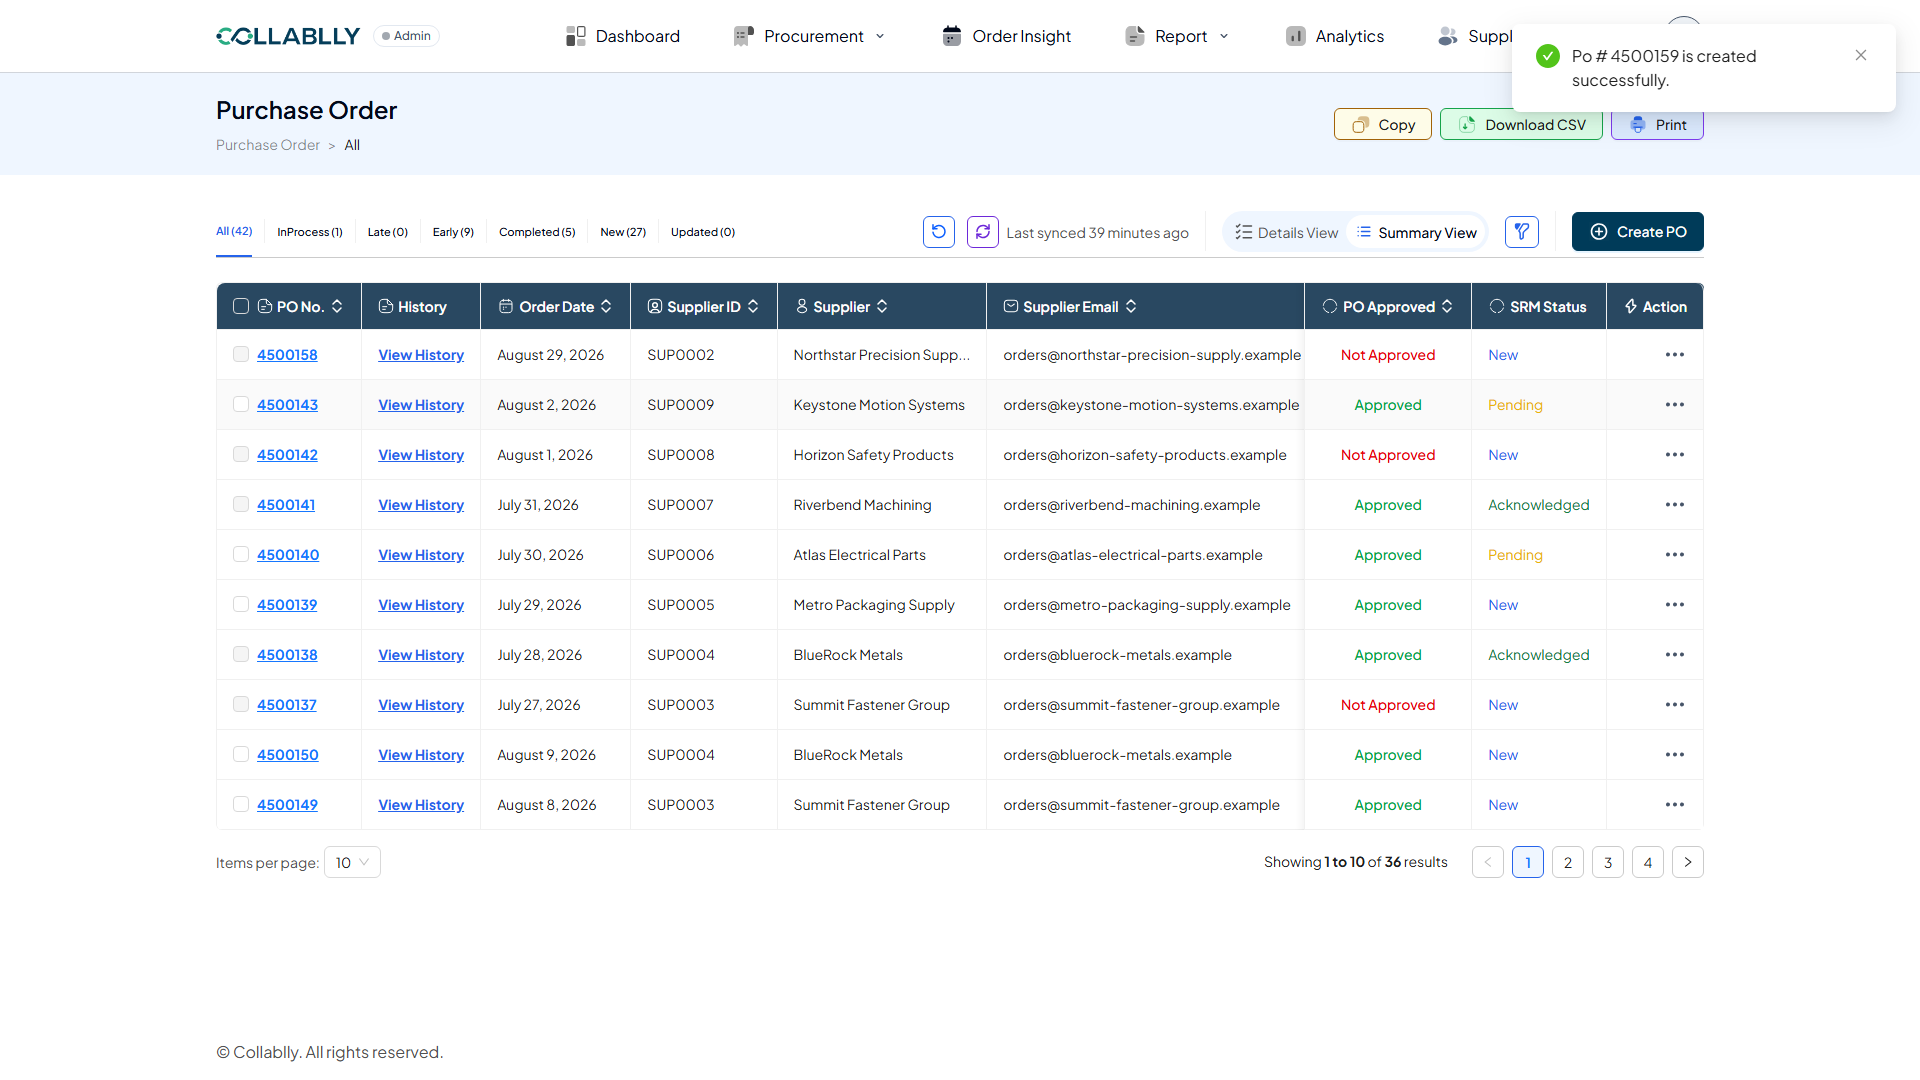
Created
"Po # 4500159 is created successfully." One PO header, two lines underneath it, both parts on the same order.
- Step 9 of 10
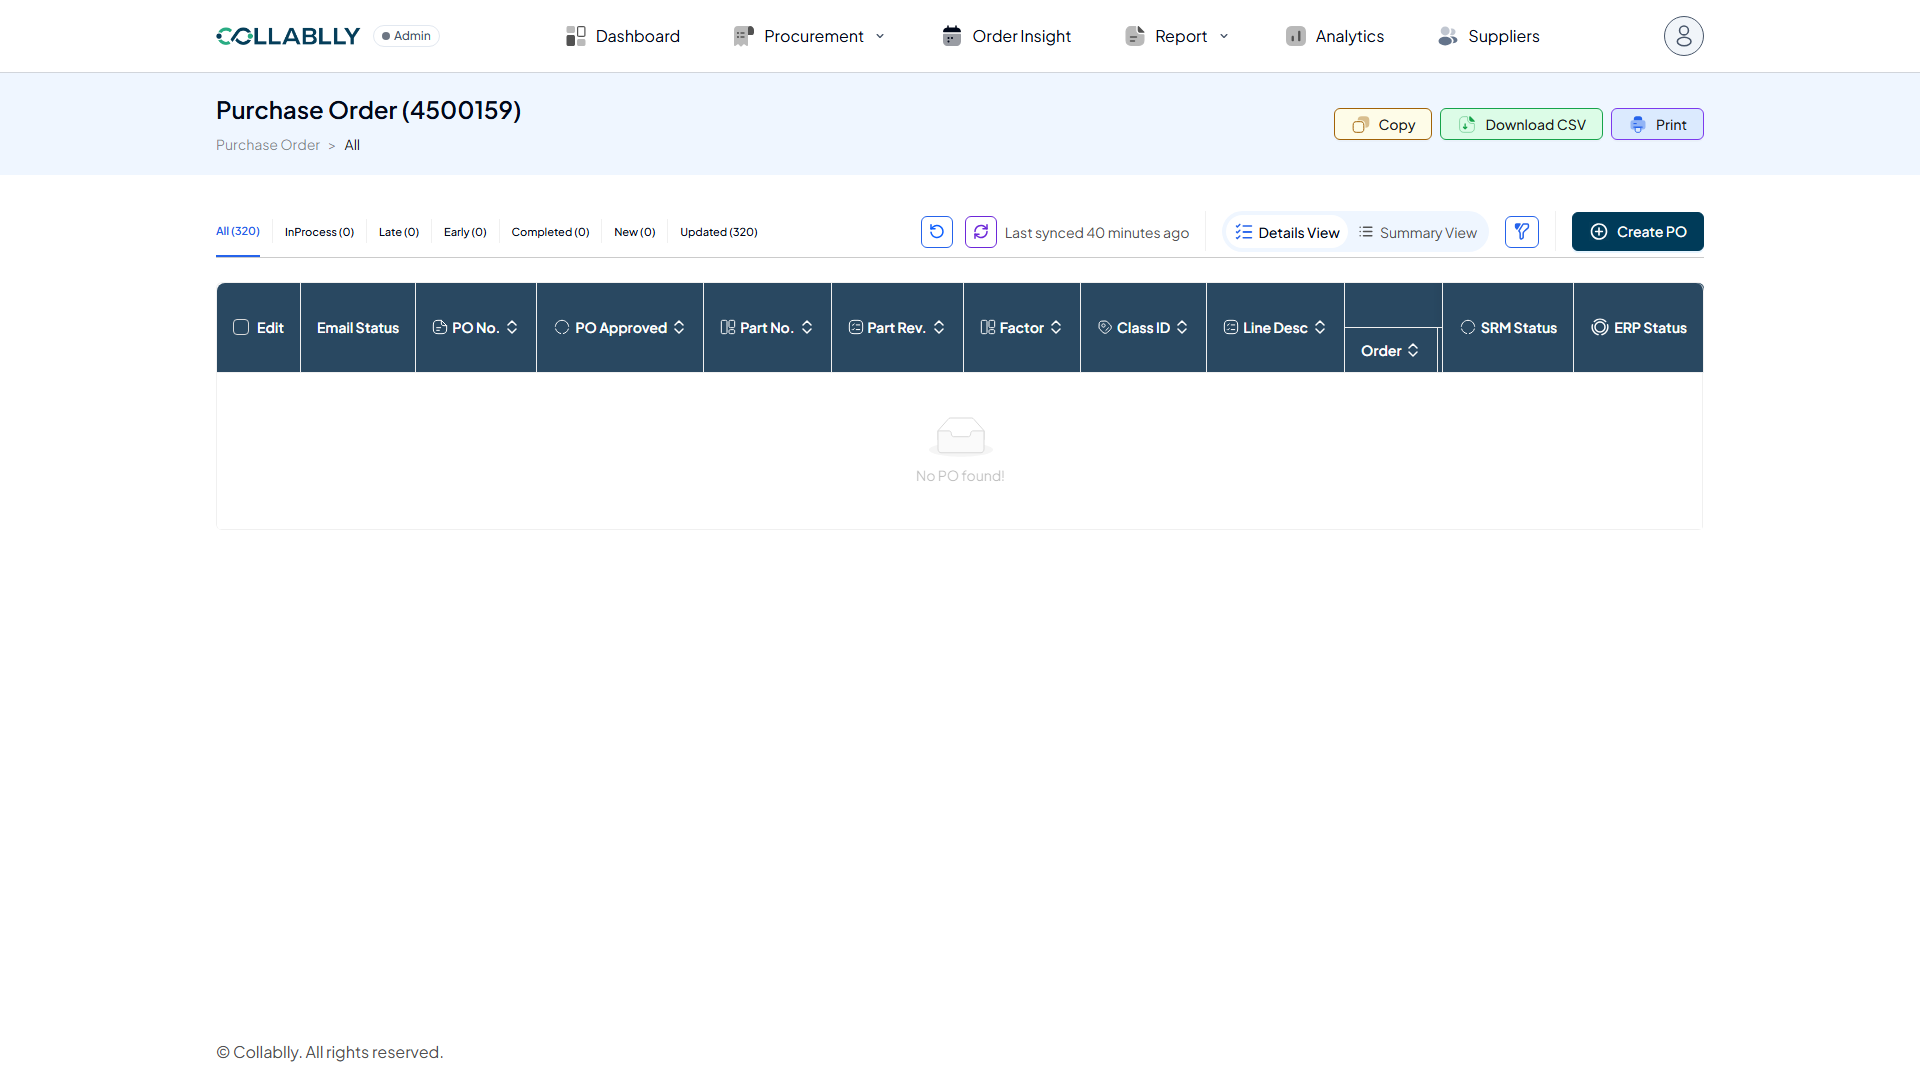
Not visible here yet
Open the new PO in Details View right away and it reads "No PO found!" Same pattern as editing a line: this write goes to the ERP system first, Collablly's own database hasn't picked it up yet.
- Step 10 of 10
Sync, then Reload Data
Click Sync and wait for Last synced now, then Reload Data. Both lines appear: PO Approved starts as Not Approved and SRM Status starts as New for each, exactly like any other freshly created PO, ready to go through approval and, once approved, its initial communication to the supplier.