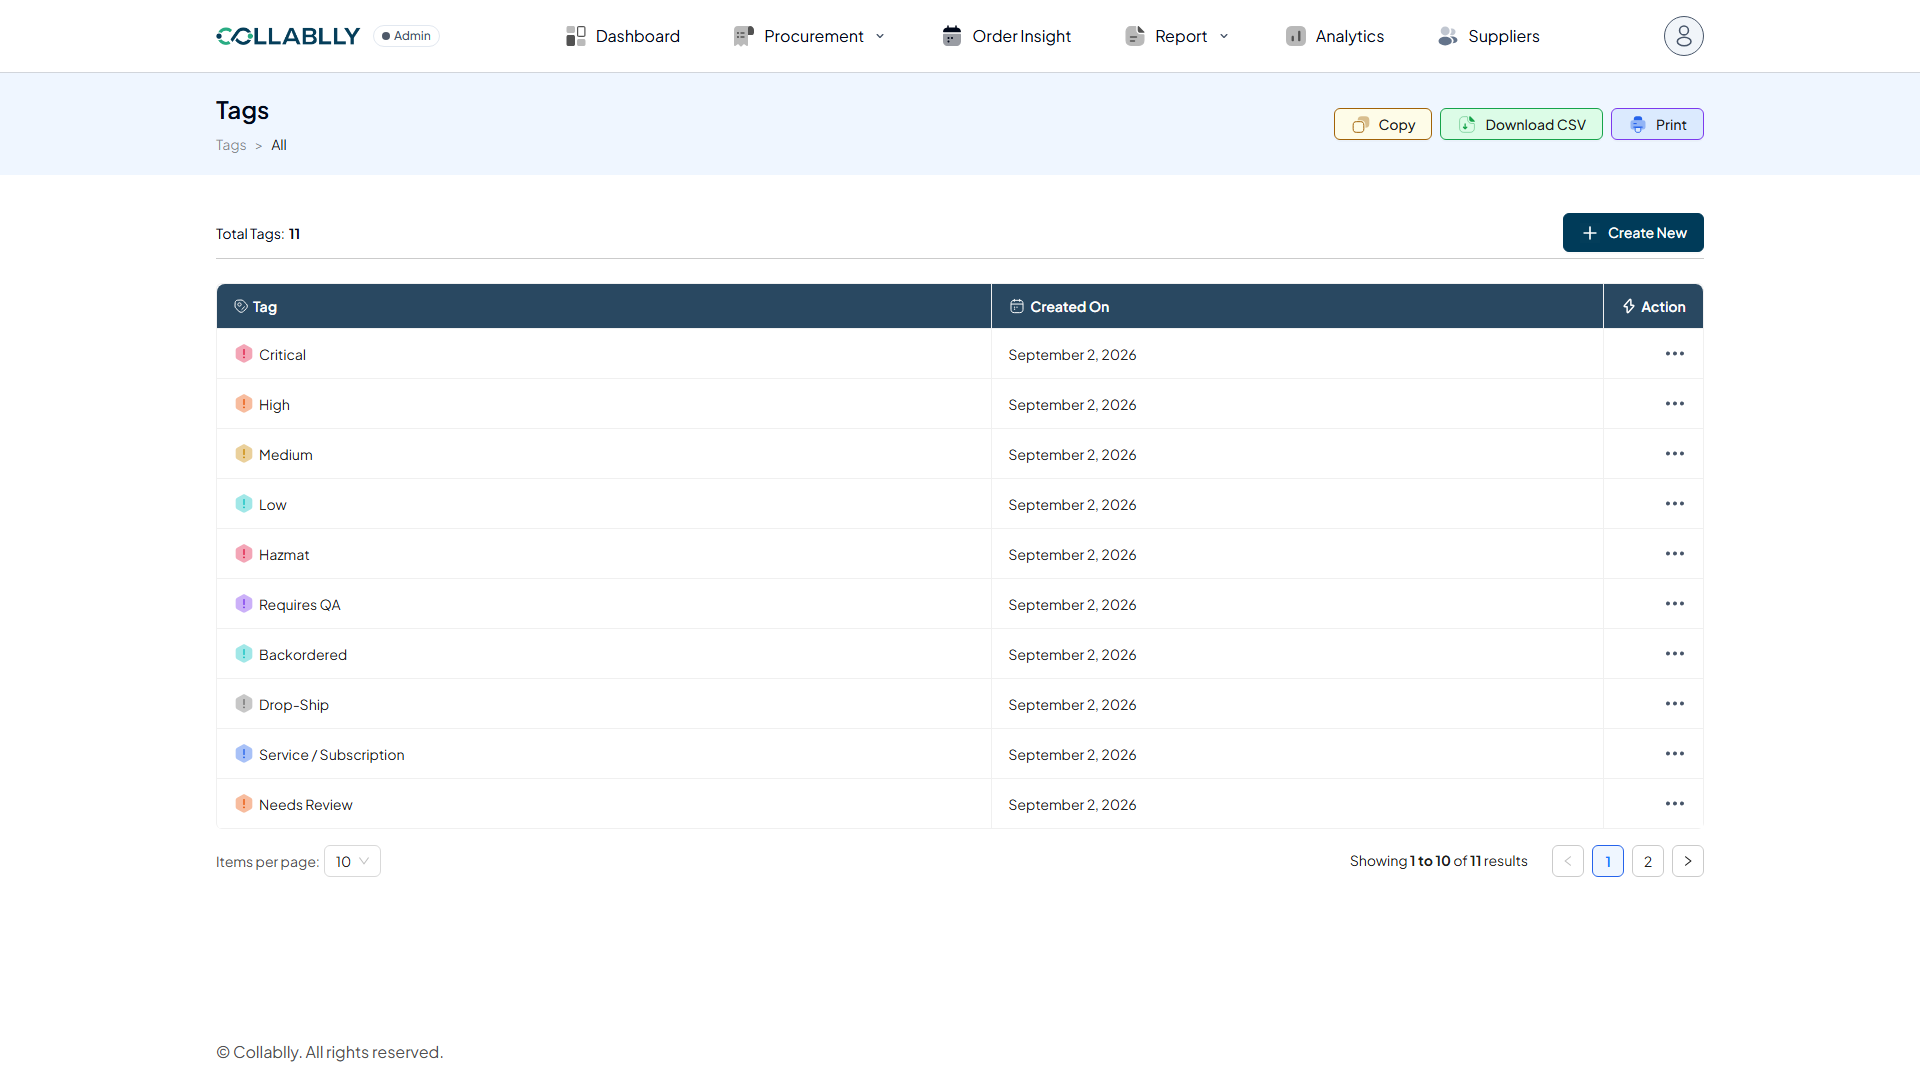
- Step 1 of 8
Start in the Tags module
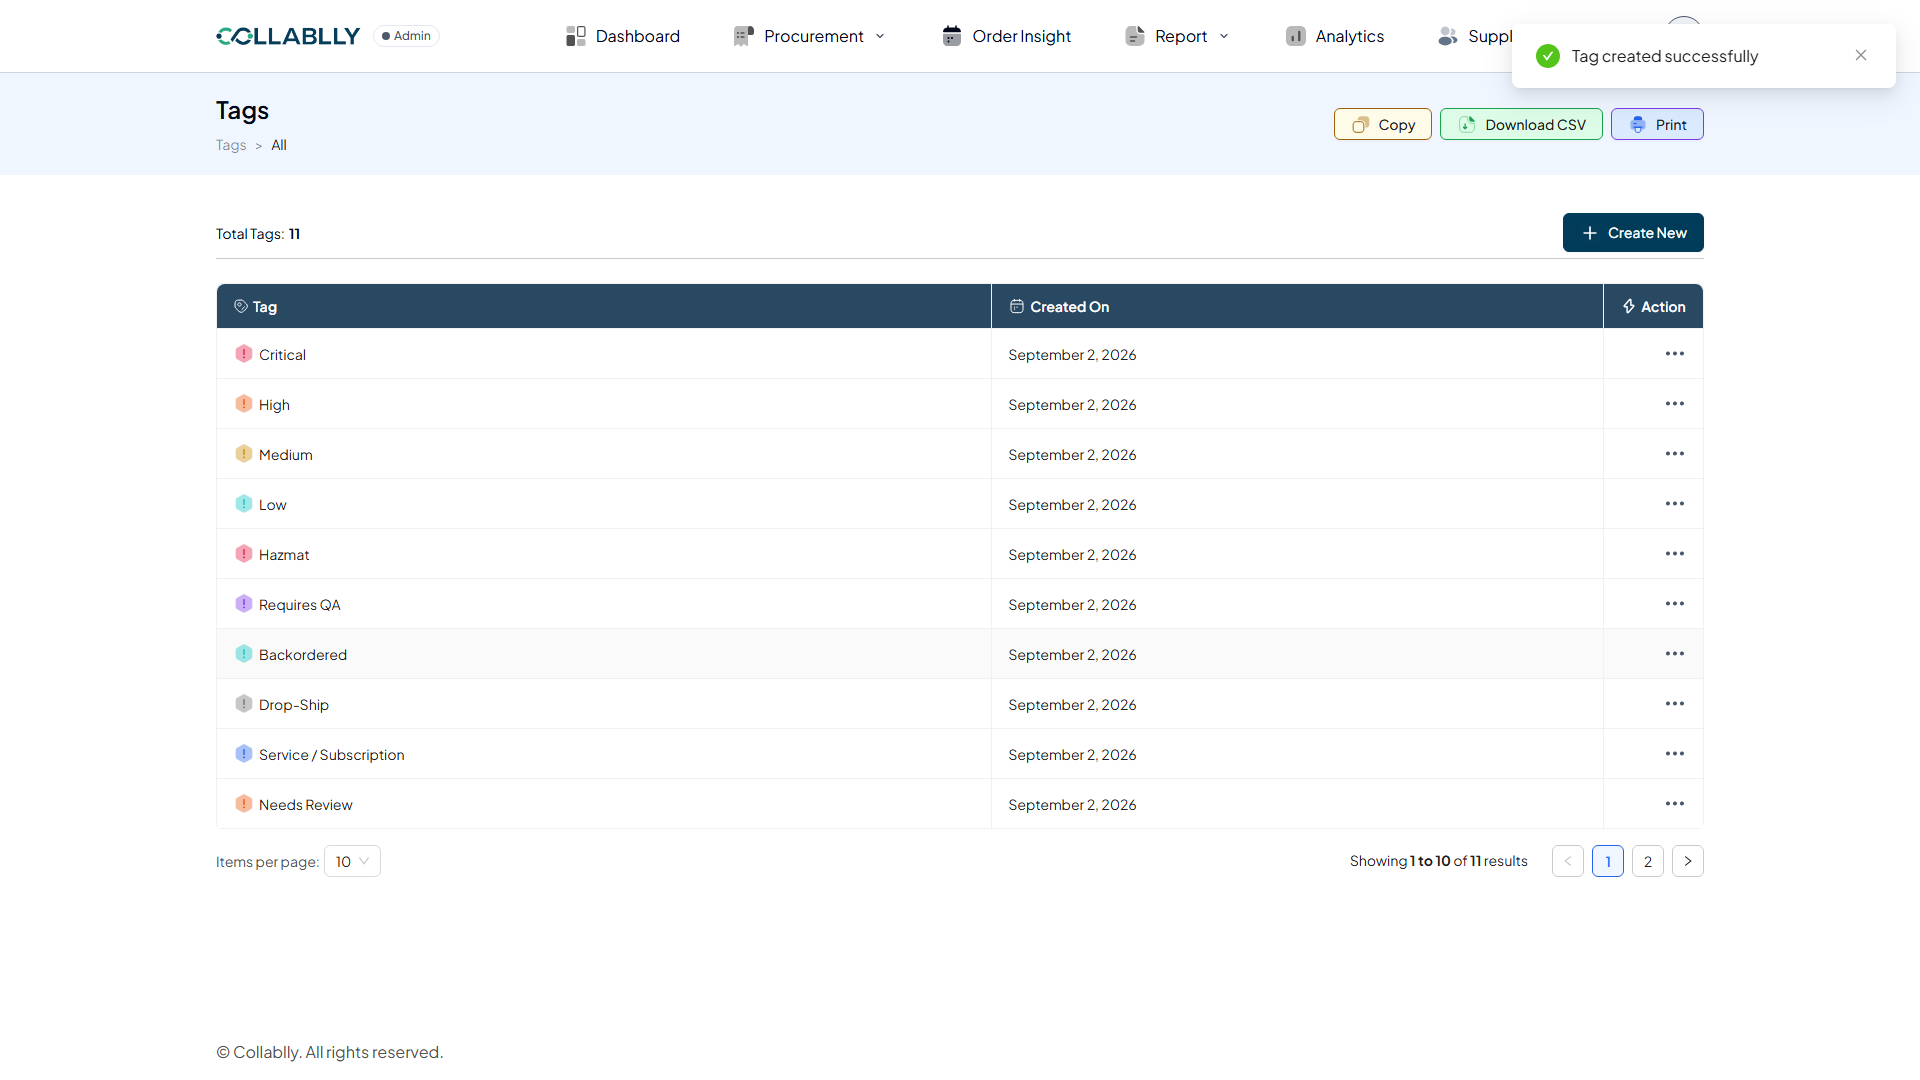
Tags is its own module in the top nav. It lists every tag that exists across the whole system, 11 already here, each with a color and a creation date. Tags don't belong to a PO or a supplier, they're a shared label you build once and reuse everywhere.
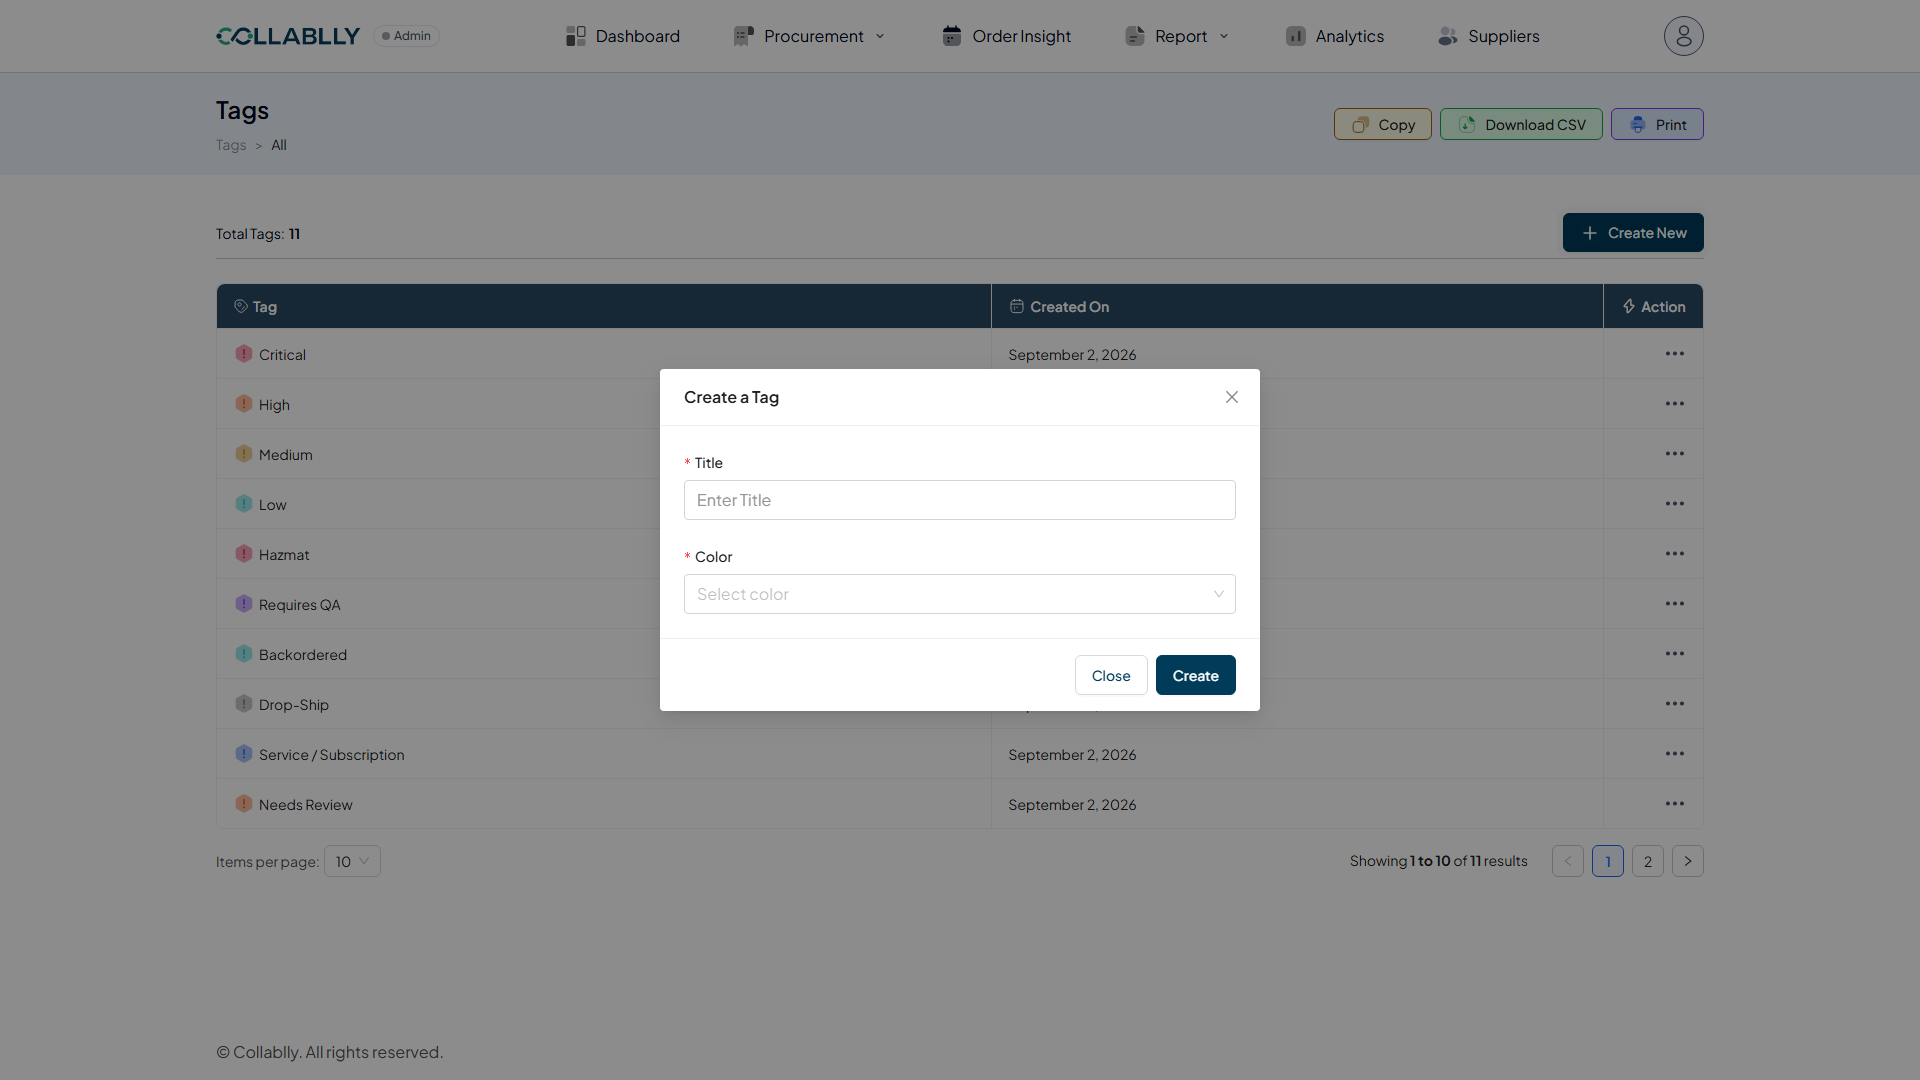
- Step 2 of 8
Create a Tag needs only two fields
Clicking Create New opens a small modal: Title and Color, both required. No description, no category, no linked module, it's deliberately just a label and a color.
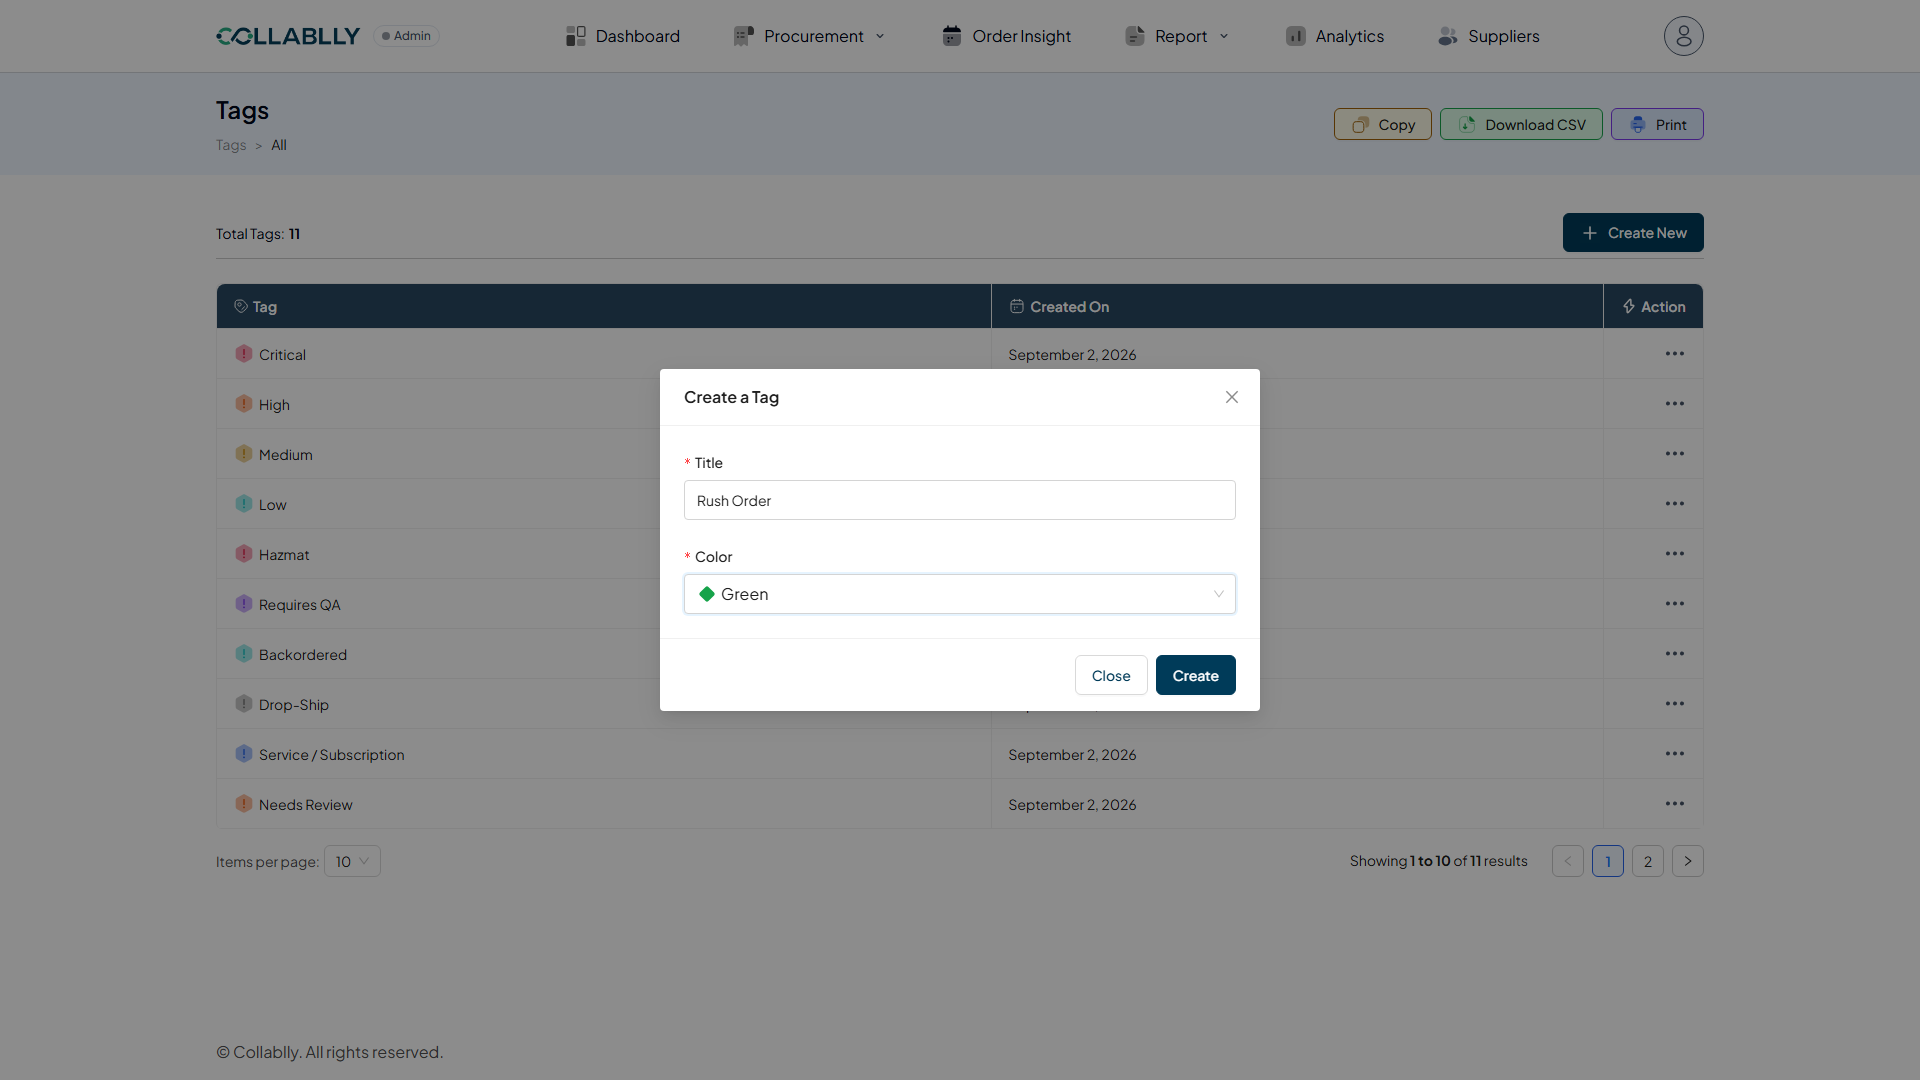
- Step 3 of 8
Title: Rush Order, Color: Green
Type a real name buyers will recognize on sight, and pick one of the preset colors. The color is what actually shows up as the little dot next to the tag everywhere it appears later, so it's worth choosing something that reads at a glance.
- Step 4 of 8
Tag created successfully
The new tag is now in the shared list for every buyer and admin, available the moment it's created, no approval step, no sync delay.
- Step 5 of 8
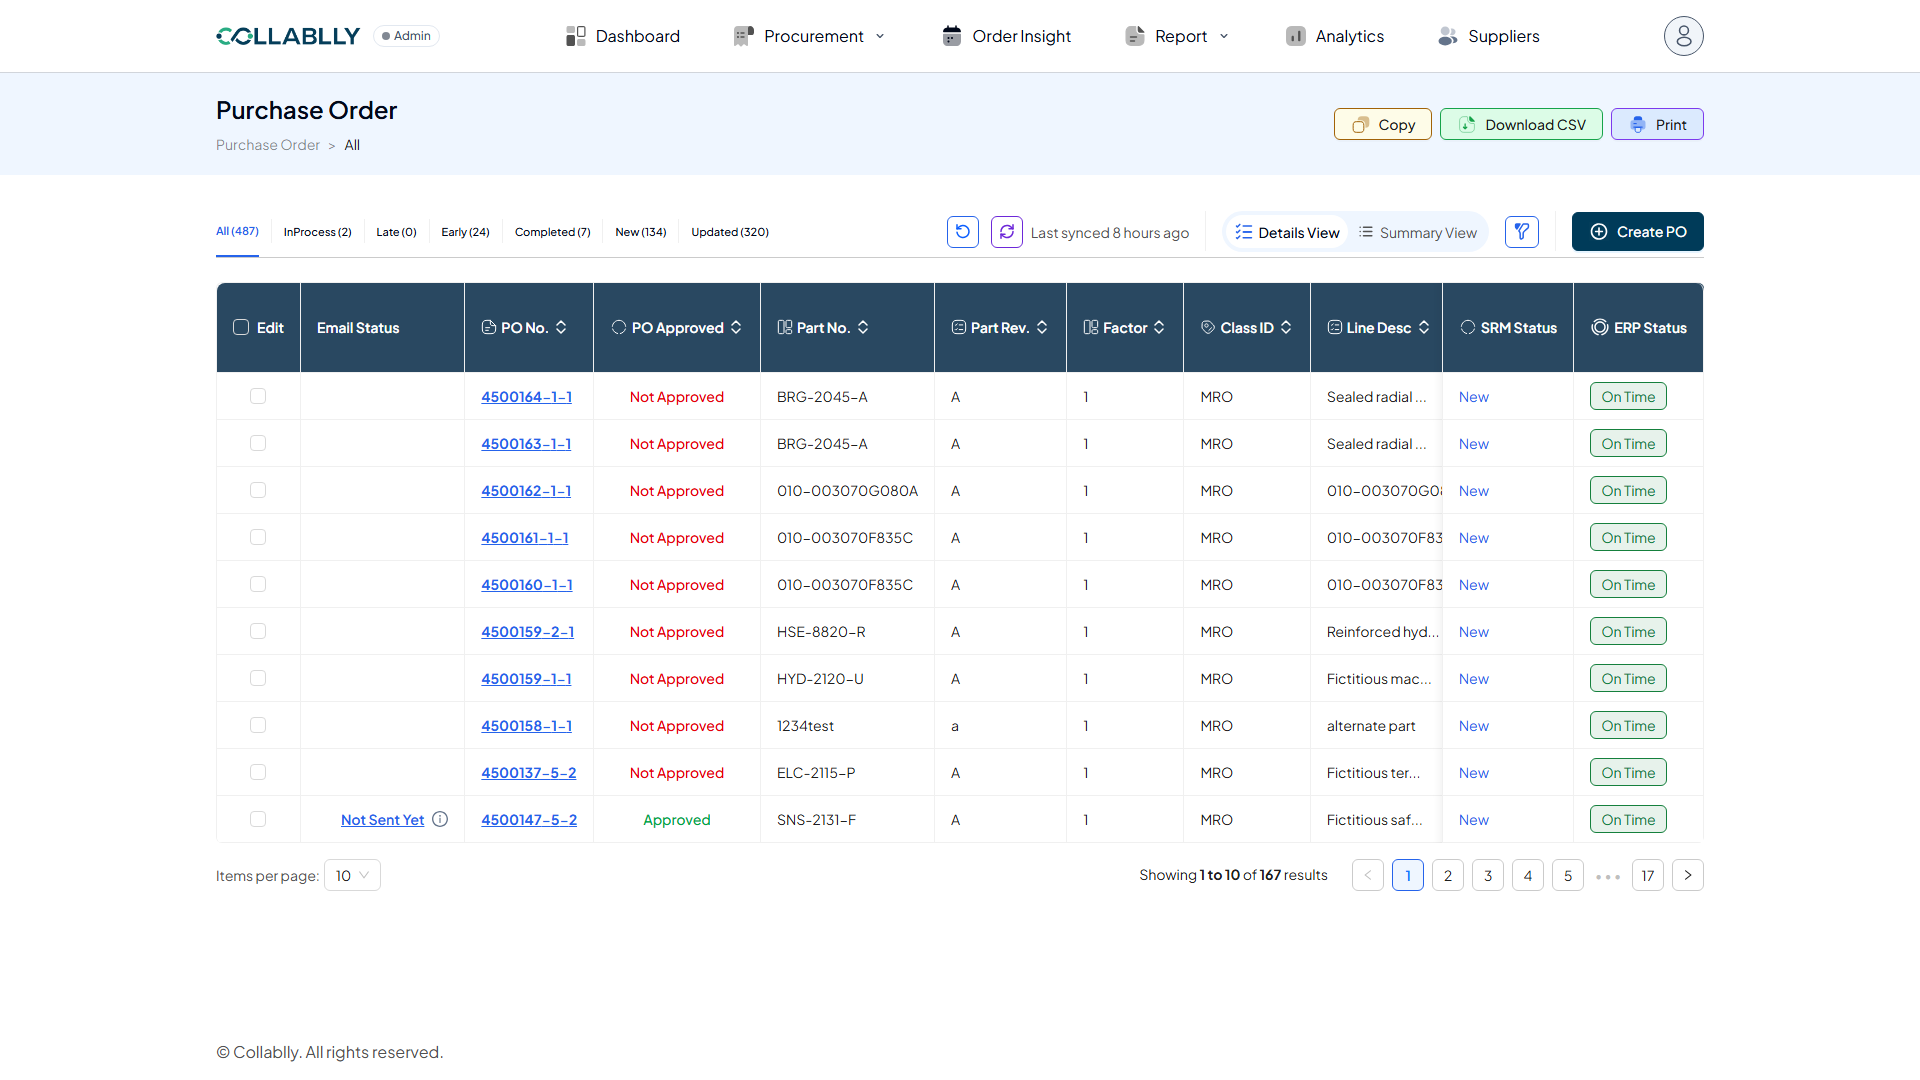
One column decides everything: PO Approved
Switch to Purchase Order, Details View. Nine of these ten lines read Not Approved in red, only the last one, 4500147-5-2, is Approved in green. That single column is the real rule behind tagging: a line can only get a tag once its PO has been approved. Everything else on this page is a distraction from that one fact.
- Step 6 of 8
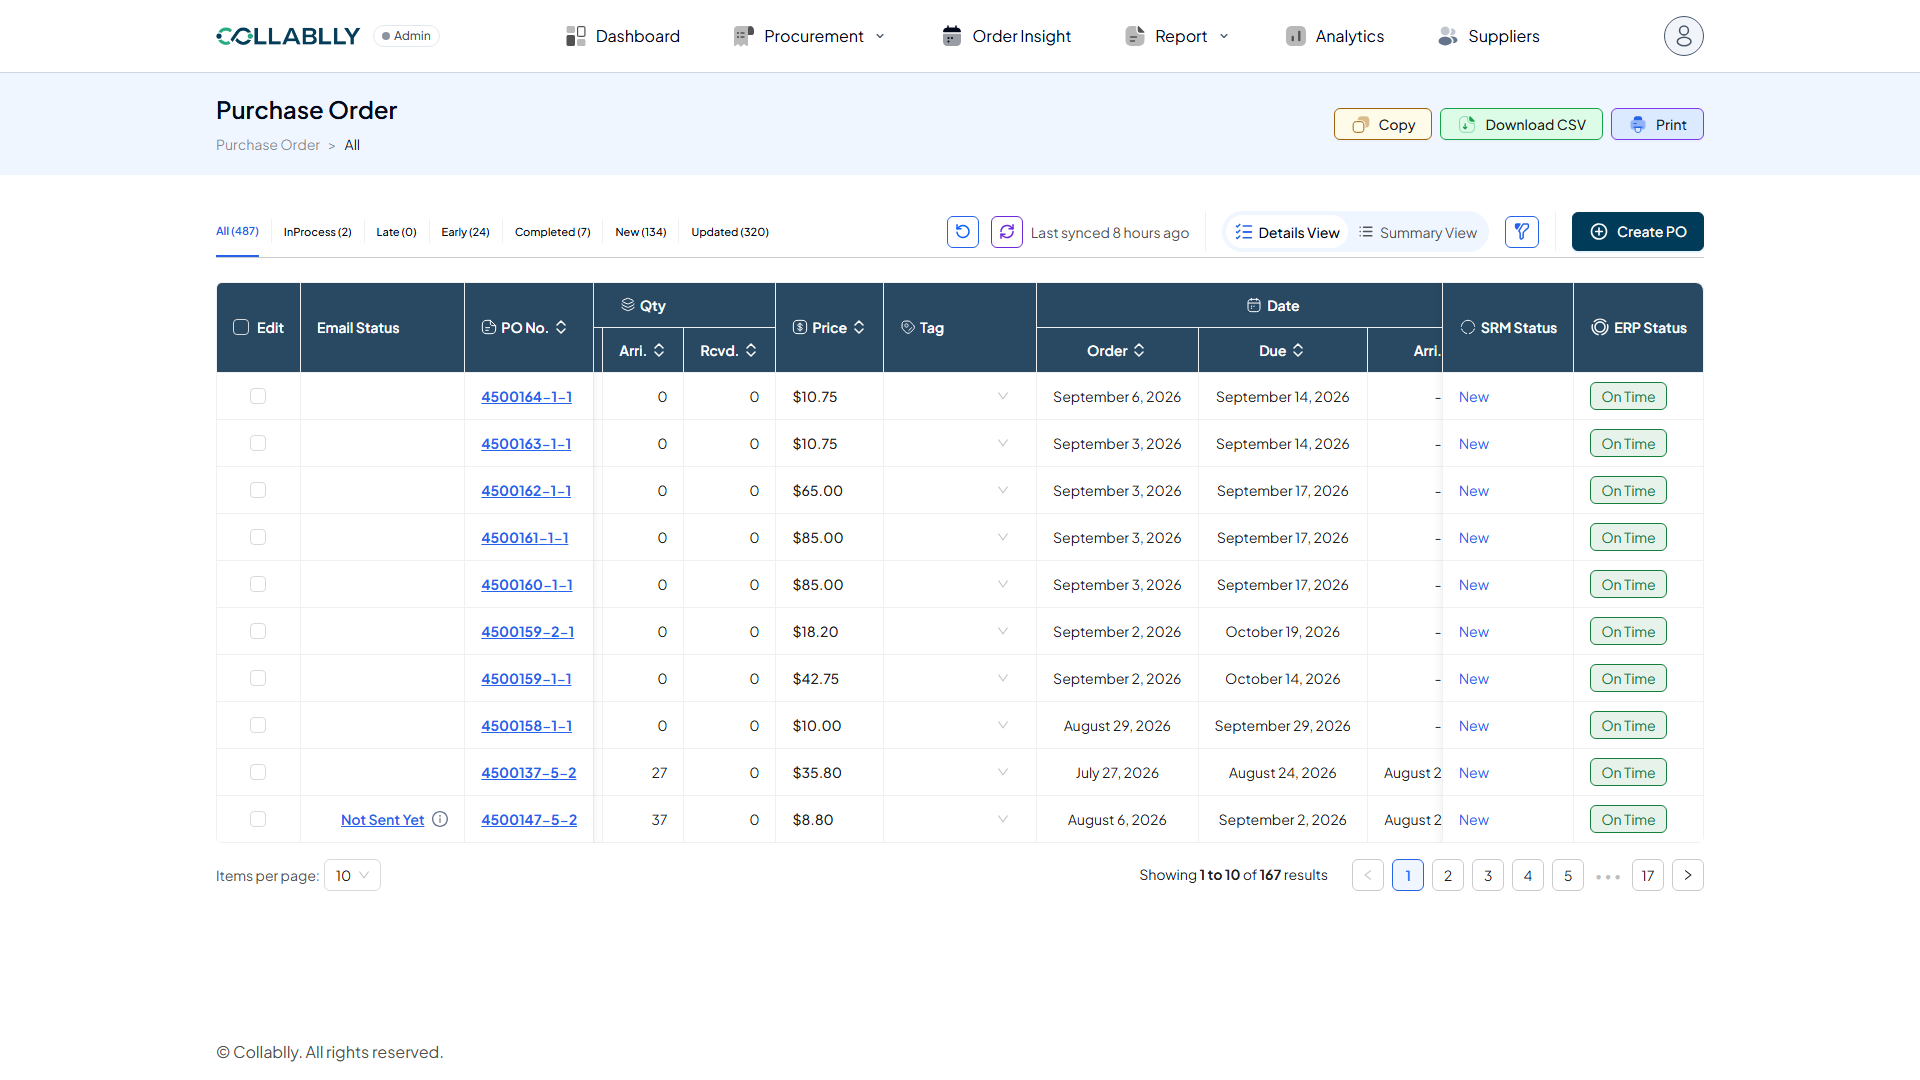
Scroll right to the Tag column
The Tag column sits further right, between Price and Date. Scrolling it into view, the same pattern holds: the nine Not Approved lines show a greyed-out, unclickable select, and only the Approved line has an active one.
- Step 7 of 8
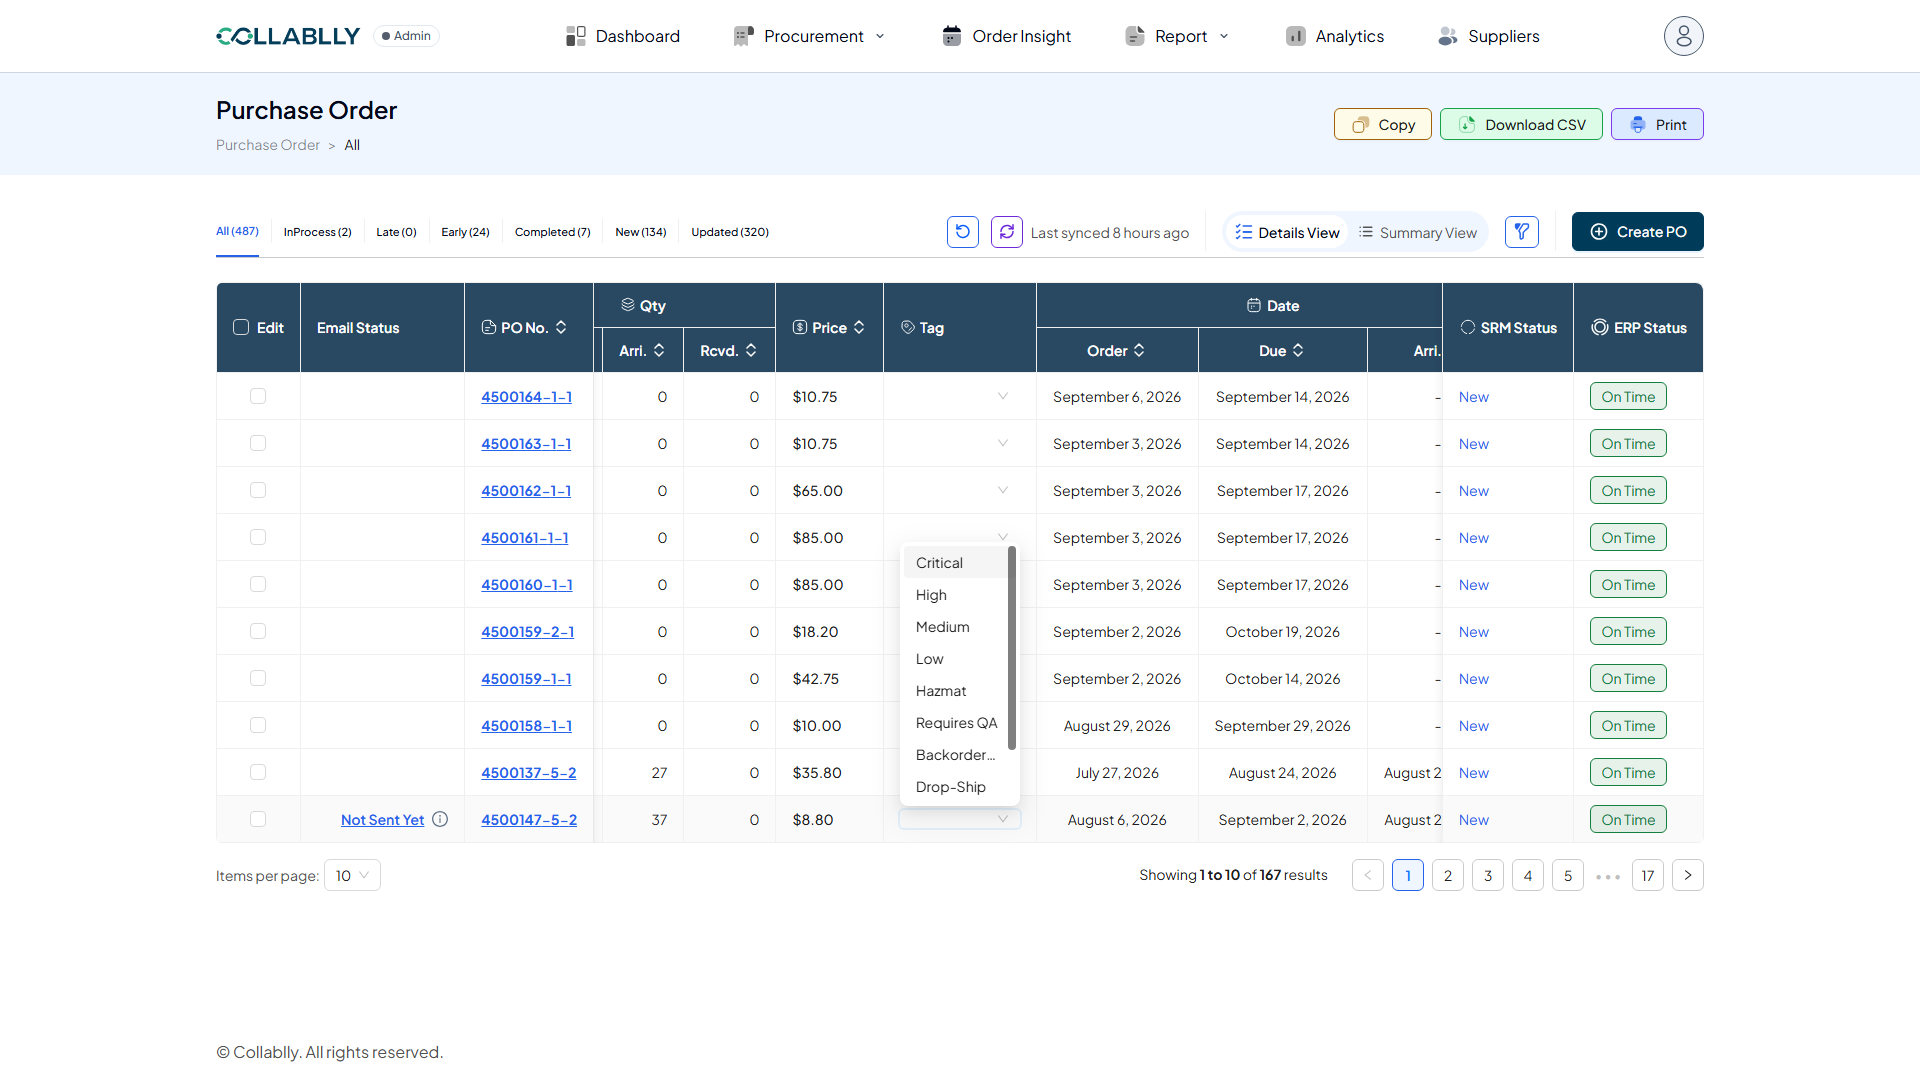
Click the dropdown on an approved line
4500147-5-2 is approved, so its Tag select is active. Clicking it opens a live list pulled from the Tags module. One real quirk worth knowing: this dropdown only shows the first 10 tags in the system, a newly created 11th tag (like the Rush Order tag just made) won't appear here until an earlier one is removed or the list is reordered.
- Step 8 of 8
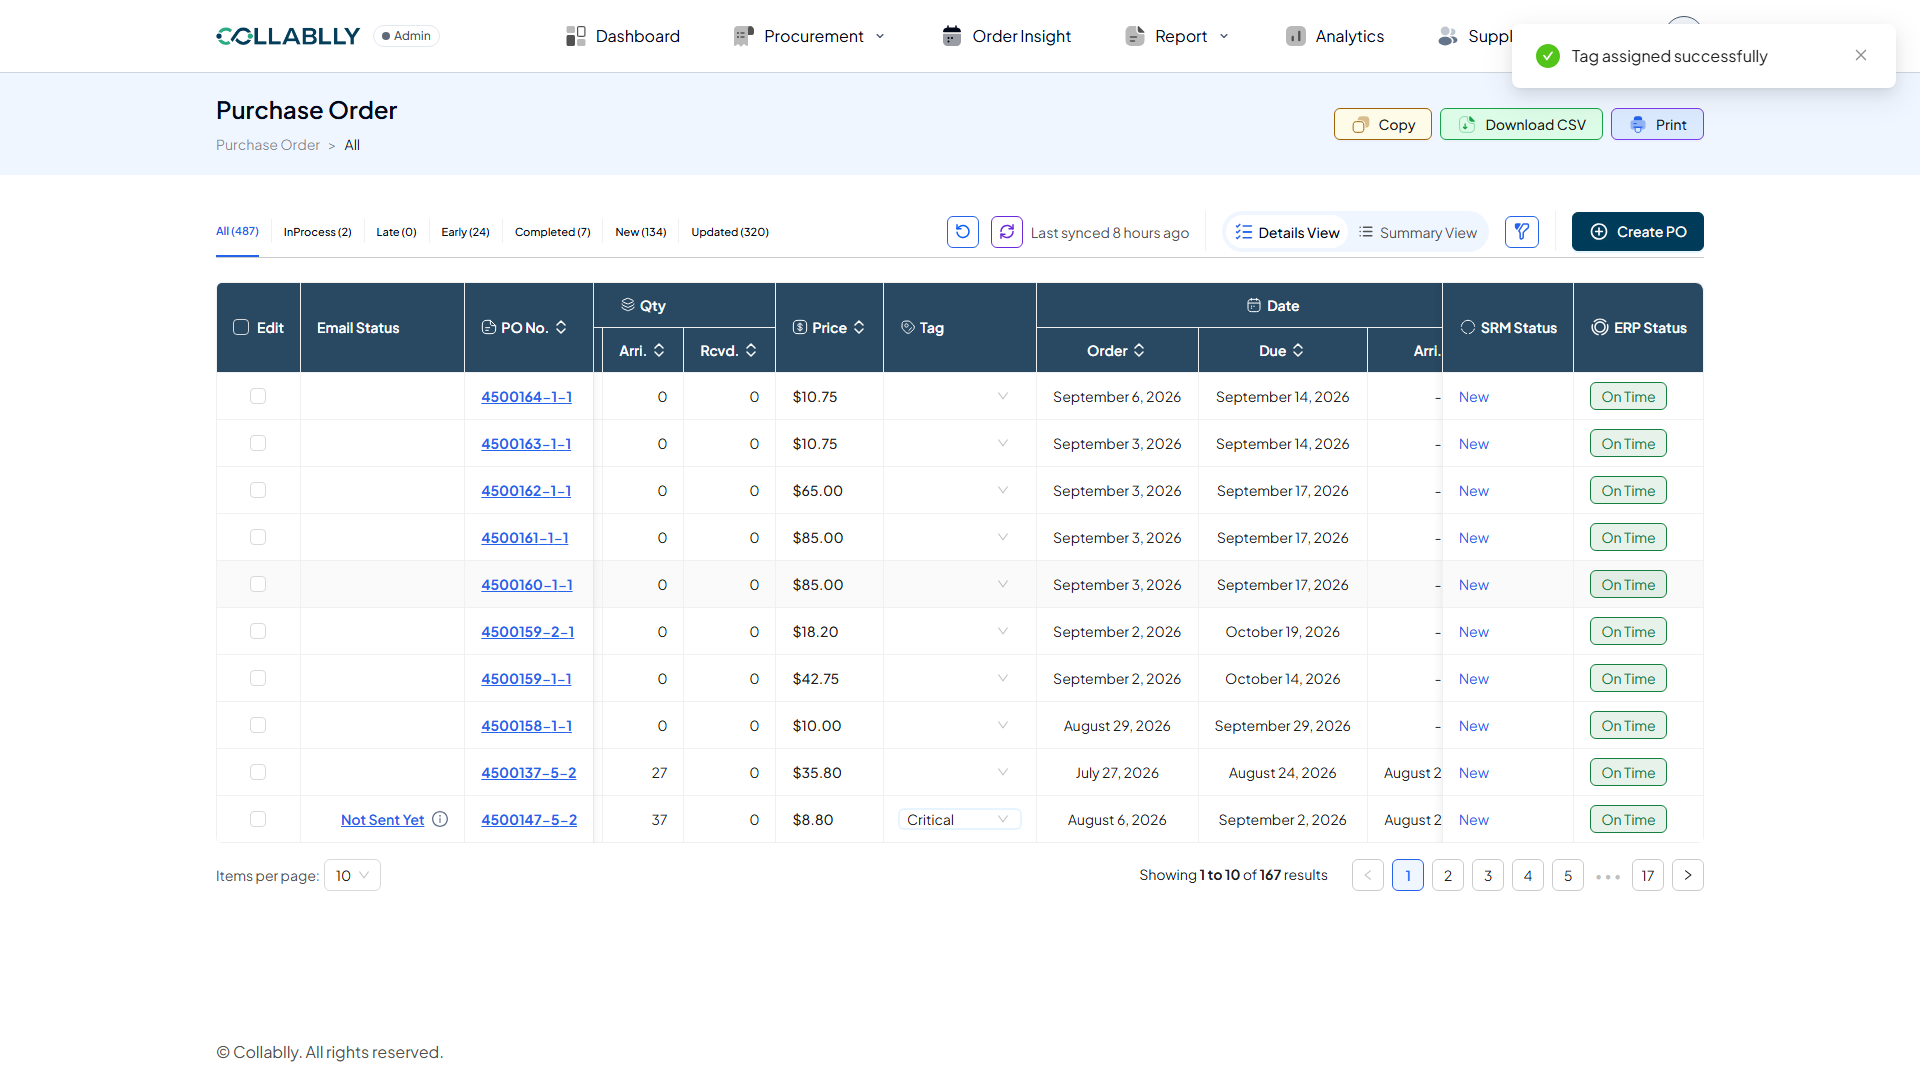
Tag assigned successfully
Pick a tag and it's applied to that line immediately, no save button. The cell now shows the tag as a chip, and the exact same dropdown lets you clear it again, selecting an already-applied tag removes it and shows Tag removed successfully instead.